
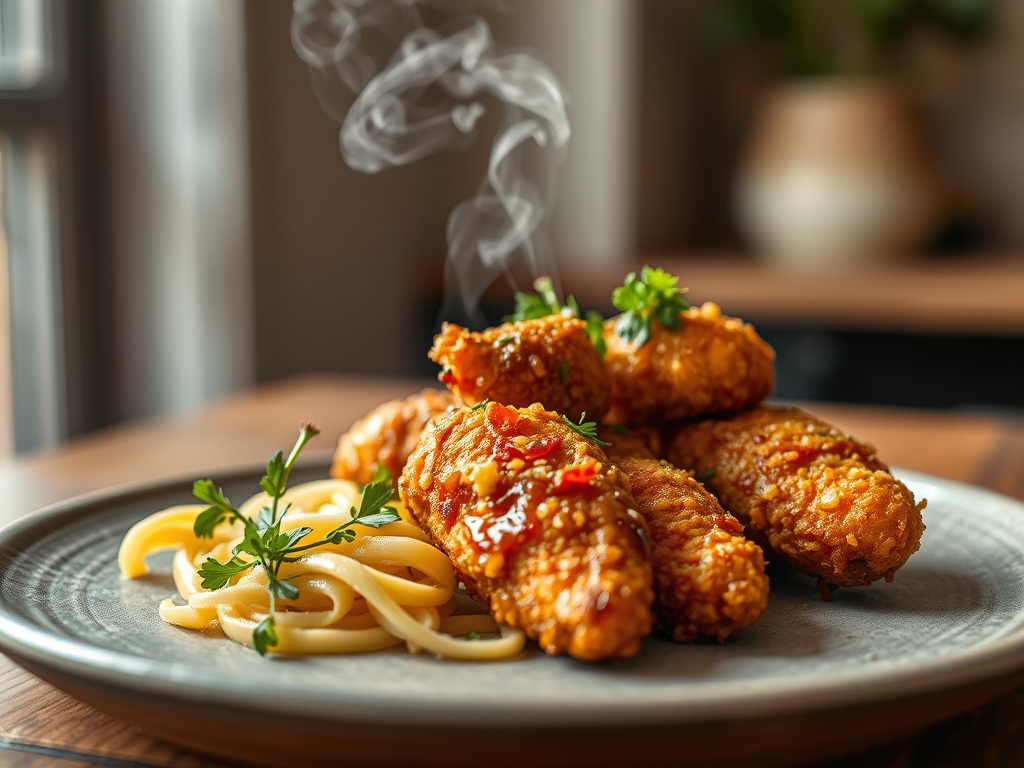
Listen closely for that specific, sharp crackle as you bite through a golden crust into succulent, steaming meat. We are chasing the holy grail of texture today. Most air fried chicken recipes promise a deep fried crunch but deliver a soggy, lackluster disappointment. We are going to change that by using actual physics to manipulate moisture and fat.
The air fryer is not just a small oven; it is a high velocity convection chamber designed for rapid dehydration and fat rendering. To achieve that piquant, shattering exterior, we have to treat the chicken like a science experiment. Forget what you know about traditional dredging. We are going to aerate our breading and manage surface tension to ensure every millimeter of that bird is perfectly bronzed. This is not just about dinner; it is about mastering the Maillard reaction in a pressurized environment. By the time we are finished, your kitchen will smell like a gourmet rotisserie, and you will have the technical confidence to outperform any fast food joint in the city.
The Gathers:
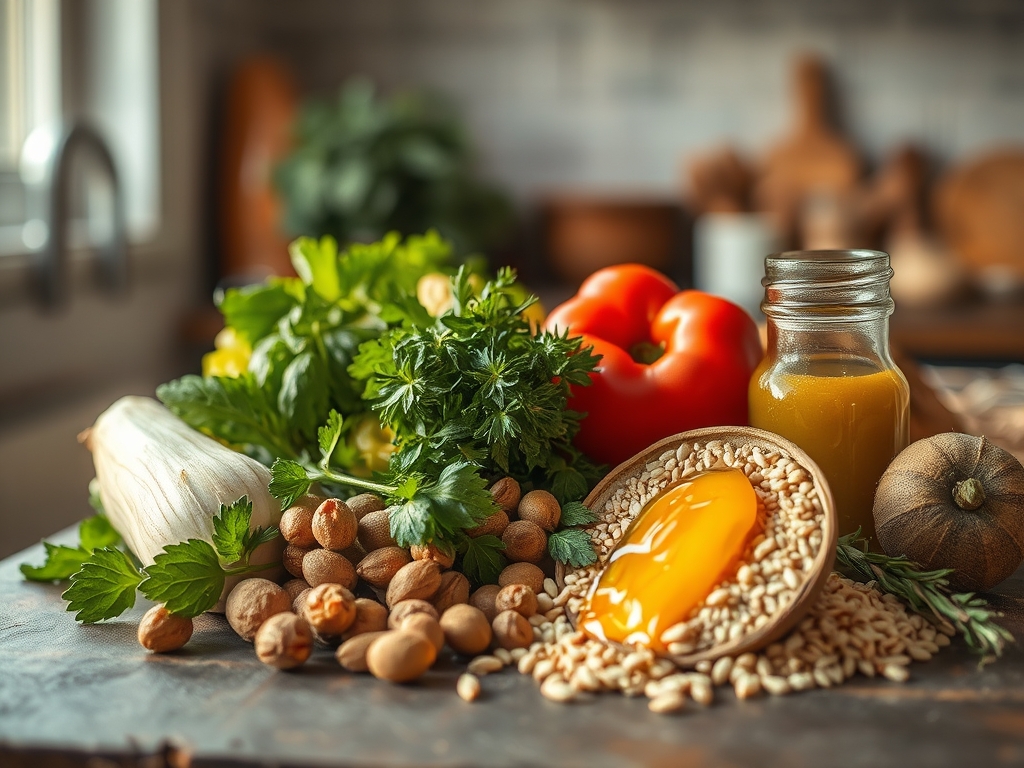
Setting up your mise-en-place is the difference between a frantic mess and a fluid culinary performance. You will need a digital scale for precision; weight is always more accurate than volume when dealing with flour and starches. Gather your proteins: four large chicken thighs or breasts, patted bone-dry with lint-free towels. Moisture is the enemy of the crunch. For the dredge, you need all-purpose flour, but we are going to cut it with cornstarch or potato starch to lower the protein content and prevent gluten development.
For the flavor profile, we are looking for a viscous binder. Whisk together two large eggs with a splash of hot sauce and a teaspoon of Dijon mustard. The mustard acts as an emulsifier, helping the egg wash cling to the meat without sliding off during the high-speed air circulation. Your spice cabinet should provide smoked paprika, garlic powder, onion powder, and a heavy hand of kosher salt.
Smart Substitutions: If you are avoiding gluten, replace the flour and starch with a 1:1 ratio of almond flour and crushed pork rinds. The high fat content in the pork rinds mimics the way traditional batter absorbs oil. For a vegan binder, use aquafaba (the liquid from a can of chickpeas) whisked until frothy. It has the same protein structure as egg whites and creates a fantastic seal.
The Clock
Efficiency in the kitchen is about "Chef's Flow." Total active prep time is 20 minutes, while the cooking phase takes approximately 18 to 22 minutes depending on the thickness of your protein. However, the secret "hidden" time is the 30-minute rest period for the breaded chicken. This allows the starches to hydrate and form a structural bond with the chicken skin.
The air fryer requires a 5-minute preheat at 400 degrees Fahrenheit. Do not skip this. Placing cold chicken into a cold chamber results in a slow temperature climb that steams the meat rather than searing it. While the chicken cooks, you have a 20-minute window to infuse a dipping sauce or prepare a side salad. This overlap ensures everything hits the table at the peak of its thermal quality.
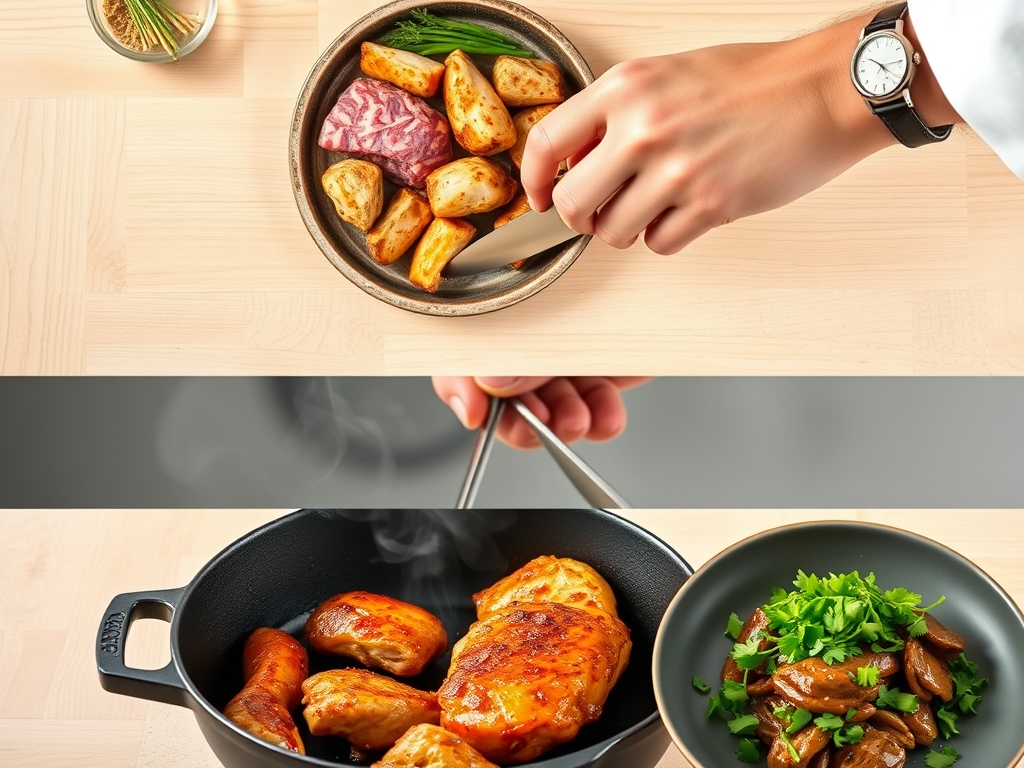
The Masterclass
1. The Surface Dehydration
Use a bench scraper to clear your workspace and lay out the chicken. Pat the meat again until the paper towel comes away completely dry. Season the naked meat with salt and pepper before the flour touches it.
Pro Tip: This step utilizes osmotic pressure. Salt draws internal moisture to the surface, which then gets trapped by the flour, creating a "glue" that prevents the breading from falling off after the cook.
2. The Aerated Dredge
Whisk your dry ingredients in a shallow bowl. Use a fork to aerate the mixture, ensuring there are no dense clumps. Dip the chicken into the flour, then the egg wash, then back into the flour.
Pro Tip: This double-dredge creates microscopic "nooks and crannies." In an air fryer, these increased surface areas catch the circulating hot air, leading to more sites for the Maillard reaction to occur.
3. The Hydration Rest
Place the coated chicken on a wire rack for 20 to 30 minutes. The coating should look slightly "wet" or tacky before it goes into the fryer.
Pro Tip: This prevents the "dusty" finish common in air fried chicken recipes. It ensures the flour has fully absorbed the binder, so it hardens into a shell rather than remaining a loose powder.
4. The Precision Blast
Arrange the pieces in the basket using tongs, ensuring they do not touch. Crowding the basket causes the air to redirect, leading to soft spots. Spray liberally with a high-smoke-point oil like avocado oil.
Pro Tip: Air fryers rely on forced convection. If the air cannot circulate 360 degrees around the protein, you lose the "frying" effect and end up with a bake.
5. The Thermal Flip
Halfway through the cook, flip the chicken and spray any remaining white flour spots with oil. Use an instant-read thermometer to check for an internal temperature of 165 degrees Fahrenheit.
Pro Tip: This accounts for thermal carryover. The internal temperature will rise about 5 degrees after you remove the chicken from the heat. Pulling it at exactly 165 ensures it stays juicy.
The Deep Dive
From a macro perspective, this method is a nutritional powerhouse. By using an air fryer, you reduce the fat content by up to 70 percent compared to deep frying, as the meat is not submerged in a vat of oil. A standard serving contains roughly 350 calories with 40 grams of protein, making it ideal for muscle recovery and satiety.
Dietary Swaps: For a Keto version, use unflavored whey protein isolate as your dredge; it browns beautifully and contains zero carbs. For a vegan "chicken" experience, use extra-firm tofu that has been frozen and thawed to create a meaty texture. Use the same starch-heavy dredge for maximum crunch.
The Fix-It:
- White Flour Spots: This happens when the oil spray missed a patch. Fix: Mid-way through, hit those spots with a quick spritz of oil.
- Soggy Bottoms: This is caused by lack of airflow. Fix: Use a perforated parchment liner or a wire rack insert inside the basket.
- Tough Meat: Usually caused by overcooking. Fix: Always use a digital thermometer; never rely on the timer alone.
Meal Prep Science: To reheat, do not use the microwave. The microwave vibrates water molecules, which softens the crust. Instead, put the chicken back in the air fryer at 375 degrees for 4 minutes. This re-renders the fats and re-crisps the exterior for "day-one" quality.
The Wrap-Up
Mastering air fried chicken recipes is about respecting the relationship between heat and hydration. By drying the surface, emulsifying your binder, and allowing the starches to hydrate, you create a professional-grade crust that rivals any traditional fry. Remember to use your tools; the thermometer and the wire rack are your best friends here. Now, go forth and shatter some crusts.
The Kitchen Table
Why is my air fried chicken dry?
Dry chicken is usually the result of overcooking or skipping the brine. Use a meat thermometer to pull the chicken at 165 degrees Fahrenheit. Using dark meat like thighs also ensures a juicier result due to higher fat content.
Can I use baking powder for extra crunch?
Yes! Adding a teaspoon of baking powder to your flour dredge raises the pH level of the skin. This breaks down peptide bonds and increases the surface area, resulting in a much crispier, more blistered texture.
Why does the breading fall off?
Breading falls off when the chicken is too wet before dredging or if you do not let the breaded chicken rest. Resting allows the flour to hydrate and "glue" itself to the protein, creating a structural bond.
Do I really need to use oil spray?
Yes. While the air fryer uses hot air, the "fried" texture requires a small amount of fat to conduct heat efficiently across the flour. Without oil, the flour will remain dry, white, and chalky instead of golden and crisp.