
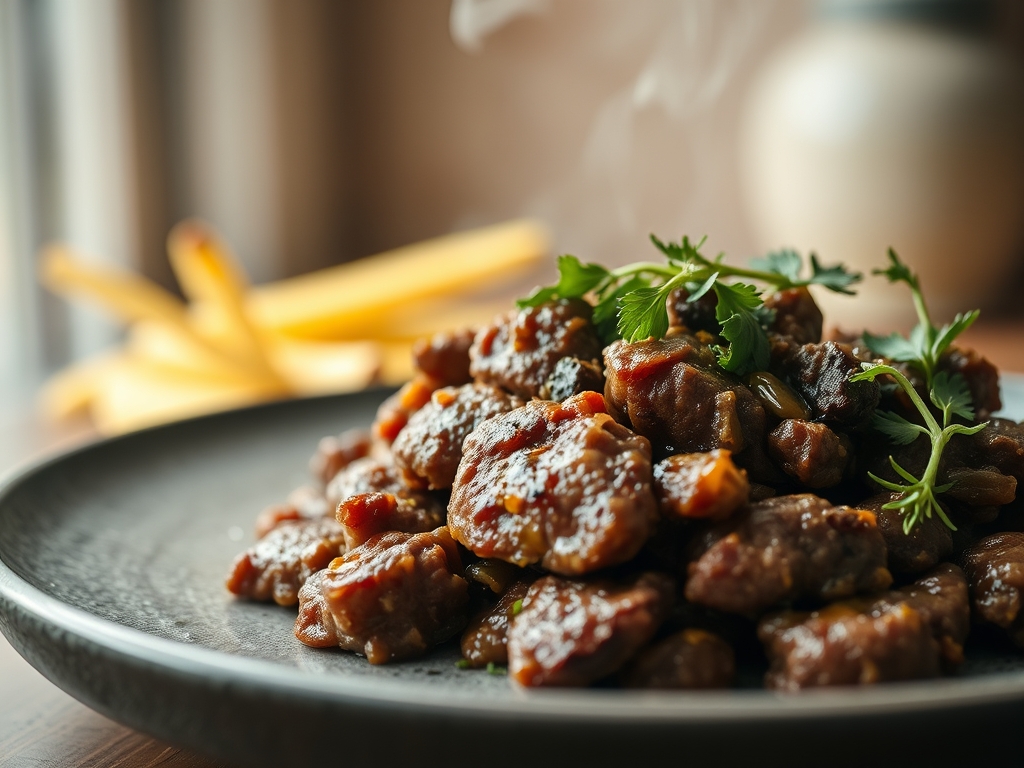
The scent of searing protein is a chemical siren song that signals the start of a perfect evening. When you are racing against the sunset, the best ground beef recipes for dinner are your absolute secret weapon for delivering high-impact flavor without the high-stakes stress. We are talking about transforming humble, cold-packed mince into a masterpiece of texture and depth in under thirty minutes. It is not just about feeding the family; it is about mastering the alchemy of the Maillard reaction right in your own kitchen.
Ground beef is the ultimate culinary chameleon because its high surface-area-to-volume ratio allows for rapid heat transfer and flavor absorption. Whether you are craving a piquant Korean beef bowl or a classic, viscous Bolognese, the success of the dish relies on how you manage the fat and the sear. We are going to dive into the mechanics of why some beef dishes feel greasy while others feel luxurious. Grab your favorite heavy-bottomed skillet and let us turn those refrigerator staples into a five-star experience that feels effortless yet tastes intentional.
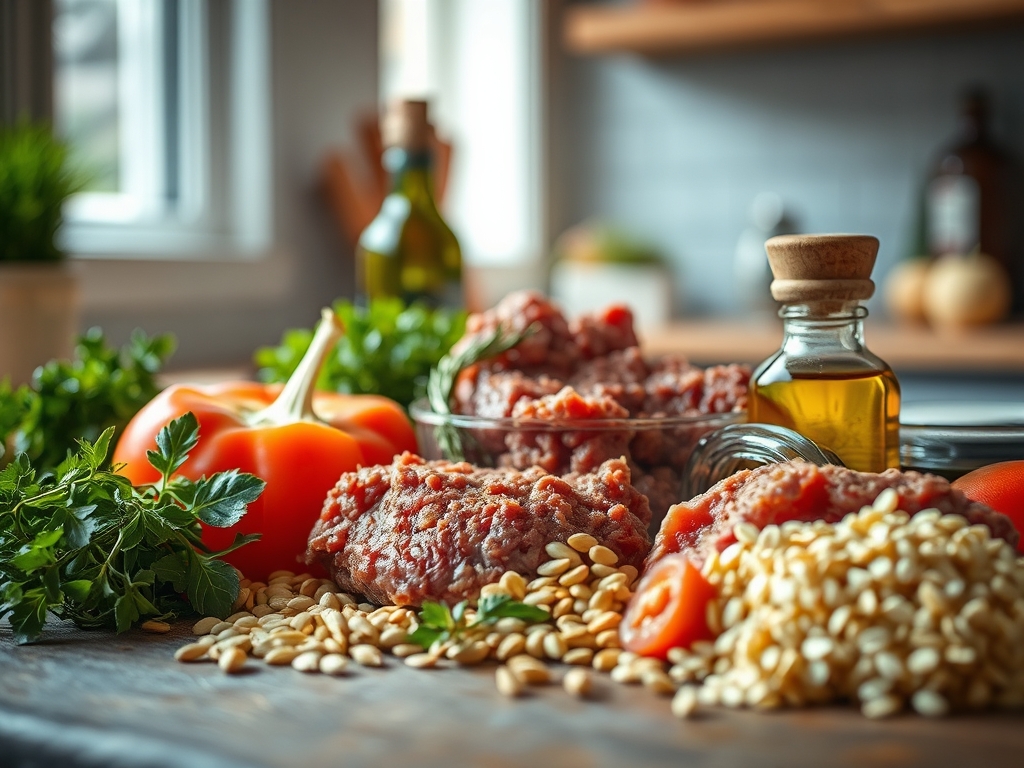
The Gathers:
Before the first spark of the burner, your mise-en-place must be precise. Start with high-quality ground beef; ideally a 80/20 blend for burgers or a 90/10 lean ratio for sauces where you want to control the emulsification. You will need aromatics like yellow onions, which provide the sulfurous backbone of the dish, and garlic that has been processed with a microplane to ensure the essential oils are fully released into the fat.
Your pantry should yield a high-smoke-point oil like avocado or grapeseed oil to facilitate a hard sear without acrid oxidation. For the "Smart Substitutions," if you find yourself short on beef, you can extend the volume and add a meaty umami punch by folding in finely minced cremini mushrooms. This is a technique known as "The Blend," which reduces caloric density while increasing the moisture-holding capacity of the meat. If you are out of fresh onions, a dash of onion powder provides the same savory profile without the moisture release that can sometimes hinder browning.
The Clock: 25 Minutes to Bliss
The "Chef's Flow" is all about overlapping tasks to minimize downtime. You should spend the first 7 minutes on prep; dicing aromatics and weighing out spices on a digital scale for consistency. The next 12 minutes are dedicated to active cooking, where you manage the heat to render fat and develop crust. The final 6 minutes are for the "Rest and Garnish" phase. This is where the magic happens. By allowing the beef to sit for a moment before serving, you ensure the internal juices redistribute, preventing a watery mess on the plate.
The Masterclass:
1. Temper and Prep
Remove your beef from the refrigerator 15 minutes before cooking. Cold meat causes the pan temperature to plummet, which leads to steaming rather than searing. Use a bench scraper to clear your cutting board of chopped herbs and aromatics so your workspace remains clinical and efficient.
Pro Tip: This prevents "thermal shock." When meat is too cold, the muscle fibers contract violently upon hitting the heat, squeezing out moisture and leaving you with a tough, grey result instead of a tender, brown one.
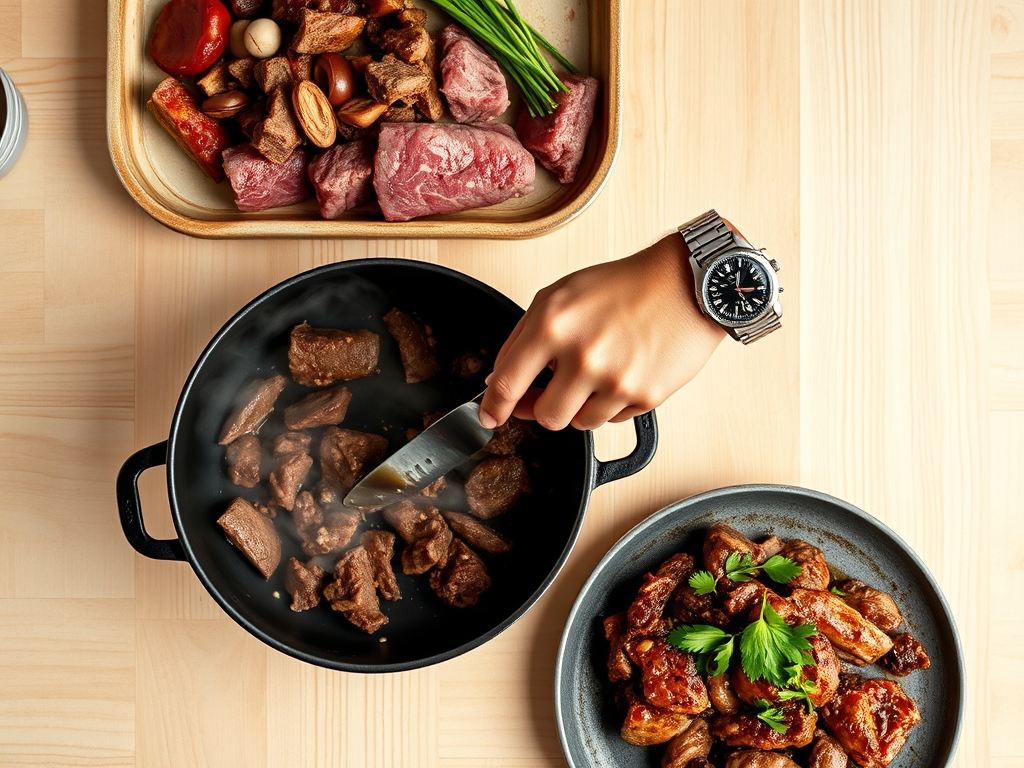
2. The High-Heat Sear
Place your heavy-bottomed skillet over medium-high heat until the oil shimmers. Add the beef in a single layer and do not touch it for at least three minutes. You want to see a deep, mahogany crust form on the bottom.
Pro Tip: This is the Maillard reaction in action. It is a chemical reaction between amino acids and reducing sugars that creates hundreds of different flavor compounds. If you stir too early, you interrupt this process and boil the meat in its own juices.
3. Deglaze and Infuse
Once the meat is browned, use a wooden spoon or tongs to move it to the side. Add your aromatics to the center fat. Once they are translucent, pour in a splash of stock or wine to deglaze the pan, scraping up the "fond" (the brown bits stuck to the bottom).
Pro Tip: The fond contains the most concentrated flavor in the pan. By adding a liquid, you dissolve these particles and infuse them back into the sauce, creating a complex, layered profile that tastes like it simmered for hours.
4. Emulsify and Finish
Lower the heat and add your liquid components, such as tomato puree or cream. Use a saucier if you are making a larger batch to ensure even heat distribution. Stir constantly until the sauce becomes viscous and clings to the back of a spoon.
Pro Tip: This is the process of emulsification. By stirring steadily, you are forcing the fat from the beef to bond with the water-based liquids in your sauce, resulting in a smooth, velvety texture rather than a broken, oily mess.
The Deep Dive:
From a macro nutrition perspective, ground beef is a powerhouse of bioavailable iron, B12, and zinc. A standard 4-ounce serving provides roughly 22 grams of protein, making it an ideal post-workout fuel. For those following a Keto lifestyle, the natural fats provide sustained satiety. If you are Vegan, you can swap the beef for a pea-protein crumble, though you may need to add a teaspoon of liquid aminos to replicate the savory depth. For a Gluten-Free version, ensure your thickeners are cornstarch or arrowroot rather than flour.
The Fix-It:
- The Greasy Sauce: If your dish looks oily, your emulsion has broken. Fix this by adding a tablespoon of pasta water or a splash of heavy cream and whisking vigorously over low heat to re-bind the fats.
- The Grey Meat: If the beef did not brown, you likely overcrowded the pan. Remove the meat, wipe the pan dry, add fresh oil, and sear in smaller batches next time.
- The Salt Bomb: If you over-salted, do not panic. Add a splash of acid, like lemon juice or vinegar, or a pinch of sugar. These do not remove salt, but they distract the taste buds and balance the flavor profile.
Meal Prep Science:
To achieve "day-one" quality during reheating, avoid the microwave if possible. The microwave agitates water molecules, which can make the meat rubbery. Instead, reheat in a skillet with a tablespoon of water or broth. Cover the pan to create a steam chamber; this rehydrates the proteins and maintains the viscous integrity of the sauce.
The Wrap-Up:
Mastering the best ground beef recipes for dinner is about more than just following a list of ingredients; it is about understanding the physics of the pan. When you respect the sear and master the emulsion, you turn a Tuesday night staple into a gourmet event. Keep your tools sharp, your heat high, and your confidence higher. You have the science; now go make something delicious.
The Kitchen Table:
How do I keep ground beef from getting tough?
Avoid over-mixing the raw meat, as this compresses the proteins. Cook it just until the pink disappears to prevent thermal carryover from drying it out. Always allow the meat to rest for three minutes after cooking to retain its internal juices.
What is the best fat ratio for dinner recipes?
An 80/20 ratio is ideal for burgers and meatloaf to ensure moisture. For sauces and stir-fries, a 90/10 lean ratio is better. This prevents the final dish from becoming overly greasy while still providing enough fat for the Maillard reaction.
Can I cook ground beef from frozen?
It is possible but not recommended for the best flavor. Frozen meat releases excess moisture as it thaws in the pan, which steams the beef instead of searing it. For the best results, thaw it overnight in the refrigerator for even cooking.
How long does cooked ground beef last in the fridge?
Cooked ground beef stays fresh for three to four days when stored in an airtight container. To maintain the best texture, ensure it cools completely before sealing to prevent condensation, which can lead to a soggy consistency during reheating.