
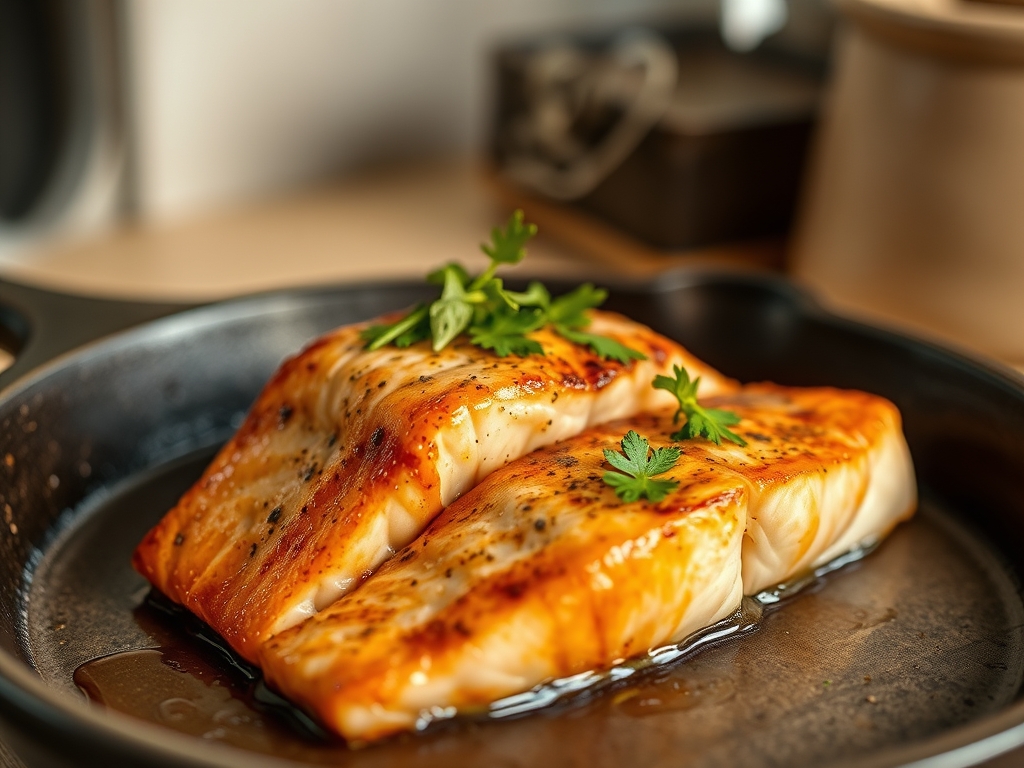
Picture this: the kitchen is quiet except for the rhythmic tick of the stove timer and the subtle, metallic scent of seasoned iron. You lay a cold, ruby-pink fillet into the shimmering oil. The sound is instantaneous; a violent, melodic sizzle that signals the start of the Maillard reaction. Mastering cast iron pan salmon recipes is about more than just dinner. It is about harnessing thermodynamics to achieve that glass-crust skin and a center that yields like softened butter.
We have all been there; the heartbreak of a beautiful piece of fish sticking to the metal or emerging as a dry, chalky shadow of its former self. But today, we are changing the narrative. We are treating your heavy-bottomed skillet like the precision instrument it is. By the time we are done, you will understand exactly why that heavy slab of ore is the only tool capable of delivering a restaurant-grade sear in your own home.
The Gathers:
Before we ignite the flame, we must respect the mise-en-place. For the ultimate cast iron pan salmon recipes, you need a center-cut Atlantic or King salmon fillet. Look for deep pigmentation and a firm, viscous texture; if the flesh feels mushy, the cellular structure has already begun to degrade.
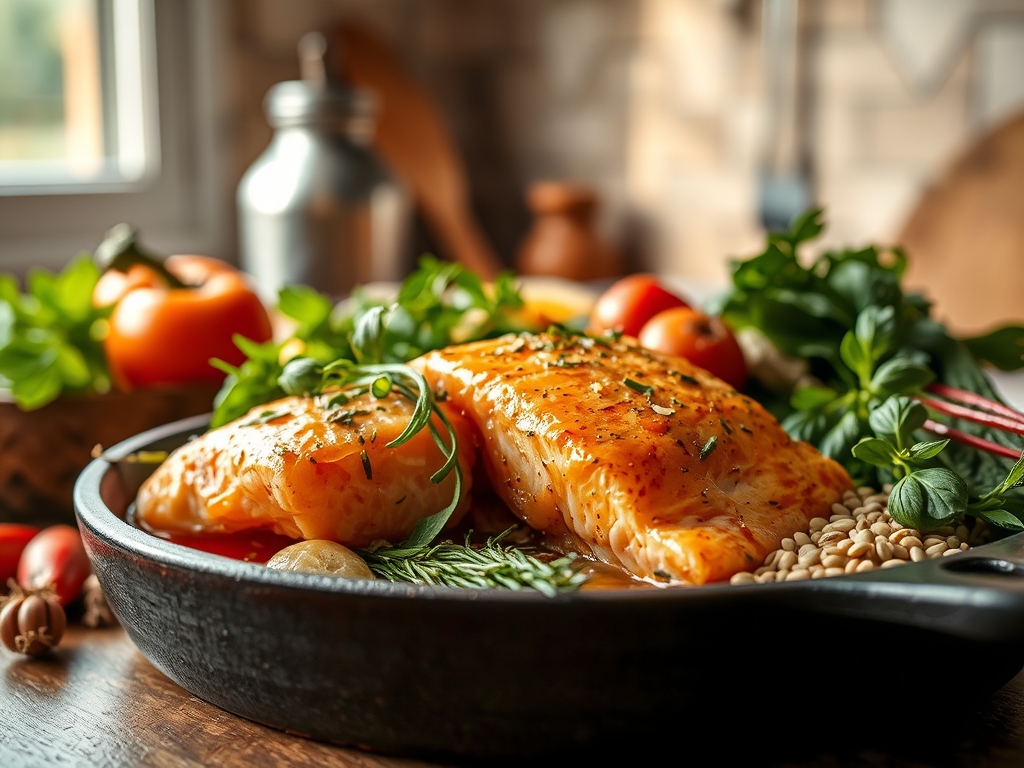
You will need a high-smoke-point fat. Reach for avocado oil or clarified butter (ghee). Standard butter contains milk solids that will scorch at the temperatures required for a proper sear. Grab your digital scale to ensure your fillets are uniform, roughly six ounces each, which guarantees they cook at the same rate. You will also need flaky sea salt, freshly cracked black pepper, and a bunch of woody herbs like thyme or rosemary to infuse the fat during the final basting stage.
Smart Substitutions: If you cannot find high-quality salmon, steelhead trout is an incredible anatomical double. For a vegan alternative, large "steaks" of cauliflower or king oyster mushrooms can be treated with the same searing techniques, though they lack the natural fats to render, so you may need to be more generous with your oil.
The Clock
Efficiency in the kitchen is what we call the "Chef's Flow." Total active time for this masterpiece is roughly 25 minutes, but the pacing is vital.
Prep Time (15 Minutes): This is not just about chopping. This includes the "temper period" where the fish sits at room temperature to prevent thermal shock.
Cook Time (8 to 10 Minutes): This is a high-intensity window. You cannot walk away to check your phone.
Rest Time (3 to 5 Minutes): Essential for moisture redistribution.
The flow is simple: Temper and dry the fish, preheat the iron slowly, sear, flip, baste, and rest. If you rush the preheat, you get hot spots. If you skip the rest, you get a dry fillet. Follow the clock, and the physics will do the heavy lifting.
The Masterclass
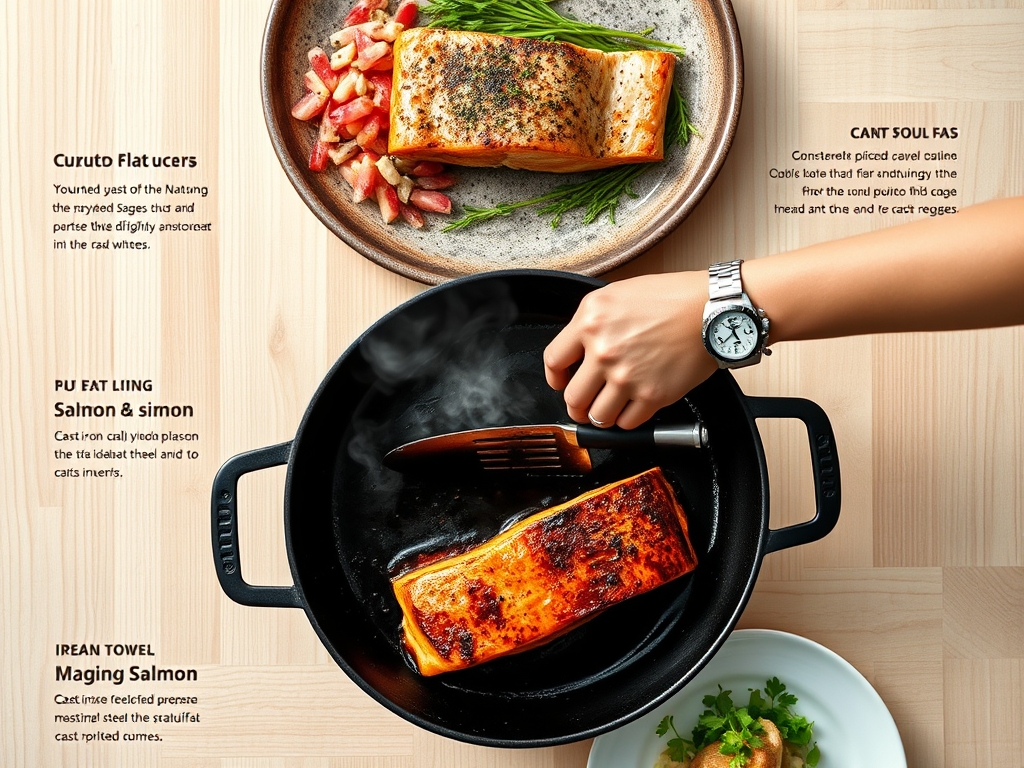
1. The Temper and the Towel
Remove your salmon from the refrigerator 15 minutes before cooking. Use a paper towel to pat the skin bone-dry. Moisture is the enemy of a crisp sear; any water on the surface will turn to steam, preventing the skin from reaching the 300 degrees Fahrenheit required for browning.
Pro Tip: This is known as surface evaporation. By removing moisture, you ensure the thermal energy goes directly into the Maillard reaction (the chemical reaction between amino acids and reducing sugars) rather than wasting energy boiling off surface water.
2. The Slow Heat-Up
Place your heavy-bottomed skillet over medium-low heat. Cast iron is a poor conductor but an excellent radiator. It takes time to saturate the metal with heat. Once the handle is warm to the touch, increase the heat to medium-high and add your oil.
Pro Tip: This prevents "warping" and ensures a uniform heat map. When the oil begins to shimmer and reach its smoke point, the viscosity thins, allowing it to fill the microscopic pores of the iron and create a naturally non-stick surface.
3. The Initial Contact
Season the fish with salt only at the very last second. Lay the fillet into the pan away from you to avoid oil splatter. Use a fish spatula or tongs to press down firmly on the flesh for the first 30 seconds.
Pro Tip: Salmon skin tends to curl when it hits heat due to protein contraction. Pressing it flat ensures total surface contact, leading to an even, pellicle-like crust rather than a patchy, soggy mess.
4. The Patient Sear
Resist the urge to move the fish. Let it sit for about 90 percent of the total cooking time on the skin side. Watch the side of the fillet; you will see the color change from translucent pink to opaque beige creeping up from the bottom.
Pro Tip: This is conduction cooking. The skin acts as a heat shield, protecting the delicate fats in the flesh from denaturing too quickly. This keeps the interior succulent while the exterior becomes structurally sound.
5. The Butter Baste and Flip
Once the opaque line reaches the top third of the fillet, flip it gently. Toss in a knob of butter, your smashed garlic, and herbs. Use a saucier spoon to continuously bathe the skin in the bubbling, piquant fat.
Pro Tip: This is aromatic infusion. The fat-soluble compounds in the herbs dissolve into the butter and are carried into the nooks and crannies of the seared skin, adding layers of flavor that salt alone cannot provide.
6. The Carryover Rest
Remove the salmon when a digital thermometer reads 125 degrees Fahrenheit for medium-rare. Place it on a warm plate, skin-side up.
Pro Tip: This accounts for thermal carryover. The internal temperature will continue to rise by 5 to 7 degrees after it leaves the pan. If you wait until it is "done" in the pan, it will be overcooked by the time it hits the table.
The Deep Dive
From a nutritional standpoint, salmon is a powerhouse of Omega-3 fatty acids and high-quality protein. A standard 6-ounce serving provides roughly 34 grams of protein and is naturally Keto and Paleo friendly. For those following a Gluten-Free diet, this recipe is naturally safe as it relies on pure fats and proteins rather than flour-based thickeners.
The Fix-It:
- The Skin Stuck: You likely tried to flip it too early. Protein bonds to the pan initially; it will naturally "release" once the crust has fully formed.
- White Gunk Appearing: That is albumin, a protein that pushes out when the fish is cooked too fast or too hot. Lower your heat slightly next time.
- Soggy Skin: You likely had too much moisture on the fish or overcrowded the pan, creating a steam chamber.
Meal Prep Science: To reheat, avoid the microwave. It vibrates water molecules, turning the fats "fishy." Instead, use a low oven (275 degrees) with a splash of water covered in foil to gently aerate the proteins without tightening them.
The Wrap-Up
You now hold the keys to the kingdom of cast iron pan salmon recipes. It is a dance of temperature control, patience, and high-quality tools. When you hear that final crunch of the fork hitting the skin, you will know the science was worth the effort. Go ahead, get that pan screaming hot and show that salmon who is boss!
The Kitchen Table
Can I use a stainless steel pan instead?
Yes, but stainless steel lacks the heat retention of iron. You must be more vigilant with heat management to prevent the temperature from dropping when the cold fish hits the surface.
Why does my salmon smell "fishy" after cooking?
This usually happens when the fats oxidize. Use the freshest fish possible and avoid overcooking, which releases trimethylamine, the compound responsible for that pungent aroma.
Do I really need to leave the skin on?
Absolutely. The skin acts as an insulator, preventing the delicate flesh from drying out against the intense heat of the cast iron. You can always remove it after cooking.
What is the best oil for searing?
Grapeseed or avocado oil are best. They have high smoke points (above 400 degrees), meaning they won't break down or become bitter during the high-heat searing process.