
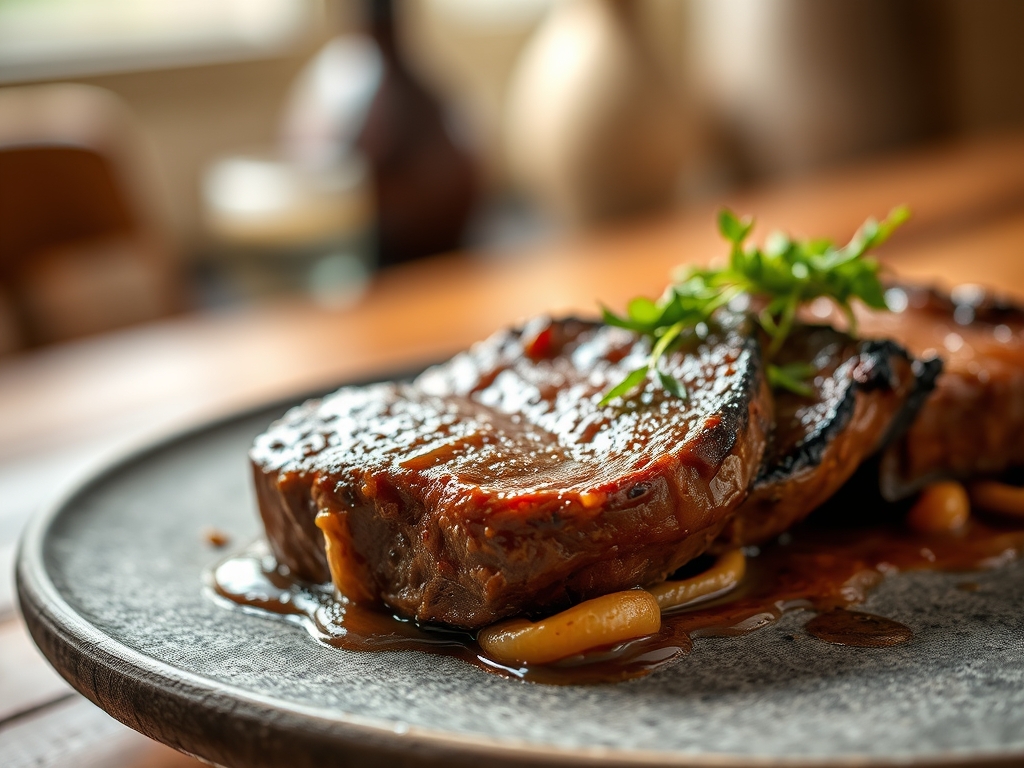
Imagine the sizzle of a heavy-bottomed skillet meeting a perfectly seasoned roast. That sound is the overture to a culinary transformation. Most home cooks fear the eye of round because it is notoriously lean and prone to toughness; however, mastering round eye beef recipes is actually a masterclass in moisture management and structural chemistry. We are going to take this budget-friendly cut and turn it into something so tender it feels like silk on the palate. It is about understanding that this muscle is the marathon runner of the cow. It is lean, powerful, and requires a bit of scientific finesse to break down the connective tissues without evaporating every drop of juice.
The secret is not just in the heat; it is in the preparation. We are moving beyond the dry, gray roasts of the past. Today, we are focusing on the Maillard reaction and enzymatic tenderization to elevate this humble cut into a centerpiece. Whether you are aiming for a razor-thin deli slice or a succulent pot roast, the methodology remains grounded in physics. Grab your digital scale and your sharpest chef knife. We are about to dive into the molecular mechanics of the perfect roast.
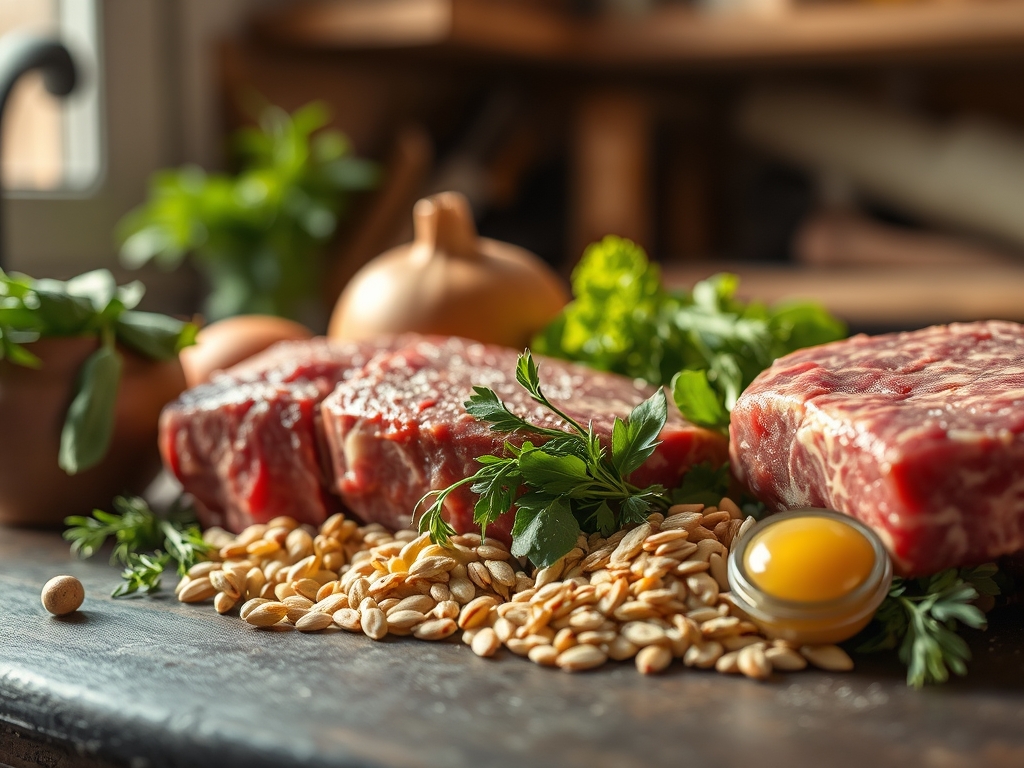
The Gathers:
To achieve a restaurant-grade result, your mise-en-place must be precise. Start with a three to four-pound eye of round roast. You will need high-quality kosher salt for osmotic moisture retention and freshly cracked black pepper. For the aromatics, gather six cloves of garlic, fresh rosemary, and thyme. These contain essential oils that will infuse the fat during the rendering process. You will also need a high-smoke-point oil like avocado or grapeseed oil; butter will burn too quickly during the initial sear.
Smart Substitutions: If you are avoiding bovine fats, a high-quality ghee provides the buttery flavor with a higher smoke point. For the aromatics, if fresh herbs are unavailable, use a dry rub but hydrate it in oil for ten minutes first to aerate the flavors. If you want a deeper umami profile, a teaspoon of porcini mushroom powder or a splash of Worcestershire sauce can act as a chemical catalyst for savory depth. Use a microplane to grate your garlic into a paste; this increases surface area and ensures the flavor permeates the meat rather than just sitting on top.
The Clock
The "Chef's Flow" for round eye beef recipes is divided into three distinct phases: the Temper, the Sear, and the Slow Descent. You cannot rush the temper. The meat must sit at room temperature for at least sixty minutes. This ensures that the thermal gradient between the exterior and the core is minimized, preventing a "bullseye" effect where the outside is overcooked while the center remains raw.
The active cooking time is surprisingly short. You will spend about ten minutes at the stove for the initial sear to trigger enzymatic browning. The roasting phase depends on your oven's calibration, but typically takes twenty minutes per pound at a low temperature. Finally, the most critical "time" is the rest. You must allow for a twenty-minute rest period. This allows the muscle fibers to relax and reabsorb the viscous juices that were pushed to the center during cooking.

The Masterclass
1. The Salt Brine and Temper
Begin by patting the meat dry with paper towels. Residual moisture is the enemy of a good sear because it creates steam. Generously coat the roast in kosher salt.
Pro Tip: This is called dry brining. The salt draws out moisture, dissolves into a concentrated brine, and is then reabsorbed into the muscle through osmosis. This seasons the meat deeply and denatures the proteins, making them more tender.
2. The High-Heat Sear
Heat your heavy-bottomed skillet until the oil is shimmering. Use tongs to press the beef firmly against the hot surface. Sear every side until a deep, mahogany crust forms.
Pro Tip: This is the Maillard reaction. It is a chemical reaction between amino acids and reducing sugars that creates hundreds of different flavor compounds. Without this step, your beef will lack the complex, savory "roasted" profile.
3. The Aromatic Infusion
Lower the heat slightly and add your butter, smashed garlic, and herbs to the skillet. Use a large spoon to baste the hot, flavored fat over the beef for two minutes.
Pro Tip: This process is called aromatic fat-washing. The fat acts as a solvent, extracting the fat-soluble flavor compounds from the herbs and garlic and depositing them into the crust of the meat.
4. The Low and Slow Roast
Transfer the roast to a wire rack set over a sheet pan. Place it in a low-temperature oven (around 250 degrees Fahrenheit). Use a digital probe thermometer to monitor the internal temperature.
Pro Tip: Low heat prevents the muscle fibers from contracting too violently. When fibers contract quickly, they squeeze out moisture like a sponge. A slow rise in temperature keeps the cell walls intact.
5. The Thermal Carryover
Remove the beef from the oven when it is five degrees below your target temperature (aim for 130 degrees for medium-rare).
Pro Tip: This is thermal carryover. The residual heat on the surface of the meat continues to travel toward the center even after it is out of the oven. If you pull it at your final target, it will end up overcooked.
6. The Rest and Recovery
Place the roast on a warm cutting board and tent it loosely with foil. Do not touch it for at least fifteen to twenty minutes.
Pro Tip: During cooking, proteins tighten and push water out. Resting allows the internal pressure to equalize. This ensures that when you slice the meat, the juice stays in the fibers rather than spilling onto the board.
7. The Precision Slice
Use a long, sharp carving knife or a meat slicer. Slice the beef against the grain into paper-thin ribbons.
Pro Tip: Cutting against the grain means you are shortening the long, tough muscle fibers. This makes the meat much easier to chew, providing a "melt-in-your-mouth" texture even from a lean cut.
8. The Deglaze and Sauce
While the meat rests, use a saucier to turn the pan drippings into a jus. Add a splash of red wine to deglaze the pan, scraping up the browned bits (the fond).
Pro Tip: The fond contains concentrated flavor molecules from the sear. Adding a liquid releases these molecules, creating a piquant sauce that complements the lean meat perfectly.
The Deep Dive
From a nutritional standpoint, the eye of round is a powerhouse. It is one of the leanest cuts of beef available, making it high in protein while remaining low in saturated fats. It is rich in B12, zinc, and iron. For those following a Keto lifestyle, pair this with a high-fat herb butter. For a Vegan alternative, this specific cooking technique (the sear and slow roast) can be applied to large "steaks" of celery root or lion's mane mushrooms to mimic the savory depth.
The Fix-It:
- Tough Texture: If the meat is chewy, you likely sliced with the grain. Rotate the roast ninety degrees and slice again.
- Gray Interior: This happens if the oven was too hot. Next time, drop the temp and use a wire rack for better air circulation.
- No Crust: Your pan wasn't hot enough, or the meat was wet. Always pat the surface bone-dry before searing.
Meal Prep: To reheat without losing quality, do not use a microwave. Instead, wrap slices in foil with a tablespoon of broth and warm in a 300-degree oven. This creates a mini-steam chamber that restores moisture without overcooking the proteins.
The Wrap-Up
Mastering round eye beef recipes is truly a badge of honor for any home chef. It proves that you understand the science of the kitchen enough to take the most "difficult" cut and turn it into a masterpiece. By respecting the temper, the sear, and the rest, you are working with the biology of the meat rather than against it. So, go ahead and grab that affordable roast at the market. With your new toolkit of thermal carryover and osmotic brining, you are ready to impress.
The Kitchen Table
How do I make eye of round tender?
The key is a combination of dry brining for twenty-four hours and slicing the finished roast against the grain. This breaks down tough proteins and shortens muscle fibers, ensuring a tender mouthfeel despite the lack of intramuscular fat.
What is the best temperature for eye of round?
For the best results, cook the roast to an internal temperature of 130 degrees Fahrenheit for medium-rare. Because it is so lean, any temperature above medium (145 degrees) will cause the meat to become dry and excessively tough.
Can I cook eye of round in a slow cooker?
While possible, the eye of round lacks the collagen found in chuck roast, so it won't "shred." If using a slow cooker, keep it submerged in liquid and slice it thinly after cooking to maintain a moist texture.
Why is my roast beef gray in the middle?
A gray interior usually means the oven temperature was too high, causing the exterior to overcook before the center reached the target. Using a low-temperature roasting method (225-250 degrees) ensures an even, pink color from edge to edge.