
Imagine the scent of brine and peppercorns hitting a hot skillet; it is the ultimate olfactory alarm clock for your kitchen. When you master corned beef recipes stove top style, you are not just making dinner. You are conducting a symphony of salt, fat, and heat. Most people think of this cut as a slow-cooker hostage, but the stove-top offers a level of control that a crockpot simply cannot match. We are talking about precision temperature management that transforms tough connective tissue into buttery ribbons of protein. It is about the sizzle of the sear and the gentle bubble of a simmer that coaxes out every ounce of umami.
The magic of corned beef lies in the curing process. Those pink, salt-brined fibers are packed with nitrates and spices that crave a specific thermal environment to shine. On the stove, you are the master of the flame. You can pivot from a hard sear to a delicate poach in seconds. Whether you are craving a crispy hash or a traditional boiled dinner, these hacks will shave hours off your timeline without sacrificing the deep, piquant soul of the dish. Grab your favorite heavy-bottomed skillet and let us dive into the molecular beauty of the perfect salt-cured brisket.
The Gathers:
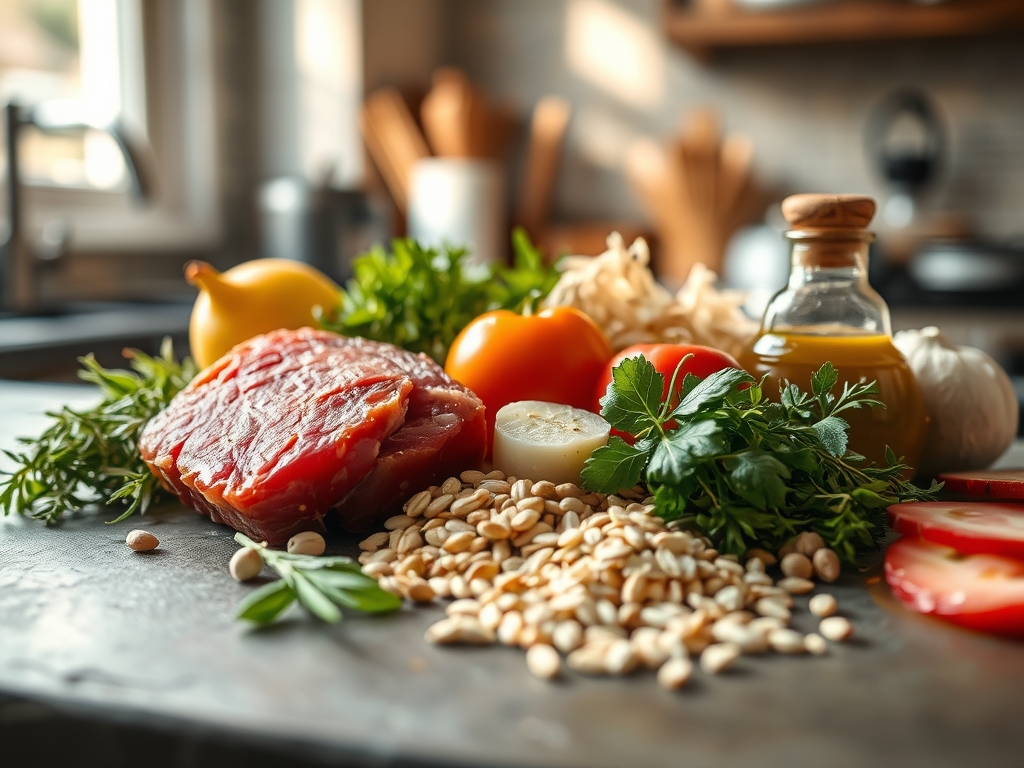
To execute these corned beef recipes stove top methods perfectly, your mise-en-place must be clinical. You will need a high-quality corned beef brisket; look for the point cut if you want extra fat to render or the flat cut for uniform slices. Your secondary stars include waxy potatoes (like Yukon Gold) because their high starch-to-moisture ratio ensures they hold their shape during a vigorous boil. You will also need aromatics: yellow onions for their high sugar content, garlic cloves to infuse the liquid, and fresh peppercorns to provide a sharp, floral bite.
Smart Substitutions: If you lack a traditional spice packet, you can recreate the profile using a microplane to grate fresh ginger and adding toasted mustard seeds. For a deeper flavor profile, swap half of your poaching water for a dry Irish stout. The tannins in the beer act as a natural tenderizer for the muscle fibers. If you are watching your sodium, soak the raw brisket in cold water for thirty minutes before cooking to leach out excess salt. Always keep a bench scraper handy to organize your chopped aromatics; it keeps your workstation clean and prevents cross-contamination of flavors.
The Clock: 120 Minutes of Culinary Physics
The "Chef's Flow" is all about overlapping tasks. Your total active prep time is only fifteen minutes, but the stove-top journey takes about ninety to one hundred and twenty minutes depending on the weight of your brisket.
Minute 0-15: The Sear and Sauté. This is where you build your flavor base by browning the meat and aromatics.
Minute 15-90: The Gentle Poach. This is the "set it and forget it" phase where collagen converts into gelatin.
Minute 90-110: The Vegetable Integration. Adding your greens and tubers too early results in mush; timing is everything.
Minute 110-120: The Rest. Never skip this. Thermal carryover ensures the juices redistribute through the meat.
The Masterclass:
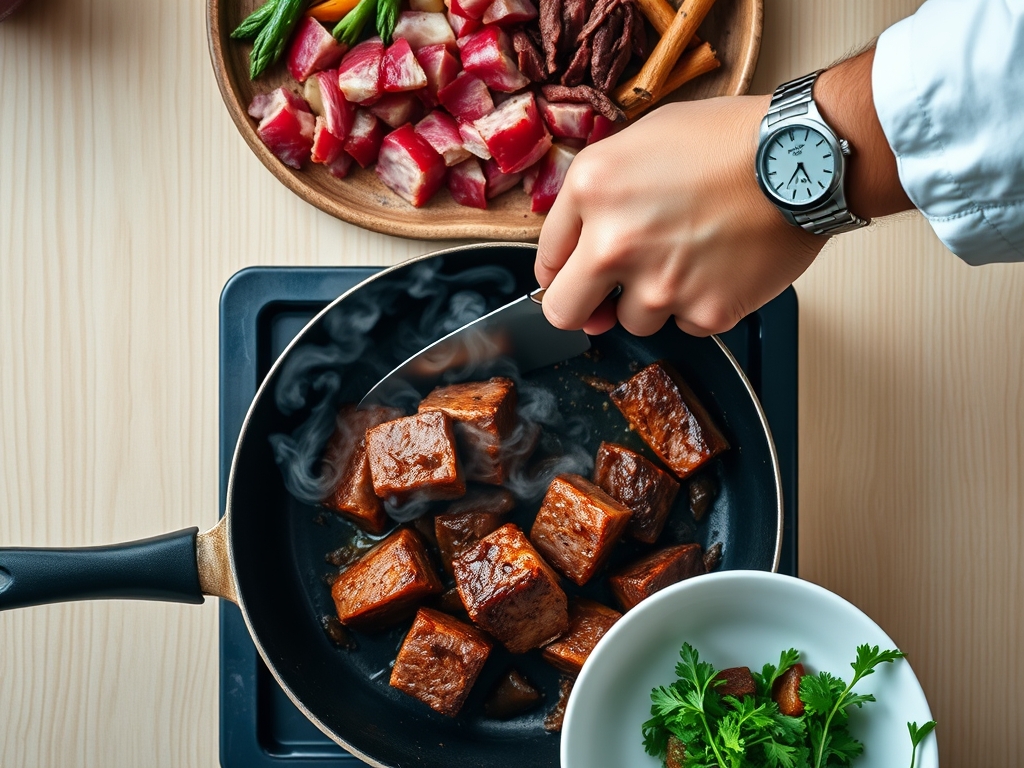
1. The Maillard Pre-Sear
Before adding any liquid, pat your brisket bone-dry with paper towels. Heat a heavy-bottomed skillet or Dutch oven with a high-smoke-point oil. Place the meat fat-side down to render the lipids. This creates a crust through the Maillard reaction, which is a chemical reaction between amino acids and reducing sugars that gives browned food its distinctive flavor.
Pro Tip: This step creates "fond" on the bottom of the pan. These caramelized bits are concentrated flavor bombs that will dissolve into your poaching liquid later.
2. Deglazing the Saucier
Once the meat is browned, remove it and add your onions and garlic. Use a splash of vinegar or beer to deglaze the pan. Use a wooden spoon to scrape up every bit of that fond. This ensures your sauce is viscous and rich rather than thin and watery.
Pro Tip: Deglazing is a thermodynamic process that instantly lowers the pan temperature, preventing your aromatics from burning while capturing essential oils.
3. The Low-Oxygen Simmer
Return the meat to the pot and submerge it in liquid. Cover with a tight-fitting lid to create a pressurized environment. This traps steam, which conducts heat more efficiently than dry air, ensuring the center of the brisket reaches the target temperature of 190 degrees Fahrenheit.
Pro Tip: Maintaining a "lazy bubble" (about 195 degrees) prevents the muscle fibers from tightening and becoming "rubbery" through protein denaturation.
4. The Aromatic Infusion
Halfway through the simmer, add your spice packet or custom blend. Adding spices too early can lead to bitterness as the volatile oils break down over long heat exposure. By adding them mid-way, you infuse the meat with bright, top-note flavors.
Pro Tip: Use a saucier to keep the liquid circulating evenly around the meat, which prevents "hot spots" that could overcook specific sections.
5. Staggered Vegetable Entry
Add your potatoes first, followed by carrots, and finally cabbage in the last fifteen minutes. Each vegetable has a different cellular structure. Cabbage is mostly water and cellulose; it needs very little time to soften without losing its structural integrity.
Pro Tip: This is known as "staged cooking." It ensures every component reaches its peak texture simultaneously.
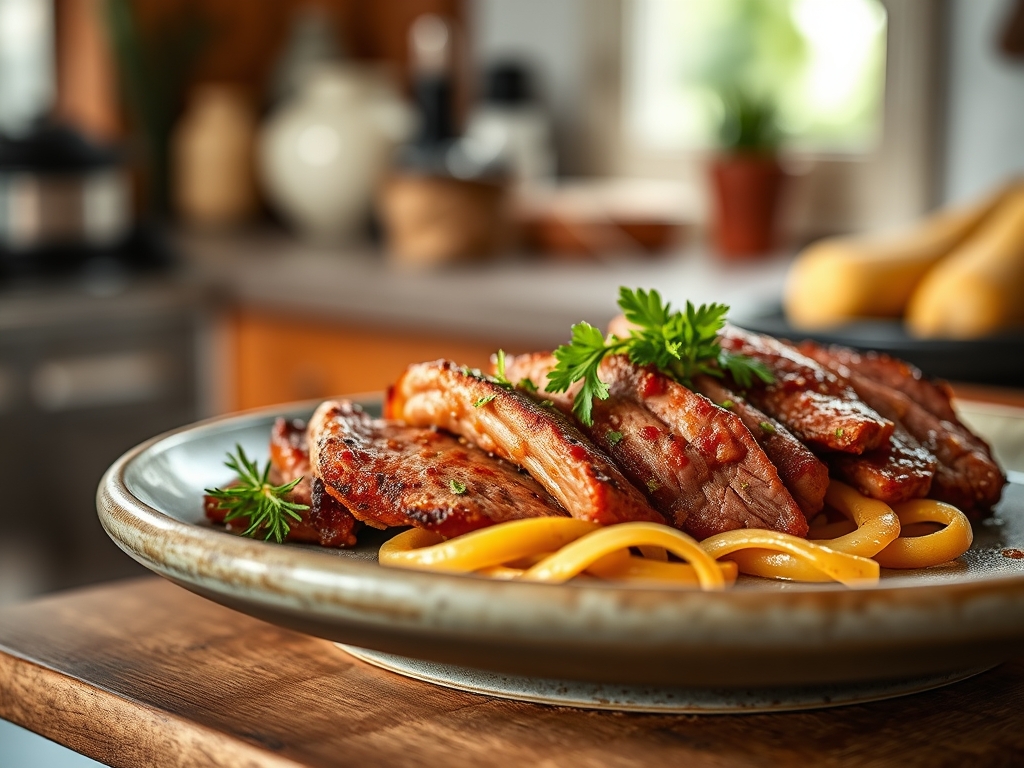
6. The Glaze Application
If you want a sticky, sweet finish, remove the meat ten minutes early. Brush it with a mixture of honey and mustard, then crank the heat. This allows the sugars to caramelize and create a tacky, delicious exterior.
Pro Tip: Use tongs to flip the meat gently. Piercing the meat with a fork allows internal juices to escape, leading to a drier finished product.
7. The Rest Period
Transfer the brisket to a cutting board and tent it with foil. Let it sit for at least ten minutes. During this time, the internal temperature will rise by about five degrees due to thermal carryover.
Pro Tip: Resting allows the protein fibers to relax and reabsorb the moisture they pushed out during the heating phase.
8. The Grain-Against Slice
Identify the direction of the muscle fibers. Use a sharp carving knife to slice perpendicular to these lines. This shortens the fibers, making every bite feel incredibly tender on the palate.
Pro Tip: Use a digital scale to portion out your servings if you are tracking macros; corned beef is surprisingly dense in protein.
The Deep Dive:
Macro Nutrition: A standard 3-ounce serving of stove-top corned beef contains roughly 210 calories, 15 grams of fat, and 16 grams of protein. It is a powerhouse of Vitamin B12 and zinc, though it is high in sodium. To balance the plate, load up on the fiber-rich cabbage and carrots.
Dietary Swaps: For a Keto version, omit the potatoes and double the cabbage and radishes (which mimic the texture of potatoes when boiled). For a Vegan alternative, use large wedges of "corned" cauliflower or seitan, though the cooking time will drop to twenty minutes. This recipe is naturally Gluten-Free as long as you use water or GF-certified broth instead of beer.
The Fix-It:
- Too Salty? Drop a peeled, raw potato into the pot for the last twenty minutes; it acts as a salt sponge.
- Too Tough? You likely boiled it too hard. Lower the heat and add a tablespoon of vinegar to help break down the connective tissue.
- Greasy Liquid? Use a wide spoon to skim the surface of the water periodically to remove excess rendered fat.
Meal Prep: To maintain "day-one" quality, store the meat in its poaching liquid. This prevents oxidation and drying. When reheating, use a microwave-safe dish with a splash of the liquid and cover it tightly to aerate the steam and keep the meat moist.
The Wrap-Up:
Mastering corned beef recipes stove top style is a total game-changer for your weekly rotation. It is a process that rewards patience and a little bit of scientific curiosity. By understanding how heat interacts with those beautiful salt-cured fibers, you move from being a recipe-follower to a true kitchen authority. Remember to sear for flavor, simmer for texture, and always, always let that meat rest. Now, get your skillet screaming hot and show that brisket who is boss. Your kitchen is about to smell like a gourmet Irish pub, and your friends are going to be begging for your secrets.
The Kitchen Table:
How do I know when the corned beef is done?
The meat should be "fork-tender," meaning a fork slides in and out with zero resistance. If you use a meat thermometer, aim for an internal temperature of 190 to 195 degrees Fahrenheit for the best texture.
Can I cook corned beef without the spice packet?
Absolutely. You can create your own infusion using pickling spices like mustard seeds, coriander, bay leaves, and allspice. Use a microplane to add fresh citrus zest or ginger for a modern, piquant twist on the classic flavor profile.
Why is my stove-top corned beef always tough?
Toughness usually results from boiling the meat too vigorously. High heat causes muscle fibers to contract and squeeze out moisture. Keep the liquid at a gentle, "lazy" simmer to allow the collagen to melt into gelatin slowly.
How long does leftover corned beef last?
Stored in an airtight container with a bit of its cooking liquid, corned beef will stay fresh for three to four days in the refrigerator. For longer storage, you can freeze it for up to two months without losing quality.