
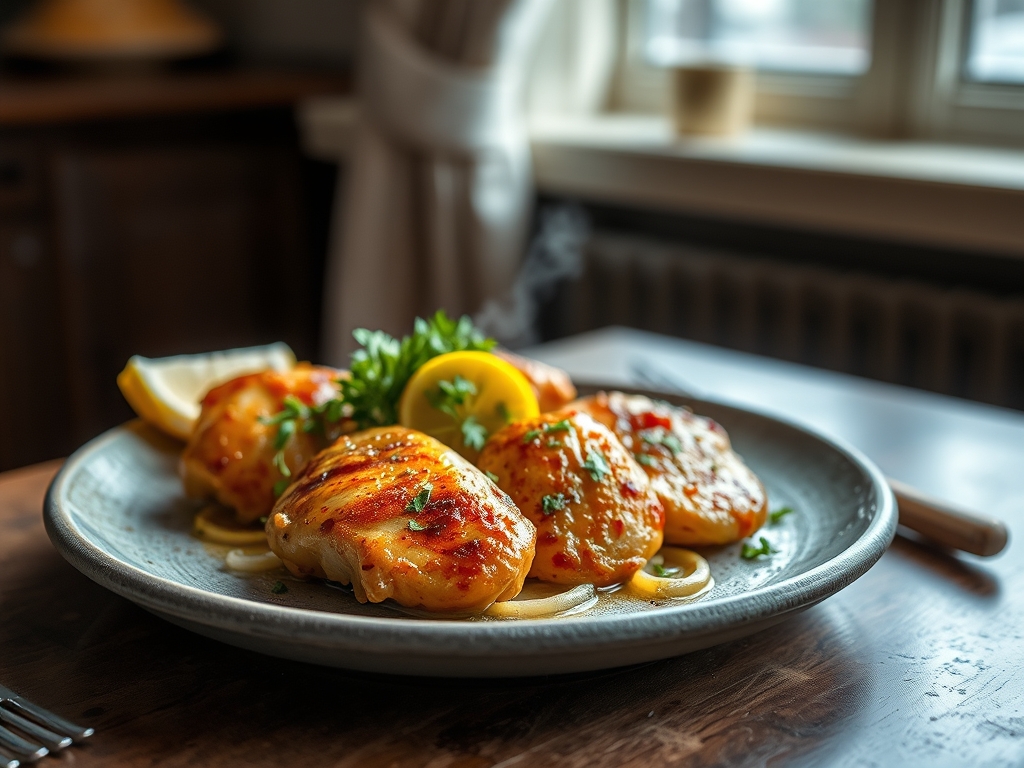
Imagine the sound of a heavy bottomed stainless steel skillet meeting high heat; it is a rhythmic, high frequency sizzle that signals the start of something transformative. The air in your kitchen shifts from neutral to piquant as the volatile oils in fresh garlic hit the fat, followed immediately by the bright, citrusy punch of lemon zest. When it comes to lemon garlic chicken recipes, we are not just talking about dinner; we are talking about a masterclass in balancing acidity with savory depth. It is the kind of meal that feels like a warm hug but tastes like a five star bistro.
The magic lies in the contrast. You have the golden, crispy exterior of the protein clashing against a silky, emulsified sauce that clings to every crevice. We are going to dive deep into the molecular mechanics of why this combination works and how you can manipulate heat and pH levels to achieve perfection every single time. Grab your favorite apron and clear your workspace; we are about to turn a simple weeknight staple into a culinary event.
The Gathers:
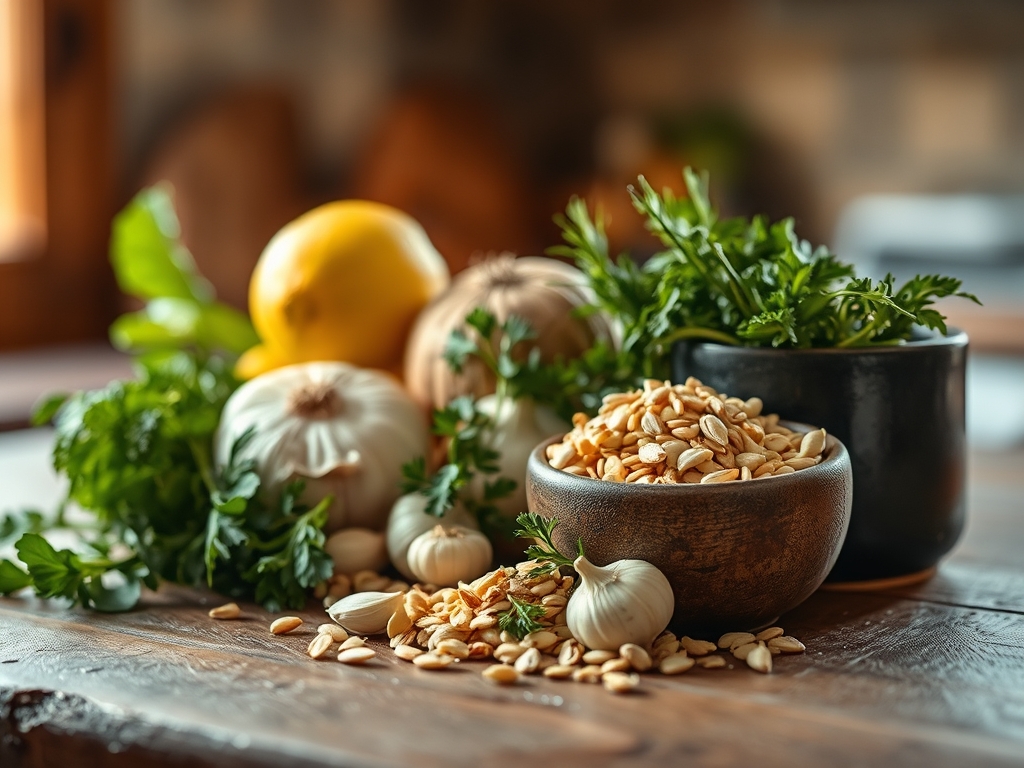
To execute world class lemon garlic chicken recipes, your mise en place must be precise. Start with high quality chicken thighs or breasts, ideally tempered to room temperature to ensure even heat distribution. You will need fresh lemons; look for thin skinned fruit as they are typically more succulent and yield more juice. For the garlic, skip the pre minced jars. Those jars contain citric acid which alters the flavor profile. Instead, use whole cloves that you will process yourself to release the maximum amount of allicin.
Your fat source is equally critical. A combination of high smoke point avocado oil and cold, unsalted butter allows you to sear at high temperatures without burning the milk solids. For the aromatics, fresh thyme or rosemary provides an earthy baseline that grounds the citrus. Smart Substitutions: If you are out of fresh lemons, a splash of high quality white wine vinegar or verjus can mimic the acidity, though you will miss the essential oils found in the zest. If you are avoiding butter, a viscous, high quality olive oil will provide a similar mouthfeel, though the flavor will be more herbaceous than creamy.
The Clock
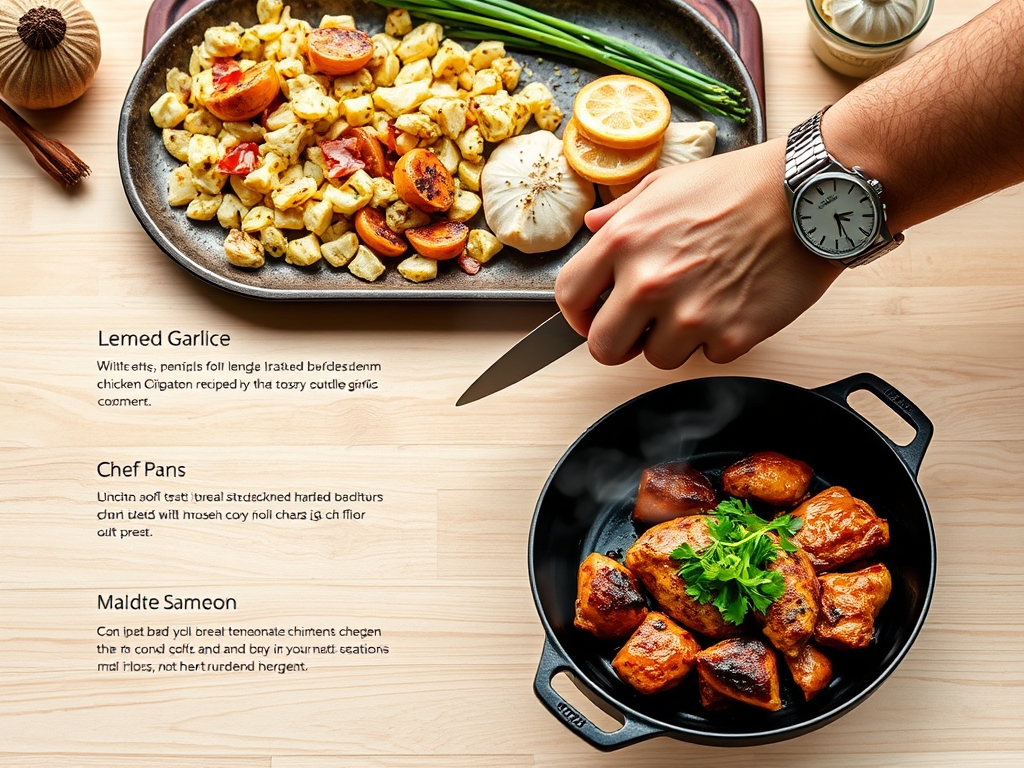
Efficiency in the kitchen is about understanding the "Chef's Flow." Total active preparation time should clock in at exactly 15 minutes, with a cooking duration of 20 minutes. The secret to this timeline is parallel processing. While your chicken is searing, you should be using your microplane to zest the lemons and your bench scraper to gather minced garlic.
The "Chef's Flow" dictates that you never wait for a pan to heat up without a task in hand. Use the five minute window while the skillet preheats to pat your protein bone dry with paper towels. Moisture is the enemy of the Maillard reaction. If your chicken is damp, it will steam rather than sear, ruining your timeline and your texture. By the time the chicken is resting, your sauce should be deglazing in the same pan, ensuring a seamless transition from stove to table in under 40 minutes.
The Masterclass
1. The Surface Preparation
Begin by patting the chicken dry and seasoning generously with kosher salt from a high vantage point to ensure even coverage. Use a digital scale if you want to be precise; 1.5 percent salt by weight is the golden ratio for poultry.
Pro Tip: This process utilizes osmosis. Salt draws moisture to the surface, dissolves into a brine, and is then reabsorbed into the muscle fibers, seasoning the meat deeply while breaking down tough proteins for a more tender result.
2. The High Heat Sear
Place your heavy bottomed skillet over medium high heat and add your oil. Once the oil shimmering and reaches approximately 375 degrees Fahrenheit, lay the chicken away from you to avoid splashes. Do not crowd the pan.
Pro Tip: This creates the Maillard reaction, a chemical reaction between amino acids and reducing sugars that gives browned food its distinctive flavor. Crowding the pan drops the temperature too quickly, leading to gray, boiled meat.
3. The Garlic Infusion
Once the chicken is flipped, add your smashed garlic cloves and fresh herbs to the rendered fat. Use your tongs to move the garlic around, ensuring it toasts to a pale gold but never turns dark brown.
Pro Tip: Garlic contains sulfur compounds that become bitter when scorched. By infusing the oil at a slightly lower temperature during the second half of the sear, you extract the sweetness without the acridity.
4. The Deglaze and Emulsify
Remove the chicken and set it aside. Pour in your lemon juice and a splash of chicken stock. Use a whisk or a saucier spoon to scrape the brown bits, or fond, from the bottom of the pan.
Pro Tip: This is deglazing. The acid in the lemon juice dissolves the caramelized protein bits, incorporating them into a viscous sauce that carries the concentrated essence of the entire cook.
5. The Butter Finish
Turn the heat to low and whisk in cold butter cubes one at a time until the sauce is glossy and thick. Return the chicken to the pan to coat.
Pro Tip: This is known as mounting with butter (au beurre). The cold butter creates a stable emulsion with the acidic liquid, resulting in a velvety texture that wont break or become greasy.
6. The Rest and Carryover
Transfer the chicken to a warm plate and let it sit for five minutes before slicing. Pour the remaining sauce over the top just before serving.
Pro Tip: This accounts for thermal carryover. The internal temperature will continue to rise by 5 to 10 degrees after removal from heat. Resting allows the muscle fibers to relax and reabsorb juices, ensuring the meat stays succulent.
7. The Final Zest
Just before the plate hits the table, use your microplane to grate fresh lemon zest directly over the dish.
Pro Tip: Lemon zest contains limonene, a volatile oil that dissipates quickly when heated. Adding it at the very end provides a high frequency aromatic punch that cuts through the richness of the butter.
The Deep Dive
From a nutritional standpoint, lemon garlic chicken recipes are a powerhouse. A standard 6 ounce serving provides roughly 42 grams of high quality protein and is naturally low in carbohydrates. To keep this Keto friendly, ensure you are using heavy cream or extra butter instead of any flour thickeners. For a Vegan swap, firm tofu or cauliflower steaks can be treated with the same searing and deglazing techniques. If you are Gluten Free, simply ensure your chicken stock is certified, as the base recipe is naturally free of wheat.
The Fix It: If your sauce breaks and looks oily, whisk in a teaspoon of warm water to re emulsify the fats. If the garlic tastes bitter, you likely overcooked it; remove the burnt bits and add a pinch of sugar to balance the acridity. If the chicken is tough, it likely missed the resting phase; next time, use a digital thermometer to pull it at 160 degrees Fahrenheit.
Meal Prep Science: To reheat without losing "day one" quality, avoid the microwave. The high energy waves agitate water molecules too quickly, making the chicken rubbery. Instead, place the chicken in a covered skillet with a tablespoon of water or stock over low heat. This creates a gentle steam environment that rehydrates the protein gently.
The Wrap Up
Mastering lemon garlic chicken recipes is about more than just following a list of ingredients; it is about understanding the physics of the pan and the chemistry of the ingredients. By controlling the Maillard reaction, managing your emulsion, and respecting the resting period, you elevate a simple bird to a culinary masterpiece. This dish is bright, bold, and technically sound. Now, go forth and deglaze with confidence; your kitchen is your laboratory, and dinner is the ultimate reward.
The Kitchen Table
Can I use bottled lemon juice for this recipe?
Fresh is mandatory. Bottled juice lacks the volatile oils found in fresh citrus and often contains preservatives that create a metallic aftertaste. Fresh juice provides the necessary piquant acidity to balance the rich garlic and butter.
Why did my garlic turn blue or green?
This is a harmless reaction between the sulfur in garlic and the acid in lemon juice. It typically happens with older garlic. It is perfectly safe to eat, though it might look a bit avant garde on the plate.
What is the best pan for searing chicken?
A heavy bottomed stainless steel skillet or cast iron pan is best. These materials retain heat efficiently, ensuring a consistent Maillard reaction. Non stick pans often cannot handle the high heat required for a professional grade sear.
How do I know when the chicken is perfectly cooked?
Use a digital meat thermometer. Pull the chicken when the internal temperature reaches 160 degrees Fahrenheit. The temperature will climb to the safe 165 degree mark during the resting phase through thermal carryover, ensuring maximum juiciness.