
Picture this: a brisk morning where the air is thick with the scent of toasted peppercorns and slow-simmering brine. There is nothing quite like the transformative magic of turning a humble, fibrous brisket into a ruby-red masterpiece. While many rely on store-bought kits, mastering homemade corned beef recipes is the ultimate culinary flex. It is a slow-motion dance of chemistry and patience that rewards you with a fork-tender texture that simply cannot be replicated by a machine. We are talking about deep, savory complexity and a salt-cured tang that wakes up every single taste bud.
The secret lies in the equilibrium. You are not just boiling meat; you are orchestrating a multi-day brine where osmosis does the heavy lifting. By the time that brisket hits the heavy-bottomed pot, every fiber has been infused with a curated blend of aromatics. Whether you are prepping for a festive holiday or just craving the world's best Reuben sandwich, these homemade corned beef recipes will turn your kitchen into a high-end delicatessen. Let us roll up our sleeves and dive into the molecular beauty of the cure.
The Gathers:
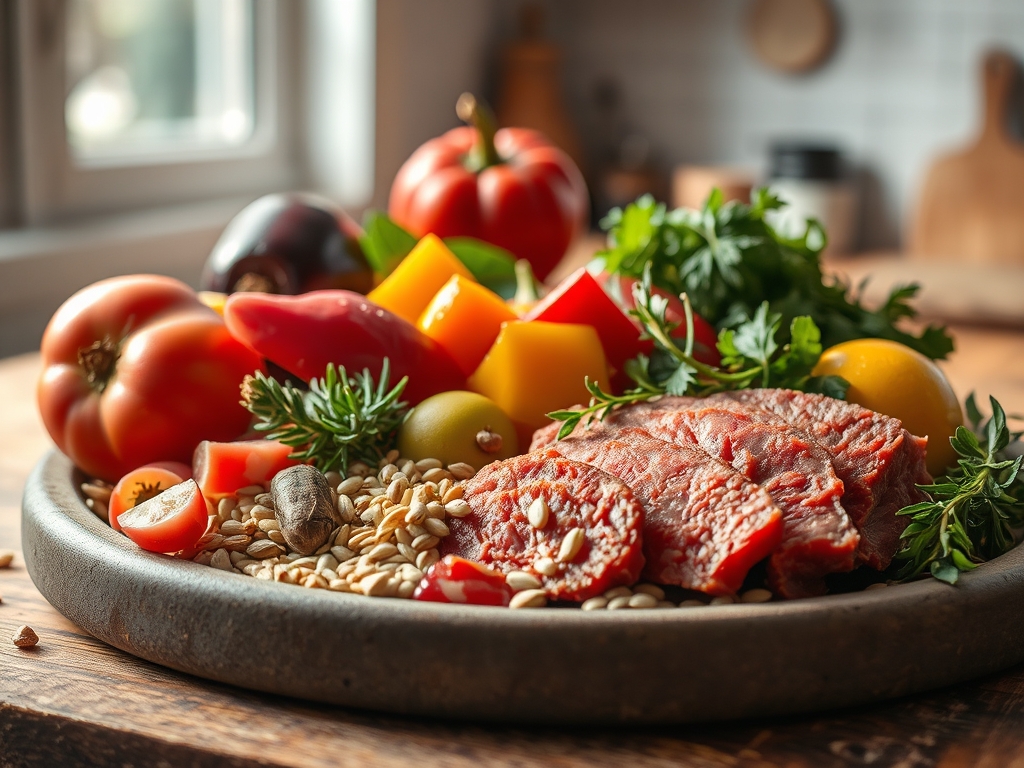
To begin, you need a five-pound beef brisket. Look for the flat cut if you want uniform slices, or the point cut if you prefer a higher fat-to-lean ratio for a more viscous mouthfeel. You will also need a digital scale to measure your pink curing salt (Prague Powder #1) with precision. This is non-negotiable; the sodium nitrite is what prevents botulism and gives the meat its iconic pink hue rather than a dull gray.
Your aromatics should include whole black peppercorns, mustard seeds, coriander seeds, and allspice berries. Do not use pre-ground spices here. You want the whole seeds so they can slowly infuse the brine without making it cloudy. Add a few bay leaves and a cinnamon stick for a piquant undertone. For the liquid base, use filtered water and kosher salt. Smart Substitutions: If you are watching your refined sugar intake, swap the traditional brown sugar for maple syrup or monk fruit sweetener to balance the salinity. If you cannot find brisket, a bottom round roast works in a pinch, though it lacks the glorious fat cap that helps render during the long simmer.
The Clock
The "Chef's Flow" for this recipe is all about the "set it and forget it" mentality, but with a strict eye on the calendar. Total preparation takes about 5 to 7 days, though your active kitchen time is less than an hour.
- Brining Phase: 5 to 7 days. This allows the salt to penetrate the dense muscle fibers through osmotic pressure.
- Rinsing & Prep: 15 minutes. You must remove excess surface salt to prevent an oversalted finished product.
- The Simmer: 3 to 4 hours. We are looking for an internal temperature of 190 to 200 degrees Fahrenheit.
- The Rest: 30 minutes. This is vital for moisture retention.
The Masterclass
1. Toast the Aromatics
Before adding spices to your water, toss them into a dry heavy-bottomed skillet over medium heat. Shake the pan until the seeds begin to pop and release their essential oils.
Pro Tip: This is known as the Maillard reaction on a micro-scale. Toasting spices triggers a chemical change that creates new, complex flavor compounds that raw spices simply cannot provide.
2. Construct the Brine
In a large saucier, combine your salt, sugar, curing salt, and toasted spices with two cups of water. Heat until dissolved, then add the remaining cold water to bring the temperature down.
Pro Tip: Never add raw meat to a hot brine. This would trigger thermal shock, partially cooking the exterior and preventing the curing salts from penetrating the center of the brisket.
3. The Long Soak
Place the brisket in a food-grade container or a heavy-duty zip-top bag. Submerge it completely in the brine. Use a ceramic plate to weight it down if necessary. Refrigerate for at least five days.
Pro Tip: During this time, osmosis occurs. The salt concentration inside the meat equilibrizes with the brine, breaking down tough proteins and ensuring the meat stays juicy during the long cook.
4. The Purge and Rinse
After the curing period, remove the brisket and rinse it thoroughly under cold running water. Discard the brining liquid.
Pro Tip: Rinsing is essential to remove the pellicle, a thin layer of concentrated salt and proteins on the surface. If skipped, your final dish will be aggressively salty and the exterior may become unpleasantly tacky.
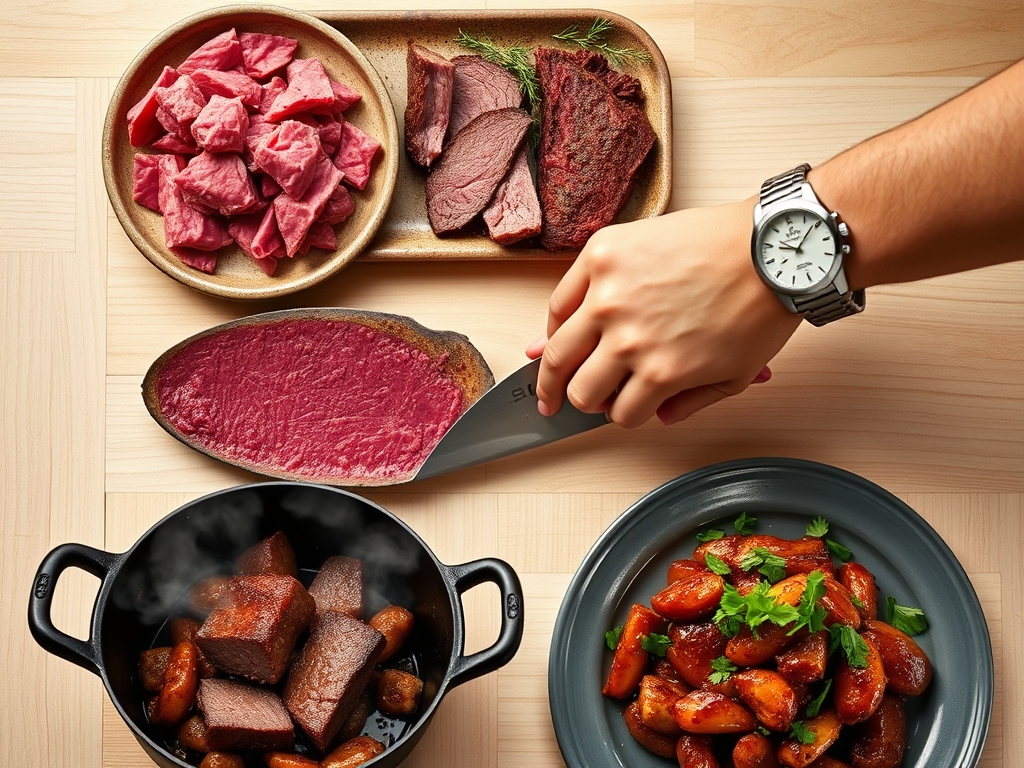
5. The Low and Slow Simmer
Place the brisket in a large pot and cover with fresh water. Add a fresh handful of pickling spices. Bring to a boil, then immediately reduce to a very low simmer. Cover and cook until the meat is "fork-tender."
Pro Tip: Keep the water at a sub-boil (around 190 degrees). Boiling causes the muscle fibers to tighten and squeeze out moisture, resulting in a rubbery texture. A gentle simmer allows collagen to melt into gelatin.
6. The Rest and Carve
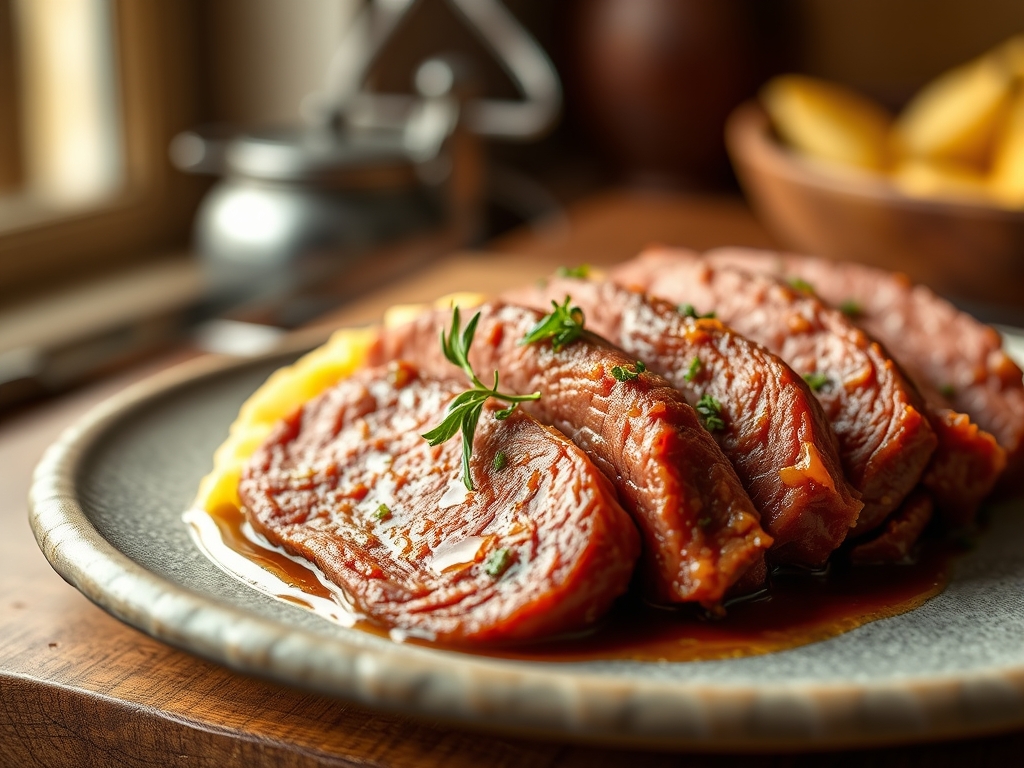
Transfer the meat to a cutting board using tongs. Let it rest for at least 20 minutes before slicing against the grain.
Pro Tip: Resting allows for reabsorption. As the meat cools slightly, the internal pressure drops, allowing the juices to redistribute into the fibers rather than spilling out onto your board.
The Deep Dive
Macro Nutrition
A standard 4-ounce serving of homemade corned beef contains approximately 250 calories, 18 grams of protein, and 19 grams of fat. While high in sodium, making it at home allows you to control the exact salt content compared to commercial versions.
Dietary Swaps
- Vegan: Use a large head of green cabbage or "steaks" of seitan. Use the same pickling spices but reduce the brine time to 24 hours.
- Keto: Replace the brown sugar in the brine with an erythritol-based sweetener.
- Gluten-Free: This recipe is naturally gluten-free; just ensure your spices are certified gluten-free to avoid cross-contamination.
The Fix-It
- Too Salty: If the meat is too salty after cooking, slice it and simmer the slices in fresh water for 10 minutes to draw out excess sodium.
- Tough Texture: This usually means it did not cook long enough. Put it back in the pot; the connective tissue needs more time to break down.
- Gray Color: This happens if you skip the pink curing salt. It is still safe to eat, but it will taste more like a pot roast than traditional corned beef.
Meal Prep and Reheating
To maintain "day-one" quality, store the beef in some of its cooking liquid. When reheating, use a steamer basket or microwave it covered with a damp paper towel. This prevents the proteins from drying out and becoming "stringy."
The Wrap-Up
Mastering homemade corned beef recipes is a true rite of passage for any home cook. It requires you to slow down and respect the science of the cure. From the aromatic toast of the spices to the final, buttery slice of brisket, the process is as rewarding as the meal itself. You have the tools, the chemistry, and the technique; now go make a sandwich that would make a New York deli owner weep with joy!
The Kitchen Table
Can I make corned beef without pink salt?
Yes, but the meat will be gray rather than pink and the flavor will resemble a standard pot roast. Pink salt (sodium nitrite) provides the distinct "cured" flavor and prevents bacterial growth during the long brining process.
Why is my corned beef still tough?
Toughness is usually caused by undercooking or boiling too vigorously. Brisket requires a long, gentle simmer to transform tough collagen into silky gelatin. If it is tough, simmer it longer until it yields easily to a fork.
How long does homemade corned beef last?
Once cooked, corned beef will stay fresh in the refrigerator for 3 to 4 days. For longer storage, you can freeze it for up to 3 months. Always store it in an airtight container to prevent oxidation.
Do I have to brine it for a full week?
While five to seven days is ideal for a five-pound brisket, you can get decent results in three days. However, the cure may not reach the very center, leaving a gray spot in the middle of your slices.