
The sizzle hits the air before the scent even reaches your nose; it is that distinct, high-heat crackle that promises a crust of caramelized sugar and salt. Finding korean beef recipes easy enough for a Tuesday night usually means sacrificing that deep, umami-rich complexity you get from a professional kitchen. We are changing that today by mastering the molecular magic behind the perfect sear.
You know that specific frustration when takeout arrives lukewarm and soggy? It is usually because the moisture in the beef was not managed correctly during the cooking process. By understanding how to manipulate heat and pH levels, you can recreate that glossy, piquant glaze that clings to every fiber of the meat. We are moving past basic browning into the realm of true Maillard reactions. This is not just about following a list of ingredients; it is about controlling the chemistry of your dinner to ensure every bite is better than the version in the cardboard box.
The Gathers:
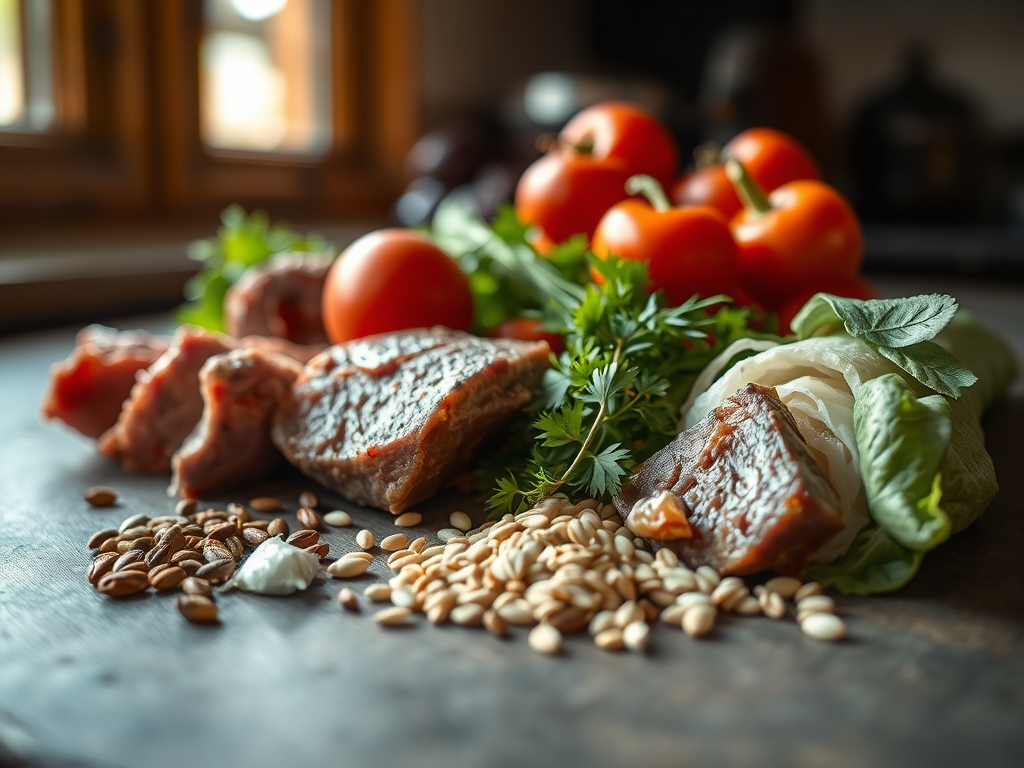
To achieve the perfect texture, your mise-en-place must be precise. Start with one pound of ground beef, ideally a 90/10 or 85/15 lean-to-fat ratio. If the fat content is too high, the sauce will struggle to emulsify; if it is too low, the meat will become parched. You will need a heavy-bottomed skillet, preferably cast iron or stainless steel, to maintain the thermal mass required for a proper sear.
For the aromatics, gather fresh ginger and garlic. Using a microplane is essential here; it breaks down the cellular walls of the ginger to release its fibrous juices, creating a more viscous base for your sauce. You will also need low-sodium soy sauce, toasted sesame oil, and dark brown sugar. The molasses in the dark brown sugar provides a deeper color and a more complex sweetness than white sugar.
Smart Substitutions: If you are watching your sodium, coconut aminos offer a similar flavor profile but with a lighter body. For those who crave heat, Gochugaru (Korean chili flakes) provides a smoky, piquant kick that standard red pepper flakes cannot match. If you lack fresh ginger, a splash of rice vinegar can provide the necessary acidity to cut through the richness of the fat.
The Clock: Mastering Chef's Flow
Efficiency in the kitchen is about linear sequencing. Total prep time is roughly 10 minutes, with a cook time of 12 minutes. The "Chef's Flow" dictates that you prepare your sauce slurry while the pan is preheating. Never add cold meat to a cold pan; you must wait for the oil to reach its smoke point to prevent the beef from steaming in its own juices.
While the beef renders, use those idle minutes to mince your green onions with a sharp chef's knife. By the time the beef is deeply browned, your sauce ingredients should be fully integrated and ready to hit the hot metal. This prevents the garlic from burning, which happens in less than sixty seconds under high heat.
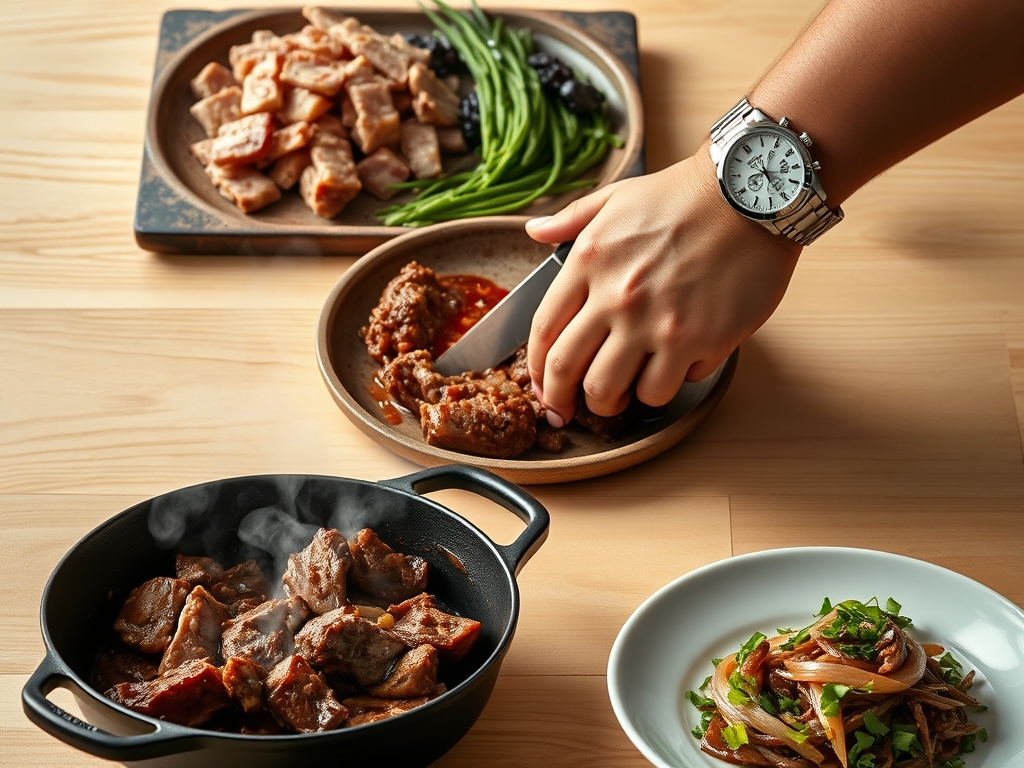
1. The Thermal Foundation
Heat your skillet over medium-high heat until a drop of water dances and evaporates instantly. Add a teaspoon of neutral oil with a high smoke point, like avocado or grapeseed oil. Add the beef in a single layer, but do not move it for at least three minutes.
Pro Tip: This patience allows for enzymatic browning. Moving the meat too early drops the surface temperature of the pan, causing the proteins to release moisture and "stew" rather than sear.
2. The Render and Break
Use a bench scraper or a sturdy wooden spoon to break the beef into small, uniform crumbles. You want maximum surface area exposure to the heat. Continue cooking until the pink is gone and the edges start to look crispy and dark.
Pro Tip: Breaking the meat into smaller fragments increases the surface-to-volume ratio, which accelerates the evaporation of water and allows the fats to render more efficiently.
3. Infusing the Aromatics
Push the beef to the outer edges of the skillet, creating a "hot zone" in the center. Add your microplaned ginger and garlic directly to the rendered fat. Sauté for only 30 to 45 seconds until fragrant.
Pro Tip: This is called blooming. Fat is a highly effective solvent for flavor compounds; by toasting the aromatics in the fat first, you distribute the flavor more evenly throughout the entire dish.
4. Deglazing the Pan
Pour in your mixture of soy sauce, brown sugar, and sesame oil. Use your spoon to scrape up the brown bits stuck to the bottom of the pan. These bits, known as fond, contain concentrated flavor that is essential for a professional finish.
Pro Tip: The liquid acts as a solvent during deglazing, lifting the caramelized proteins and sugars back into the sauce to create a complex, layered profile.
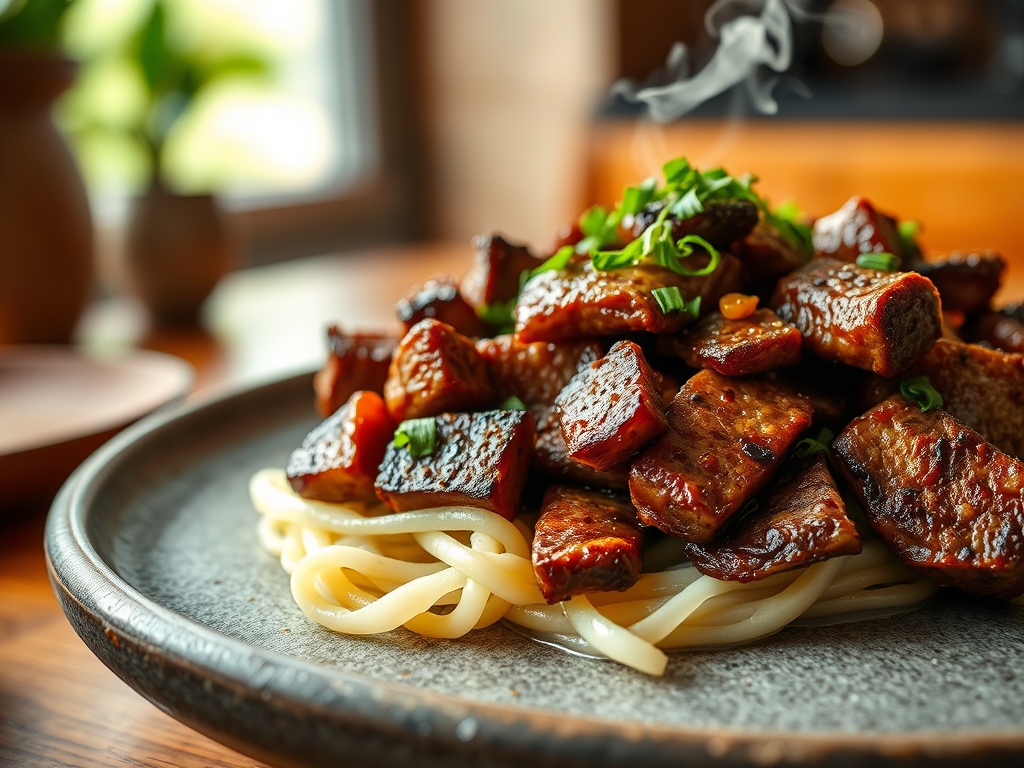
5. Achieving the Glaze
Reduce the heat to medium and let the sauce simmer for 2 to 3 minutes. The sugar will begin to reduce and thicken, coating the beef in a glossy, translucent sheen. If the sauce looks too thin, continue to simmer; if it looks too oily, add a tablespoon of water to re-emulsify.
Pro Tip: Watch for viscosity changes. As the water evaporates, the sugar concentration increases, creating a syrup-like consistency that helps the sauce adhere to the meat.
6. The Final Aeration
Remove the pan from the heat and fold in your sliced green onions and toasted sesame seeds. This preserves the bright, sulfurous snap of the onions and prevents the sesame oil from turning bitter under prolonged heat.
Pro Tip: This step utilizes residual heat to soften the onions without destroying their cellular structure, maintaining a pleasant textural contrast to the soft beef.
The Deep Dive
From a macro perspective, this dish is a powerhouse. A standard serving provides roughly 25 grams of protein and 15 grams of fat. To make this Keto-friendly, swap the brown sugar for a monk fruit erythritol blend and serve over cauliflower rice. For a Vegan version, crumbled extra-firm tofu or tempeh works beautifully; just ensure you press the moisture out of the tofu first to allow for proper browning.
The Fix-It: Common Pitfalls
- The Meat is Greasy: This happens if you do not drain the excess fat after browning but before adding the sauce. Use a spoon to remove all but one tablespoon of fat.
- The Garlic is Bitter: You likely added the garlic too early. Garlic has a high sugar content and burns easily. Always add it at the very end of the browning phase.
- The Sauce is Salty: If you used standard soy sauce instead of low-sodium, the salt can be overwhelming. Fix this by adding a squeeze of lime juice; the acid masks the perception of saltiness on the tongue.
Meal Prep Science: To maintain "day-one" quality, store the beef and rice in separate airtight containers. When reheating, add a teaspoon of water to the beef. This creates steam in the microwave, which re-hydrates the protein fibers and prevents the sugars in the glaze from scorching.
The Wrap-Up
Mastering korean beef recipes easy enough for daily life is about respecting the science of the skillet. By focusing on the Maillard reaction and the emulsification of your sauce, you transform humble ground beef into a gourmet experience. This dish is fast, bold, and infinitely adaptable. Now, grab your favorite saucier or skillet and get to work; your kitchen is about to smell incredible.
The Kitchen Table
Can I use ground turkey instead of beef?
Yes; however, turkey has less fat and may dry out. Add an extra teaspoon of sesame oil to the pan to compensate for the lower fat content and ensure the meat stays succulent during the browning process.
How do I make the beef extra crispy?
Spread the meat in a thin layer and leave it undisturbed for five minutes. This allows the moisture to fully evaporate, triggering the Maillard reaction which creates that sought-after, deeply browned, and crunchy texture on the edges.
What is the best way to store leftovers?
Store in an airtight glass container for up to four days. Glass is non-reactive and won't absorb the strong garlic and ginger odors. Reheat with a splash of water to maintain the sauce's original viscous consistency.
Why is my sauce not sticking to the meat?
Your sauce likely needs more reduction time. Simmer the mixture until the sugars concentrate and the liquid thickens into a glaze. If the meat is too wet, the sauce will slide off rather than coat it.