
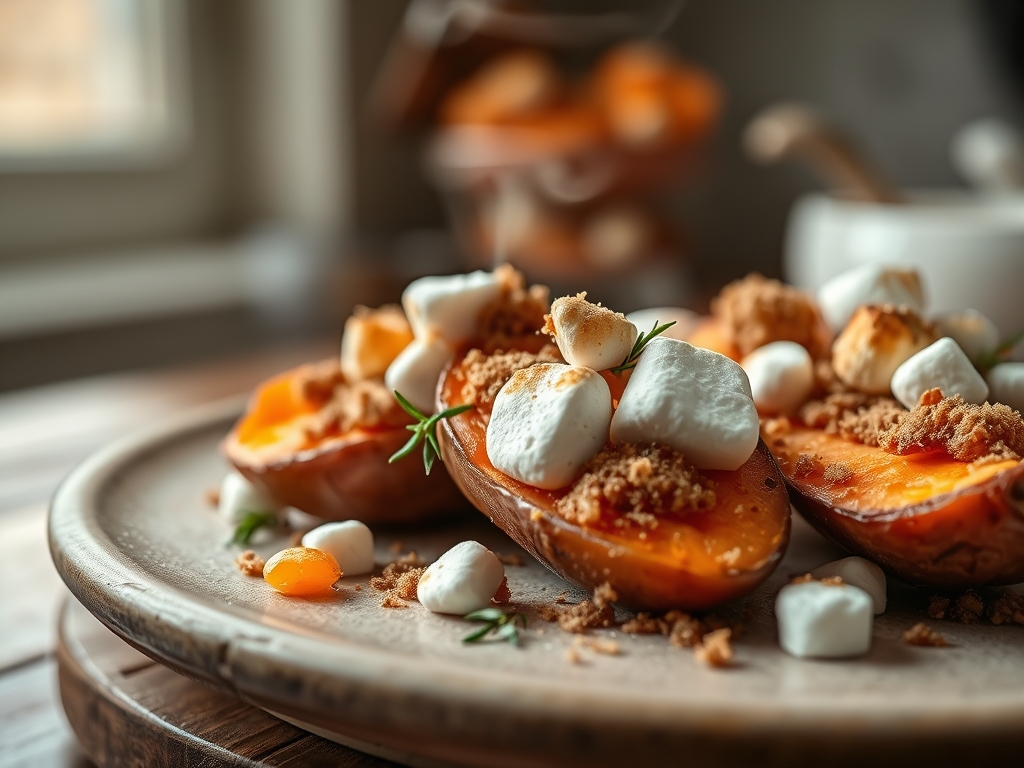
Imagine the kitchen at five o clock on a holiday afternoon. The air is thick with the scent of caramelized molasses and toasted vanilla. There is a specific, nostalgic magic found in sweet potato recipes with brown sugar and marshmallows that bridges the gap between a side dish and a decadent dessert. It is the quintessential comfort food. We are talking about tubers transformed into velvet, topped with a molten, golden canopy that shatters under the fork. This is not just a recipe; it is a lesson in flavor architecture and heat management.
To get this right, we have to move past the canned, syrupy versions of our childhood. We are aiming for a sophisticated balance of earthy sweetness and a hint of salt to cut through the sugar. When you master the ratio of fat to starch, you create a dish that is light rather than leaden. Whether you are hosting a massive family dinner or just craving a cozy Tuesday night treat, understanding the molecular transformation of the humble yam is your ticket to culinary royalty. Let us grab our aprons and dive into the chemistry of the crunch.
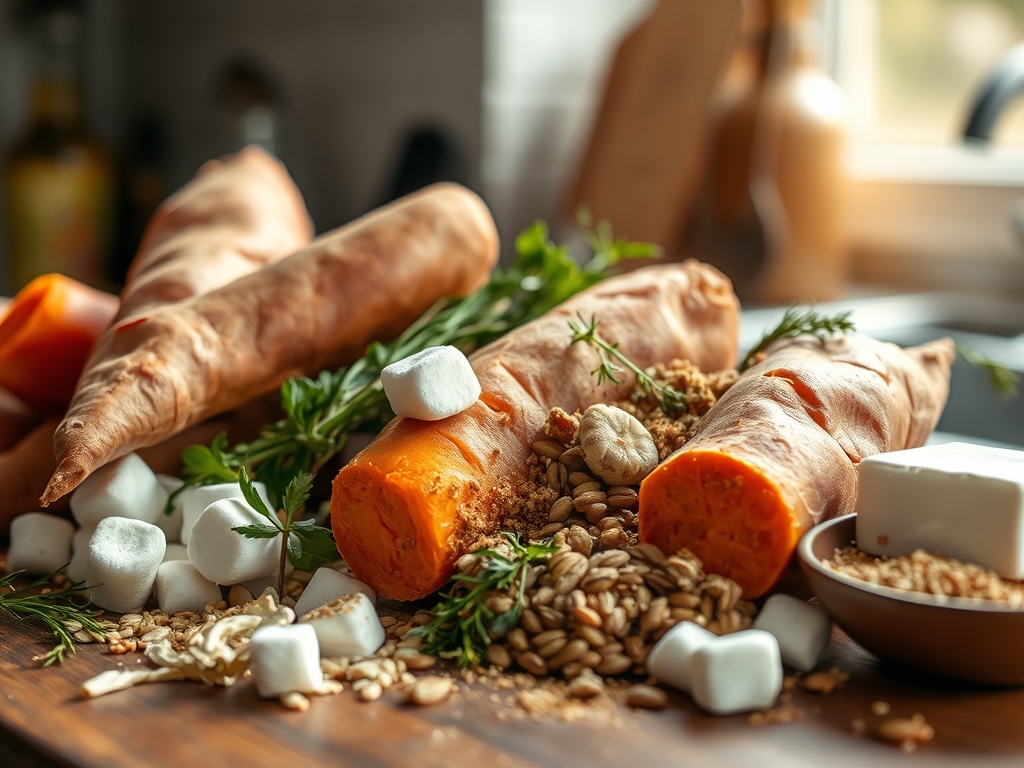
The Gathers:
Before we light the oven, we must curate our ingredients with precision. For the base, select Garnet or Jewel sweet potatoes. These varieties possess a high moisture content and a deep orange hue, which indicates a high concentration of beta-carotene. You will need a digital scale to ensure your ratios are exact. Grab four pounds of potatoes, a half-cup of unsalted European-style butter (which has a higher fat content and less water), and one cup of dark brown sugar. The dark variety contains more molasses, providing a more viscous texture and a deeper caramel note than light brown sugar.
For the aromatics, you will need Madagascar vanilla extract, a teaspoon of kosher salt, and a half-teaspoon of freshly grated nutmeg. Use a microplane to grate the nutmeg whole; the volatile oils dissipate quickly once pre-ground, so fresh is non-negotiable for that piquant kick. Finally, the crowning glory: two cups of jumbo marshmallows.
Smart Substitutions: If you want to elevate the texture, swap half of the brown sugar for maple syrup to introduce a woody complexity. If you find yourself out of marshmallows, a homemade meringue whipped in a saucier can provide a similar airy finish. For a crunchier contrast, toasted pecans tossed in cinnamon can be folded into the mash before the final bake.
The Clock
Efficiency in the kitchen is all about the Chef's Flow. This recipe requires 15 minutes of active prep and approximately 45 to 60 minutes of thermal processing.
Prep Time (15 Minutes): This involves peeling, cubing, and gathering your mise-en-place. Use a sharp bench scraper to quickly move your diced potatoes from the cutting board to the pot.
Cook Time (45 Minutes): This is split between boiling the potatoes until they reach fork-tenderness and the final 15-minute "browning phase" in the oven.
Rest Time (5 Minutes): Crucial for the sugars to set so the dish does not run across the plate.
The Masterclass
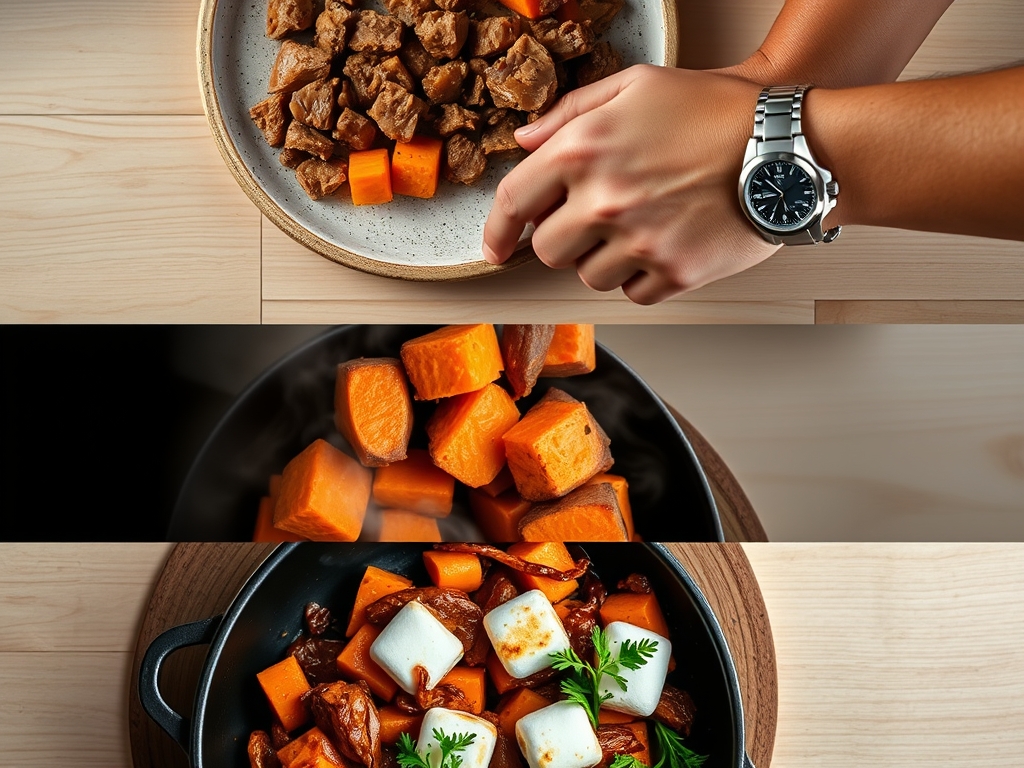
1. The Softening Phase
Peel your potatoes and dice them into uniform two-inch cubes. Place them in a heavy-bottomed skillet or a large stockpot and cover with cold, salted water. Bring to a boil, then reduce to a simmer.
Pro Tip: Starting with cold water ensures the potatoes cook evenly from the center out. This prevents the exterior from becoming mushy while the interior remains starch-heavy and hard, a process known as gelatinization control.
2. The Drainage and Steam-Dry
Once the potatoes are tender, drain them thoroughly. Return the hot potatoes to the warm pot for sixty seconds, shaking them gently over low heat to evaporate any residual surface moisture.
Pro Tip: Steam-drying is a professional secret. By removing excess water, you ensure the butter and sugar can infuse the potato fibers rather than just sliding off a watery surface.
3. The Emulsification
Add your butter, brown sugar, salt, and spices. Use a potato masher or a whisk to blend until the mixture is smooth. For a truly professional, silk-like texture, pass the mash through a fine-mesh sieve or use an immersion blender to aerate the starches.
Pro Tip: This is where we create a stable emulsion. The fats in the butter bind with the natural sugars in the potato, creating a creamy mouthfeel that resists separation during the second bake.
4. The First Bake
Transfer the mixture into a buttered baking dish. Smooth the top with an offset spatula. Bake at 375 degrees Fahrenheit for 20 minutes to allow the flavors to meld and the edges to slightly caramelize.
Pro Tip: This step utilizes the Maillard reaction. The amino acids and reducing sugars react under heat to create hundreds of different flavor compounds, giving the dish its "toasted" depth.
5. The Marshmallow Canopy
Remove the dish and layer the marshmallows across the top in a dense, overlapping pattern. Return to the oven for 5 to 7 minutes, or until the marshmallows are puffed and golden brown.
Pro Tip: Watch for thermal carryover. The marshmallows will continue to melt and brown for a minute after being removed from the oven. Pull them out when they are a shade lighter than your desired final color.
The Deep Dive
When we look at the macro nutrition, this dish is a powerhouse of Vitamin A and potassium, though it is undeniably high in carbohydrates. To make this Vegan, substitute the butter with a high-quality coconut oil and use vegan-certified marshmallows (which use carrageenan instead of gelatin). For a Keto-friendly version, you would need to swap the potatoes for roasted cauliflower and use an allulose-based brown sugar substitute, though the texture will be significantly different.
The Fix-It:
- Too Runny: If your mash is soupy, you likely skipped the steam-drying step. Fix it by stirring in a tablespoon of cornstarch dissolved in a tiny bit of water and simmering for two minutes.
- Too Sweet: If the sugar is overwhelming, add a teaspoon of apple cider vinegar. The acid will deglaze the palate and balance the glucose levels.
- Burnt Topping: If the marshmallows ignite, scrape them off immediately. The bitterness of burnt sugar will permeate the whole dish. Replace with fresh marshmallows and use the broiler for only 30 seconds.
Meal Prep Science: To reheat, avoid the microwave as it turns marshmallows into rubber. Use an oven at 300 degrees covered with foil. This gentle heat prevents the sugars from rendering into a greasy mess, maintaining that "day-one" fluffiness.
The Wrap-Up
There you have it! You have just leveled up from a basic cook to a starch scientist. By focusing on moisture control and the chemistry of caramelization, you have turned sweet potato recipes with brown sugar and marshmallows into a culinary masterpiece. This dish is the ultimate "hug in a bowl," and now you have the technical prowess to make it perfect every single time. Go forth, grab your tongs, and get to toasting!
The Kitchen Table
Can I make this dish ahead of time?
Yes, you can prepare the potato base up to two days in advance. Store it in an airtight container in the fridge. Only add the marshmallows and perform the final bake right before serving to maintain the topping texture.
Why are my marshmallows disappearing into the potatoes?
If the potatoes are too hot or too wet when you add the topping, the marshmallows will dissolve rather than toast. Ensure you bake the base first to firm it up and create a stable surface for the marshmallow layer.
What is the best potato variety for this recipe?
Jewel or Garnet sweet potatoes are superior because of their high sugar content and creamy texture. Avoid white sweet potatoes or "yams" with dry, starchy flesh, as they will result in a crumbly, less flavorful mash.
How do I prevent the brown sugar from clumping?
Ensure your brown sugar is fresh and moist. If it has hardened, place it in a bowl with a damp paper towel and microwave for 20 seconds. This reintroduces moisture, allowing the sugar to dissolve evenly into the butter.