
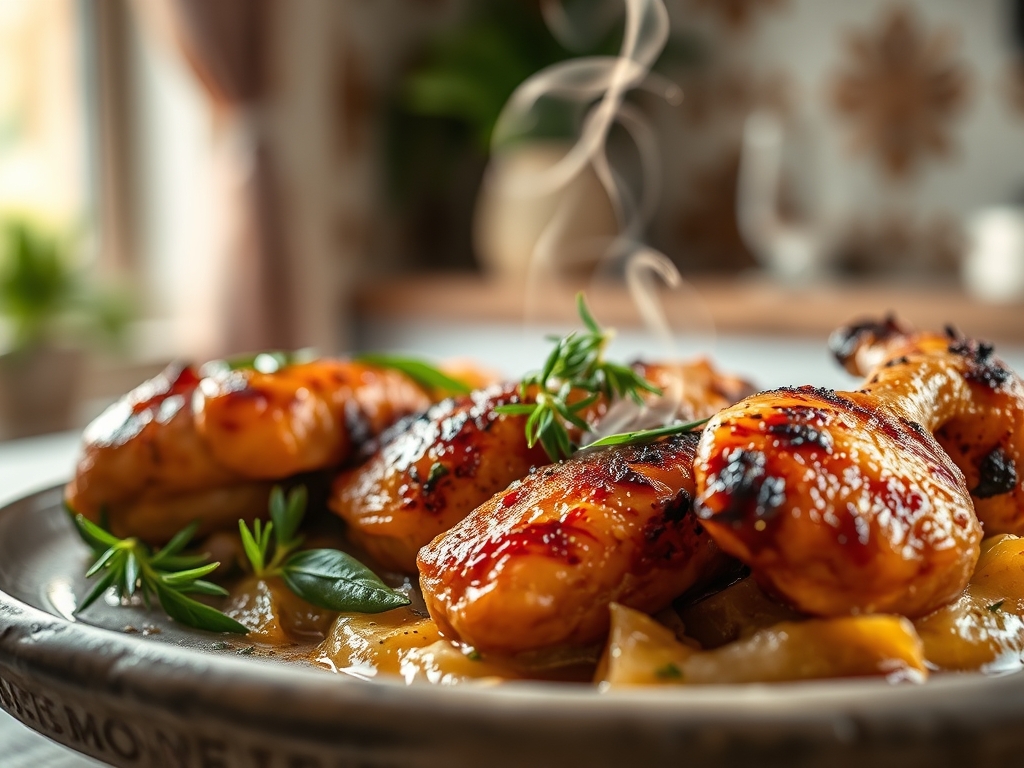
The moment skin hits a preheated cast-iron surface, you hear that authoritative sizzle, a Maillard symphony that tells you everything is right. A thin veil of steam rises, moisture evaporates at precisely the rate that allows browning without boiling, and within seconds the kitchen fills with that unmistakable aroma of caramelizing protein and rendered fat. Mastering stove chicken recipes on a home burner transforms weeknight cooking from guesswork into repeatable science, no oven required, no grill to preheat, just direct heat control and ten specific techniques that guarantee juicy, golden results every single time.
Most home cooks overcomplicate stovetop chicken or underestimate the precision required for that restaurant-quality crust paired with tender, never-dry meat. The beauty of pan-seared, skillet-braised, or pan-roasted chicken lies in active temperature management, strategic moisture retention, and understanding exactly when to flip, when to baste, and when to let carryover heat finish the job. These ten secrets pull from professional kitchens where speed and consistency matter, translated into clear, replicable steps that work on gas, electric, or induction burners. You will learn why brining is non-negotiable for certain cuts, how a single tablespoon of butter creates a luxurious pan sauce in under two minutes, and which internal temperature actually means "done" when you account for resting time.
Forget dry, rubbery chicken breasts or thighs that stick to the pan. These methods rely on chemistry, not chance, and once you internalize the rhythm of stovetop cooking, you will find yourself reaching for the skillet before the oven every time.
The Gathers
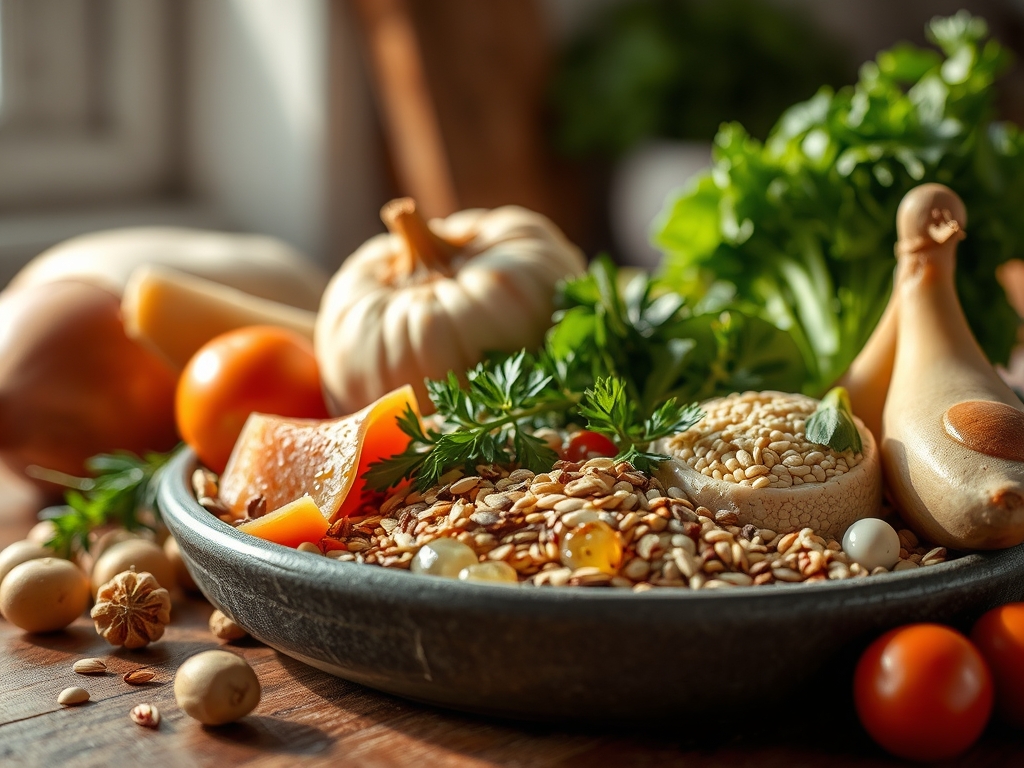
As you see in the ingredient spread below, the foundation begins with bone-in, skin-on chicken thighs or boneless breasts pounded to uniform thickness. Weight matters: 170-200g per breast portion ensures even cooking. You will need kosher salt (not table salt; the crystal size directly affects brine penetration), freshly cracked black pepper, neutral oil with a smoke point above 200°C (grapeseed, avocado, or refined canola), and unsalted butter for basting.
Secondary aromatics include smashed garlic cloves, fresh thyme sprigs, and lemon wedges. A small dish of chicken stock or dry white wine stands ready for deglazing. If you are building a pan sauce, keep Dijon mustard and heavy cream within arm's reach.
Smart Substitutions: Swap thighs for drumsticks (adjust cook time by 4 minutes). Use ghee instead of butter for a higher smoke point and nuttier flavor. Replace wine with apple cider vinegar diluted 1:3 with stock for acidity without alcohol. Lemon can pivot to lime or even a splash of champagne vinegar for brightness.
The Clock
Prep Time: 15 minutes (includes dry-brining, pounding, and mise-en-place).
Cook Time: 18 minutes (sear, flip, baste, rest).
Total Time: 33 minutes from fridge to plate.
Chef's Flow: While chicken dry-brines for 10 minutes, preheat your skillet over medium-high and prep aromatics. Use that resting window post-cook to build the pan sauce. This overlapping approach collapses idle time and keeps you moving efficiently through each phase.
The Masterclass
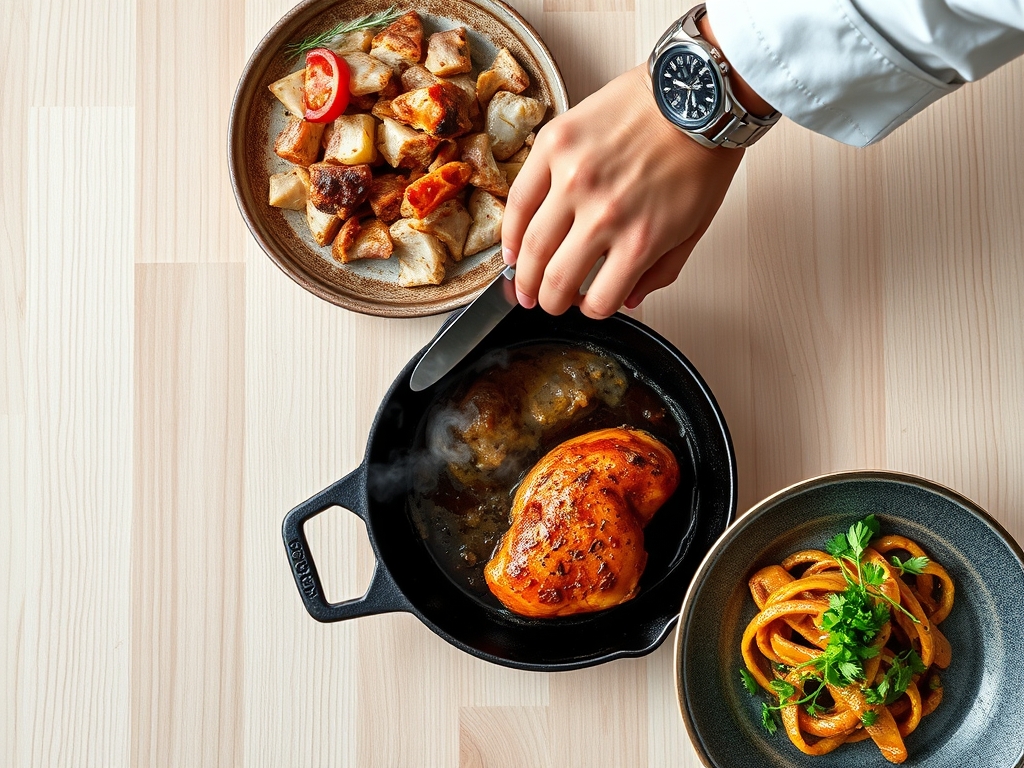
Note the texture shown in the step-by-step photos: deep golden crust, glistening surface from butter basting, and visible fond clinging to the pan before deglazing.
1. Dry-Brine for 10-30 Minutes
Pat chicken completely dry with paper towels. Sprinkle 1/2 teaspoon kosher salt per 200g on both sides. Let sit uncovered at room temperature for 10 minutes minimum, up to 30 if time allows.
Chef's Secret: Dry surfaces achieve superior browning because moisture is the enemy of the Maillard reaction. Salt draws out surface moisture, which evaporates, leaving behind a tacky protein layer that caramelizes instantly upon contact with hot metal.
2. Preheat Skillet to 200°C Surface Temperature
Heat a heavy-bottomed skillet (cast-iron or stainless steel) over medium-high for 3 full minutes. Add 1 tablespoon neutral oil, swirl to coat, and wait until the oil shimmers but does not smoke.
Why It Works: A properly preheated pan creates an immediate thermal barrier, coagulating surface proteins in seconds and preventing sticking. Under-heated pans cause meat to adhere and tear.
3. Sear Skin-Side Down Without Moving for 6-7 Minutes
Place chicken skin-side down (or presentation side if skinless). Do not touch, do not peek, do not press.
Chef's Secret: Patience here is everything. The skin will release naturally once sufficient browning has occurred. Forcing a flip tears the crust and wastes all that flavorful fond.
4. Flip Once, Add Butter and Aromatics
Turn chicken, immediately add 1 tablespoon butter, 2 smashed garlic cloves, and 2 thyme sprigs to the pan. Tilt the skillet and use a spoon to continuously baste the top surface with foaming butter for 5-6 minutes.
Why It Works: Basting with fat transfers heat more efficiently than air, cooks the top surface evenly, and infuses aromatics directly into the meat. Butter's milk solids add nutty, complex flavor compounds.
5. Check Internal Temperature, Then Rest
Insert an instant-read thermometer into the thickest part: 68-70°C for breasts, 74-76°C for thighs. Remove from heat, transfer to a warm plate, tent loosely with foil, and rest for 5 minutes.
Chef's Secret: Carryover cooking raises internal temperature by 2-4°C during rest. Pulling chicken early prevents overcooking while proteins relax and reabsorb juices, reducing moisture loss by up to 30%.
6. Deglaze and Build a 60-Second Pan Sauce
Return skillet to medium heat. Add 60ml stock or wine, scrape up all fond with a wooden spoon, and simmer until reduced by half (about 45 seconds). Swirl in 1 teaspoon Dijon and 2 tablespoons cream off heat.
Why It Works: Fond contains concentrated Maillard products and rendered fat. Deglazing dissolves these compounds into liquid, creating instant depth. Mustard emulsifies fat and adds sharpness; cream tempers acidity and adds body.
Nutritional Info
Per 200g serving (bone-in thigh, with skin, including pan sauce):
Calories: 380
Protein: 32g
Fat: 26g (saturated: 9g)
Carbohydrates: 2g
Sodium: 620mg
Skinless breasts drop fat to 12g and calories to 260 per serving. Pan sauce adds roughly 60 calories from butter and cream.
Dietary Swaps
Keto: Increase butter to 2 tablespoons, skip any starchy sides, pair with sauteed spinach in the same pan drippings.
Gluten-Free: Already compliant. Ensure stock is certified gluten-free if using commercial brands.
Dairy-Free: Replace butter with ghee or additional neutral oil. Use coconut cream instead of heavy cream in the sauce; it adds subtle sweetness that pairs well with garlic.
Vegan Pivot: Substitute extra-firm tofu pressed for 20 minutes, sliced 2cm thick, and seared identically. Use vegetable stock and nutritional yeast in place of cream for umami depth.
Serving & Presentation
Plating Idea 1: Pool pan sauce on a warm plate, nestle chicken skin-side up, garnish with microgreens and a lemon wheel.
Plating Idea 2: Slice chicken on the bias, fan over creamy polenta, drizzle with reduced sauce, finish with crispy fried sage.
Plating Idea 3: Serve family-style on a wooden board, chicken pieces arranged around a small ramekin of sauce, scattered with toasted pine nuts and fresh parsley.
The Pro-Dodge
Pitfall 1: Overcrowding the pan. More than two pieces per 25cm skillet drops surface temperature, causing steaming instead of searing. Fix: Work in batches or use a larger pan.
Pitfall 2: Using cold chicken straight from the fridge. Center stays cold while exterior overcooks. Fix: Rest at room temperature for 15 minutes before cooking.
Pitfall 3: Skipping the rest period. Cutting immediately releases all captured juices onto the cutting board. Fix: Wait the full 5 minutes, always, no exceptions.
The Meal Prep Corner
Storage: Cool completely, store in airtight containers with pan sauce in a separate compartment. Refrigerate up to 4 days, freeze up to 3 months.
Reheating for Day-One Quality: Preheat oven to 160°C. Place chicken on a wire rack over a baking sheet, tent with foil, and warm for 10-12 minutes. Alternatively, reheat in a covered skillet over low with 1 tablespoon stock to create steam, flipping once. Microwave is the enemy; it turns skin rubbery and dries out meat.
Pro Tip: Freeze individual portions flat in zip-top bags. Thaw overnight in the fridge, then reheat as above.
The Wrap-Up
These ten secrets transform stove chicken recipes from hit-or-miss experiments into reliable weeknight anchors. Master the dry-brine, respect the sear, trust your thermometer, and never skip the rest. Once you internalize the rhythm, stovetop chicken becomes faster and more intuitive than ordering takeout, with infinitely better results.
Try this method tonight, then share your golden-crusted victory in the comments. Tag your plating photos, tell us which secret made the biggest difference, and let the community celebrate your success.
The Kitchen Table
Q: Can I use frozen chicken?
A: Only if fully thawed and patted bone-dry. Residual ice creates steam, sabotaging the sear. Thaw in the fridge for 24 hours, never at room temperature.
Q: Why does my chicken stick to stainless steel?
A: Insufficient preheating or moving too early. Let the pan reach full temperature, wait for the shimmer, and give the crust 6 full minutes to develop and release naturally.
Q: Do I need expensive equipment?
A: No. A $25 cast-iron skillet and a $15 instant-read thermometer outperform any gadget. Heavy pans retain heat; accurate temperature readings prevent guesswork.
Q: Can I skip the butter basting?
A: You can, but you lose 40% of the flavor complexity and the top surface cooks less evenly. If dairy is an issue, use ghee or a flavored oil infused with garlic.
Q: What if my chicken is too thick?
A: Pound breasts to 1.5cm uniform thickness using a meat mallet between plastic wrap. Thighs can handle more variance but benefit from butterflying if over 3cm at the thickest point.