
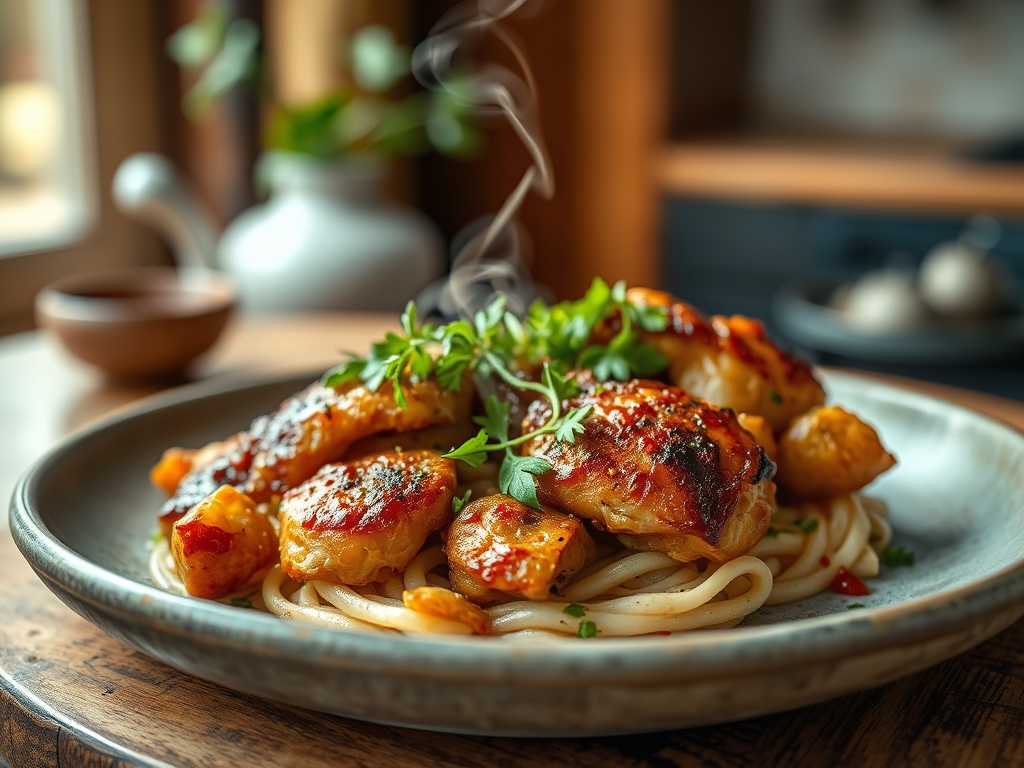
Imagine the sizzle of a heavy-bottomed cast iron skillet as it meets the cool, marbled surface of a prime ribeye and the velvet texture of a salt-brined chicken breast. We have been told for years to pick a side in the protein wars, but the most luxurious, umami-packed secrets of the culinary world live in the fusion of both. Mastering chicken beef recipes is not just about doubling your protein; it is about balancing the light, delicate fats of poultry with the deep, iron-rich complexity of bovine cuts. When you combine these two, you create a flavor profile that is more than the sum of its parts. Think of it as a high-stakes chemistry experiment where the reward is a dinner that leaves your guests wondering how you achieved such incredible depth. We are diving into ten bold blends that utilize professional techniques to ensure every bite is succulent, piquant, and perfectly rendered.
The Gathers:
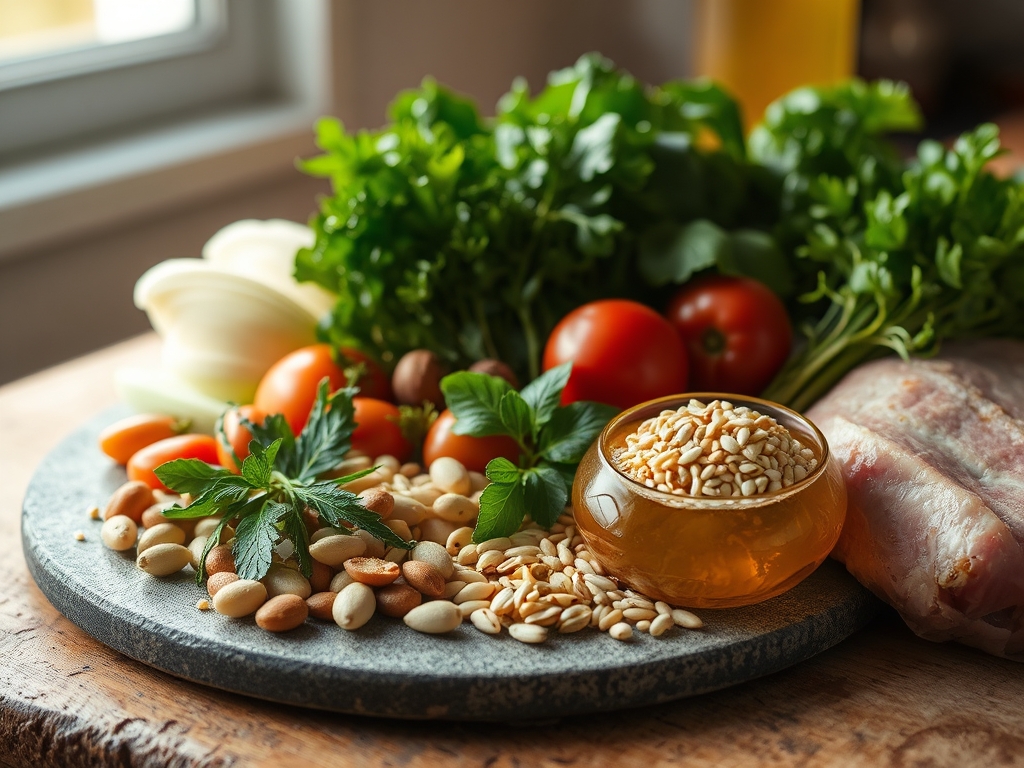
To execute these chicken beef recipes with precision, your mise-en-place must be immaculate. Start with your proteins. For the beef, look for high intramuscular fat (marbling) in cuts like flank or chuck, which provide the essential lipids for flavor. For the chicken, thighs are your best friend because their higher collagen content prevents them from drying out during the dual-sear process. You will need a digital scale to ensure your ratios are exact; usually a 60/40 beef-to-chicken split offers the best structural integrity for blends.
Next, gather your aromatics. Fresh garlic, shallots, and ginger should be prepped using a microplane to create a fine paste, ensuring the essential oils are fully released into your cooking fats. Do not forget the "liquid gold" of the kitchen: high-quality bone broth. This provides the viscous base for deglazing your pan later. For smart substitutions, if you are looking to lighten the dish, swap the beef chuck for lean sirloin, but increase your use of umami-boosters like liquid aminos or Worcestershire sauce to compensate for the lower fat content. If you lack fresh herbs, use a 1:3 ratio of dried to fresh, but remember that dried herbs need to be added earlier in the cooking process to properly rehydrate and infuse the oil.
The Clock
Efficiency in the kitchen is all about "Chef's Flow." This is the art of overlapping tasks so that no heat is wasted. For these ten blends, expect a preparation time of 25 minutes and a total cooking time of 35 to 45 minutes. The key is the "rest period." While your beef is undergoing thermal carryover, you should be finishing your chicken or reducing your sauce in the same pan. This ensures that every element of the dish reaches the table at the optimal temperature of 145 degrees Fahrenheit for chicken and 135 degrees for medium-rare beef. By the time you are deglazing the fond from the bottom of your skillet, your proteins should be resting on a wire rack to prevent the bottom from becoming soggy.
The Masterclass
1. The Strategic Sear
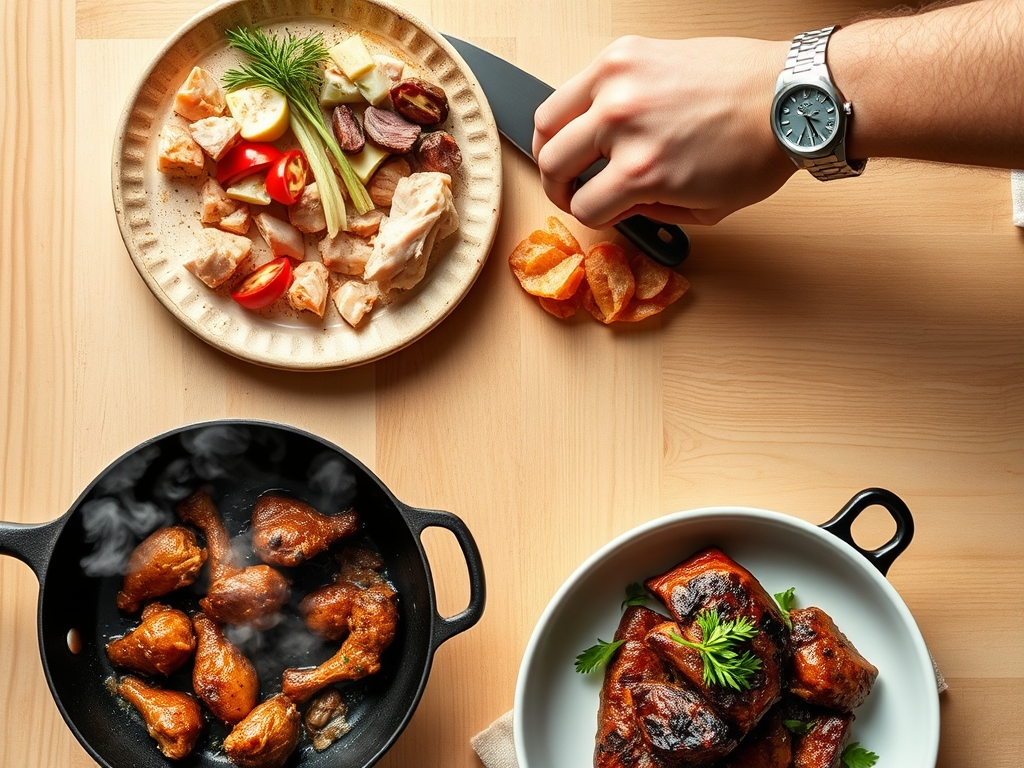
Begin by heating your heavy-bottomed skillet until it reaches the smoke point of your chosen oil. Place the beef in first, as it requires a higher temperature to initiate the Maillard reaction. Use stainless steel tongs to press the meat firmly against the surface, ensuring maximum contact.
Pro Tip: This process, known as enzymatic browning, occurs when amino acids and reducing sugars react under high heat. If the pan is too crowded, the meat will steam instead of sear, ruining the crust.
2. Rendering the Poultry Fat
Once the beef has developed a dark mahogany crust, move it to the perimeter of the pan and add the chicken. Focus on the skin-side down. You want to render the subcutaneous fat, which will then mingle with the beef tallow already in the pan.
Pro Tip: Rendering fat is a slow-motion process. By starting the chicken after the beef's initial sear, you allow the poultry fat to act as a finishing oil for the entire dish, enhancing the mouthfeel.
3. Deglazing the Fond
After removing the meat to rest, you will see brown bits stuck to the pan. This is "fond," and it is pure flavor. Pour in a splash of dry wine or stock and use a wooden spoon or bench scraper to lift those bits while the liquid bubbles.
Pro Tip: This is a chemical extraction. The alcohol or acid in the liquid dissolves the flavor molecules that are not water-soluble, creating a complex, layered sauce base.
4. Emulsifying the Sauce
Lower the heat and whisk in cold cubes of butter or a splash of heavy cream. Use a saucier for this step if possible, as the rounded bottom allows for better aeration.
Pro Tip: Emulsification is the process of forcing two immiscible liquids, like oil and water, into a stable mixture. Cold butter helps create a thicker, glossier sauce because the milk solids wrap around the fat droplets more effectively.
5. The Final Infusion
Return the sliced proteins to the pan for exactly sixty seconds. Toss them in the sauce to glaze every surface. Use a microplane to zest fresh lemon or lime over the top right before serving to provide a bright, acidic counterpoint to the heavy fats.
Pro Tip: This final minute is not for cooking; it is for "marrying" the flavors. The residual heat ensures the sauce penetrates the outer layers of the meat without overcooking the interior.
The Deep Dive
When we look at the macro nutrition of these chicken beef recipes, we see a powerhouse of bioavailable protein. On average, a 6-ounce serving provides 45 grams of protein and roughly 22 grams of fat. For my Keto friends, this is a dream come true; just ensure you are using grass-fed butter for your emulsion. For those who are Gluten-Free, ensure your thickeners are arrowroot powder or cornstarch rather than flour.
If you find yourself facing a "Fix-It" moment, don't panic. If your sauce breaks (the oil separates), whisk in a teaspoon of hot water or a splash of cream to bring it back together. If your meat is tough, you likely skipped the resting phase; let it sit in a warm sauce for five minutes to reabsorb moisture. If the flavor feels "flat," it usually needs acid, not salt. A squeeze of lemon or a drop of balsamic vinegar will wake up the palate. For meal prep, reheat your portions in a covered skillet with a tablespoon of water. This creates steam, which prevents the proteins from becoming rubbery in the microwave.
The Wrap-Up
Blending chicken and beef is the ultimate "pro move" for any home cook looking to elevate their weekly rotation. It challenges your understanding of heat management and flavor layering while providing a dining experience that feels truly indulgent. Remember, the kitchen is your laboratory. Don't be afraid to experiment with different spice rubs or deglazing liquids. The science is on your side, and the results are delicious. Now, grab those tongs and get searing!
The Kitchen Table
Can I cook chicken and beef in the same pan?
Yes, but you must account for different cooking times. Sear the beef first to develop a crust, then add the chicken. Ensure both reach their safe internal temperatures (165F for chicken, 145F for beef) before serving.
What is the best beef cut for chicken beef recipes?
Flank steak or sirloin tips work best. These cuts cook quickly and have a robust flavor that stands up well to the milder profile of chicken, especially when using high-heat sautéing or stir-frying techniques.
How do I prevent the chicken from drying out?
Use chicken thighs instead of breasts for better moisture retention. Additionally, always allow the meat to rest for five to ten minutes after cooking. This allows the fibers to relax and reabsorb the internal juices.
What oil is best for a high-heat sear?
Use oils with a high smoke point, such as avocado, grapeseed, or canola oil. Avoid extra virgin olive oil or butter for the initial sear, as they will burn and create a bitter flavor profile at high temperatures.