
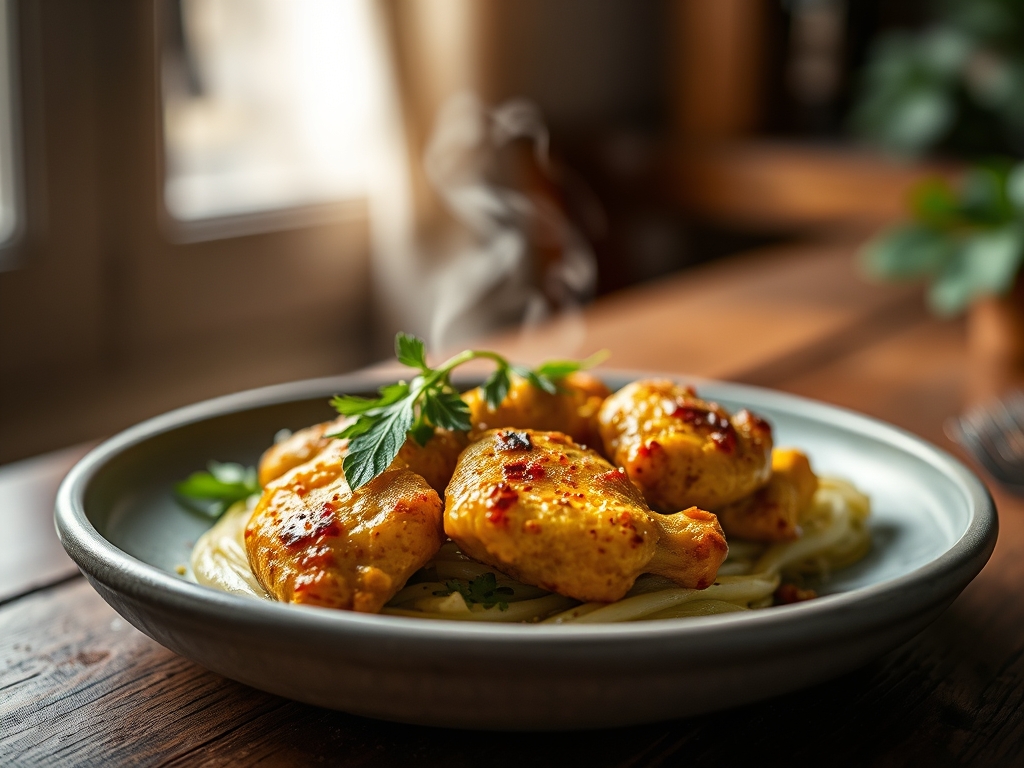
Imagine a heavy-bottomed skillet hissing as cold coconut cream meets the searing heat of a seasoned pan. The air instantly thickens with the scent of lemongrass and galangal; it is a fragrant, sharp, and undeniably addictive sensory overload. Mastering green curry chicken recipes requires more than just following a list. It demands an understanding of how heat, fat, and acid collide to create a sauce that is both velvety and piquant. We are going beyond the basic takeout container today. We are diving into the molecular magic of high-heat searing and emulsion stability to ensure your curry never breaks or separates.
The secret to the most vibrant green curry chicken recipes lies in the integrity of the aromatics. When you bruise fresh kaffir lime leaves or toast cumin seeds, you are physically rupturing the cell walls to release volatile essential oils. These oils are the backbone of the flavor profile. If you have ever wondered why some curries taste flat while others sing, it usually comes down to the Maillard reaction on the protein and the proper blooming of the spice paste. We are going to build layers of flavor that feel like a warm hug but pack a sophisticated, spicy punch. Grab your favorite apron and a glass of crisp Riesling; we are about to turn your kitchen into a high-end Thai bistro.
The Gathers:
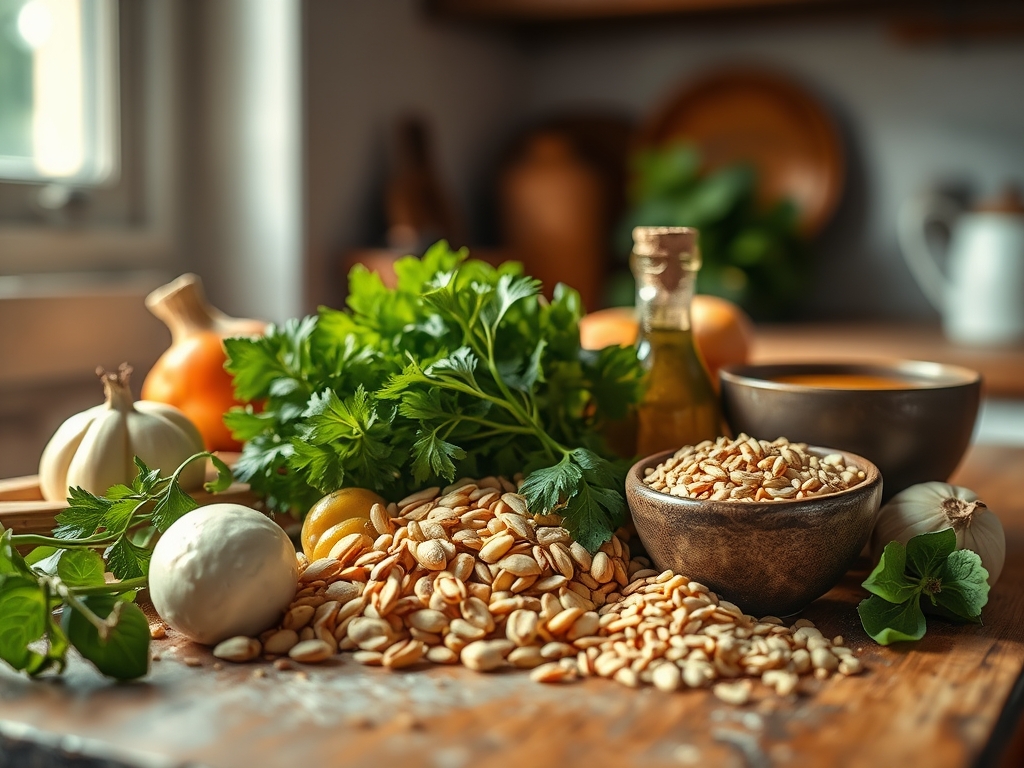
Setting up your mise-en-place is not just about organization; it is about controlling the chemistry of the cook. You will need 1.5 pounds of chicken thighs, preferably boneless and skinless, because the higher fat content provides a more viscous mouthfeel and prevents the meat from drying out during the simmer. Your aromatics should include four cloves of garlic, a two-inch knob of ginger (peeled with a spoon and grated on a microplane), and three shallots finely diced with a sharp chef's knife.
For the sauce, hunt down a high-quality green curry paste. Look for brands that list green chili, shrimp paste, and lemongrass as the primary ingredients. You will also need two cans of full-fat coconut milk. Avoid the light versions; we need the saturated fats to emulsify the chili oils effectively. To add texture and color, gather bamboo shoots, Thai eggplant, and red bell peppers. Finally, the "holy trinity" of finishing: fish sauce for umami, palm sugar for balance, and lime juice for brightness.
Smart Substitutions: If you cannot find Thai eggplant, use Japanese eggplant or zucchini; both have a porous structure that absorbs the curry broth beautifully. For a vegan-friendly version, swap the chicken for extra-firm tofu pressed with a digital scale to remove moisture, and use light soy sauce or liquid aminos in place of fish sauce. If kaffir lime leaves are unavailable, a teaspoon of lime zest provides a similar citrusy high note.
The Clock: Timing the Perfect Simmer
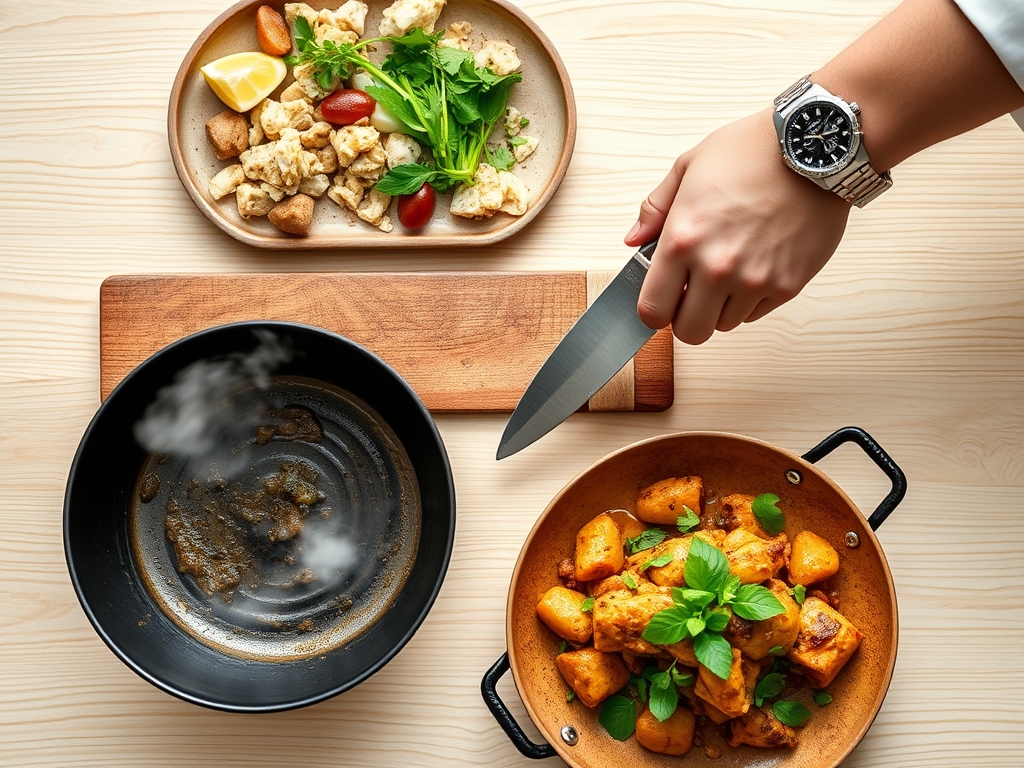
Efficiency in the kitchen is all about the "Chef's Flow." You should budget 20 minutes for prep and 25 minutes for active cooking. The goal is to minimize the time the chicken spends in the liquid to avoid protein denaturation, which leads to a rubbery texture. While your heavy-bottomed skillet preheats, use a bench scraper to clear your cutting board of aromatics. This keeps your workspace clean and your mind focused on the heat management. Total time from fridge to table is roughly 45 minutes; a perfect window for the flavors to infuse without the vegetables losing their structural integrity.
The Masterclass:
1. Rendering the Coconut Cream
Open your can of coconut milk without shaking it. Spoon the thick, waxy cream from the top into a cold saucier. Turn the heat to medium-high and whisk until the cream "cracks." This means the water evaporates and the oil separates from the solids.
Pro Tip: This separation is essential for lipid-soluble flavor extraction. By frying the curry paste in this rendered coconut oil, you unlock fat-soluble compounds in the chilies that water-based simmering simply cannot reach.
2. Blooming the Paste
Add three tablespoons of green curry paste to the cracked coconut oil. Use a wooden spoon to break it apart, stirring constantly for two minutes until the color deepens and the aroma becomes pungent.
Pro Tip: This is known as blooming. The heat triggers a complex series of chemical reactions that mellow the raw garlic and onion notes in the paste while intensifying the spicy capsaicin levels.
3. Searing the Protein
Increase the heat and add the chicken pieces. Use tongs to ensure each piece makes direct contact with the pan. You are looking for a light golden crust, not a deep brown.
Pro Tip: This stage utilizes conductive heat transfer. Even a light sear initiates the Maillard reaction, creating savory melanoidins that add a layer of complexity to the final sauce that boiled chicken lacks.
4. Building the Emulsion
Pour in the remaining coconut milk and chicken stock. Scrape the bottom of the pan to deglaze any flavorful bits. Bring the mixture to a gentle simmer, never a rolling boil.
Pro Tip: High heat can cause the proteins in the coconut milk to coagulate, resulting in a curdled sauce. A gentle simmer maintains a stable emulsion, keeping the texture silky and uniform.
5. The Vegetable Infusion
Add the eggplant and bamboo shoots. These denser vegetables require about five to seven minutes to soften. Add the bell peppers in the last three minutes to maintain their "snap."
Pro Tip: This is about osmotic pressure. The salt in the curry paste draws moisture out of the vegetables while forcing the flavorful coconut fats in, seasoning them from the inside out.
6. The Final Balance
Turn off the heat. Stir in the fish sauce, palm sugar, and a squeeze of lime juice. Fold in a handful of fresh Thai basil leaves at the very last second.
Pro Tip: This utilizes thermal carryover. The residual heat is enough to wilt the basil and dissolve the sugar without destroying the delicate, volatile esters in the fresh herbs and citrus.
The Deep Dive:
From a macro perspective, green curry is a powerhouse. It is naturally gluten-free and can easily be adapted for Keto diets by omitting the palm sugar. A standard serving provides roughly 35g of protein and 25g of healthy fats. If you are watching calories, you can substitute one can of coconut milk with chicken bone broth, though the sauce will be less viscous.
The Fix-It:
- Too Salty? Do not add water; add a squeeze of lime or a pinch more sugar. Acid and sweetness counteract saltiness on the palate.
- Too Thin? Simmer a bit longer with the lid off to encourage evaporation, or whisk in a teaspoon of cornstarch slurry.
- Broken Sauce? If the oil separates too much, whisk in a tablespoon of room-temperature coconut cream to re-emulsify the mixture.
Meal Prep Science: Green curry actually tastes better the next day. As it cools, the flavors undergo syneresis, where the spices further penetrate the protein. When reheating, use a low heat on the stove and add a splash of water to loosen the fats that solidified in the fridge. Avoid the microwave if possible; it can cause the chicken to overcook and become "rubbery" due to uneven electromagnetic heating.
The Wrap-Up:
You have now mastered the technical art of the perfect green curry. By understanding the science of cracked coconut cream and the importance of blooming your spices, you have elevated a simple weeknight meal into a culinary masterpiece. Remember, cooking is as much about the "why" as it is the "how." Now, serve this over a bed of fragrant jasmine rice, garnish with extra chilies if you are feeling brave, and enjoy the fruits of your labor. You have totally earned this.
The Kitchen Table:
How do I make green curry less spicy?
To reduce the heat, remove the seeds from the chilies if making paste from scratch. For store-bought paste, simply increase the ratio of coconut milk to paste. The fats in the coconut milk help neutralize the capsaicin on your tongue.
Can I use chicken breast instead of thighs?
Yes, but be cautious. Chicken breast lacks the connective tissue of thighs and dries out quickly. To keep it moist, use a digital thermometer to ensure the internal temperature does not exceed 165 degrees Fahrenheit during the simmering stage.
Why is my green curry gray instead of bright green?
Dull color usually results from overcooking the herbs or using old paste. To ensure a vibrant hue, blend a handful of fresh spinach or extra Thai basil into a portion of the coconut milk before adding it to the saucier.
How long does leftover green curry last?
Stored in an airtight container, it remains fresh for up to three days. The flavors actually deepen over time. For the best quality, reheat it slowly on the stovetop to maintain the delicate emulsion of the coconut milk sauce.