
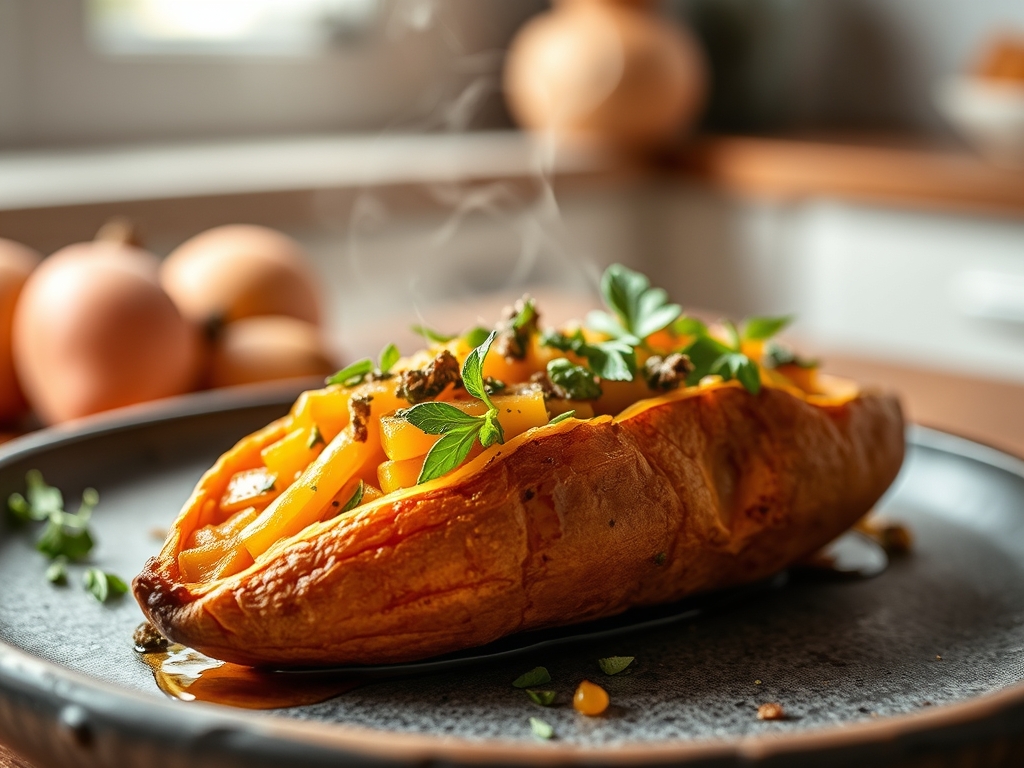
Picture the scent of deep caramel and toasted earth swirling through your kitchen as the oven does all the heavy lifting. There is a specific, primal joy in cracking open a charred skin to reveal a vibrant, velvety interior that glows like an autumn sunset. Mastering easy baked sweet potato recipes is less about labor and more about understanding the alchemy of heat and sugar. We are not just cooking tubers; we are engineering a masterpiece of texture and taste that bridges the gap between a casual weeknight side and a decadent, nutrient-dense main course.

The Gathers:
Before we ignite the flame, let us assemble our palette. You will need four to six medium-sized Beauregard or Jewel sweet potatoes; look for uniform shapes to ensure even heat distribution. Grab a bottle of high-smoke-point oil, such as avocado or grapeseed oil, to facilitate a crisp exterior without acrid oxidation. You will also need flaky sea salt for abrasive seasoning and a few sprigs of woody herbs like rosemary or thyme to infuse the skin with aromatic oils.
Smart Substitutions: If you are craving a more viscous, dessert-like finish, swap the savory herbs for a dusting of Saigon cinnamon and a dollop of grass-fed ghee. For those looking for a piquant kick, a sprinkle of smoked paprika or chipotle powder adds a layer of complexity that mimics a slow-smoked barbecue profile. Use your digital scale to ensure your potatoes are within the 8 to 10-ounce range; this precision prevents one potato from turning to mush while another remains stubbornly firm.
The Clock:
Efficiency in the kitchen is all about the "Chef's Flow." Total active preparation time is a mere 10 minutes, while the oven handles the 45 to 60-minute transformation. Start by preheating your oven to 425 degrees Fahrenheit immediately. While the chamber reaches temperature, you will wash, dry, and season. This high-heat approach is intentional; it triggers the Maillard reaction on the skin while the interior steams in its own natural sugars. By the time you have tidied your station with a bench scraper, the oven will be ready to receive its cargo.
The Masterclass:
1. The Surface Prep
Scrub each potato vigorously under cold water to remove residual soil. Use a clean kitchen towel to bone-dry the skins. Moisture is the enemy of crispness; any lingering water will create steam rather than a sear.
Pro Tip: Drying the skin thoroughly allows the oil to create a microscopic barrier, ensuring the heat renders the natural fats in the skin for a "jacket" that is actually edible and delicious.
2. The Ventilation Ritual
Use a fork or a sharp paring knife to prick the potato 5 to 6 times across its circumference. This is not just tradition; it is a safety measure to prevent a pressure buildup.
Pro Tip: These small vents allow internal steam to escape, preventing the potato from exploding and ensuring the interior remains fluffy rather than viscous and waterlogged.
3. The Lipid Coating
Massage a thin layer of oil over the entire surface of each potato. You want a sheen, not a puddle. Sprinkle generously with sea salt, which will draw out a tiny amount of moisture from the skin to create a salty crust.
Pro Tip: This salt-oil interface facilitates thermal conductivity, helping the intense heat of the oven penetrate the dense starch molecules more rapidly.
4. The High-Heat Roast
Place the potatoes directly on the oven rack with a foil-lined sheet pan on the rack below to catch any escaping sugars. Roast at 425 degrees Fahrenheit until the skins look slightly puffed and papery.
Pro Tip: Roasting directly on the rack allows for 360-degree air circulation, which prevents "flat spots" and ensures the skin crisps uniformly.
5. The Tenderness Test
Use your tongs to gently squeeze the sides of the potato. It should yield easily to the pressure. If you prefer precision, an instant-read thermometer should register between 205 and 210 degrees Fahrenheit.
Pro Tip: This temperature range ensures that the complex starches have fully converted into maltose, giving you that signature sweetness without a grainy texture.
6. The Rest and Release
Remove the potatoes from the oven and let them sit for 5 minutes. Use a sharp knife to slice a long slit down the center, then use your thumbs to push the ends toward the middle to "pop" the flesh upward.
Pro Tip: This resting period utilizes thermal carryover, allowing the internal temperature to stabilize so the steam doesn't evaporate too quickly, which would leave the potato dry.
7. The Final Aeration
Use a fork to gently fluff the interior flesh, mixing in a pat of butter or a drizzle of tahini while it is still steaming.
Pro Tip: Fluffing the potato serves to aerate the mash, increasing the surface area for toppings to melt into and creating a lighter, more luxurious mouthfeel.
The Deep Dive:
Sweet potatoes are a nutritional powerhouse, boasting high levels of Vitamin A (as beta-carotene), Vitamin C, and potassium. One medium potato provides nearly 4 grams of fiber, making it a low-glycemic index star that provides sustained energy.
For dietary swaps, vegans can replace butter with a saucier-made cashew cream or a drizzle of extra virgin olive oil. For a Keto-adjacent version, focus on smaller portions and pair with high-fat toppings like avocado and bacon bits to balance the carbohydrate load.
"The Fix-It" Guide:
- Soggy Skin: This usually happens if you wrap the potato in foil. Foil traps steam. Always bake "naked" for a crisp finish.
- Hard Centers: Your oven temperature might be too high, browning the outside before the inside softens. Drop the heat by 25 degrees and extend the time.
- Burnt Bottoms: If the sugars leak and burn, it creates a bitter taste. Use a silicone baking mat on your drip tray to catch the syrup without it smoking out your kitchen.
Meal Prep: To maintain "day-one" quality when reheating, avoid the microwave. Use an air fryer or a toaster oven at 350 degrees Fahrenheit for 10 minutes. This re-crisps the skin and re-activates the fats without making the interior rubbery.
The Wrap-Up:
Mastering easy baked sweet potato recipes is the ultimate culinary "win" for the busy, health-conscious foodie. By understanding the science of starch conversion and the importance of surface moisture, you transform a humble root vegetable into a gourmet experience. Whether you load them with savory black beans or keep them simple with a whisper of salt, these seven hacks ensure a perfect result every single time. Now, go forth and roast with confidence!
The Kitchen Table:
How do I make sweet potato skins crispy?
Rub the skins with a high-smoke-point oil and plenty of salt before baking at 425 degrees Fahrenheit. Avoid using aluminum foil, as it traps steam and results in a soft, soggy exterior rather than a toasted, papery crunch.
Why is my baked sweet potato watery?
A watery texture often results from baking at too low a temperature for too long. High heat (400 degrees plus) evaporates excess moisture while caramelizing natural sugars, ensuring the interior stays velvety and concentrated rather than diluted and bland.
Should I poke holes in sweet potatoes before baking?
Yes, use a fork to prick the skin several times. This allows steam to escape during the roasting process, preventing pressure buildup that could cause the potato to burst and ensuring the internal texture remains light and fluffy.
Can I bake sweet potatoes ahead of time?
Absolutely. Store them in an airtight container in the fridge for up to five days. To reheat while maintaining texture, use an air fryer or oven at 350 degrees to refresh the skin and warm the center evenly.