
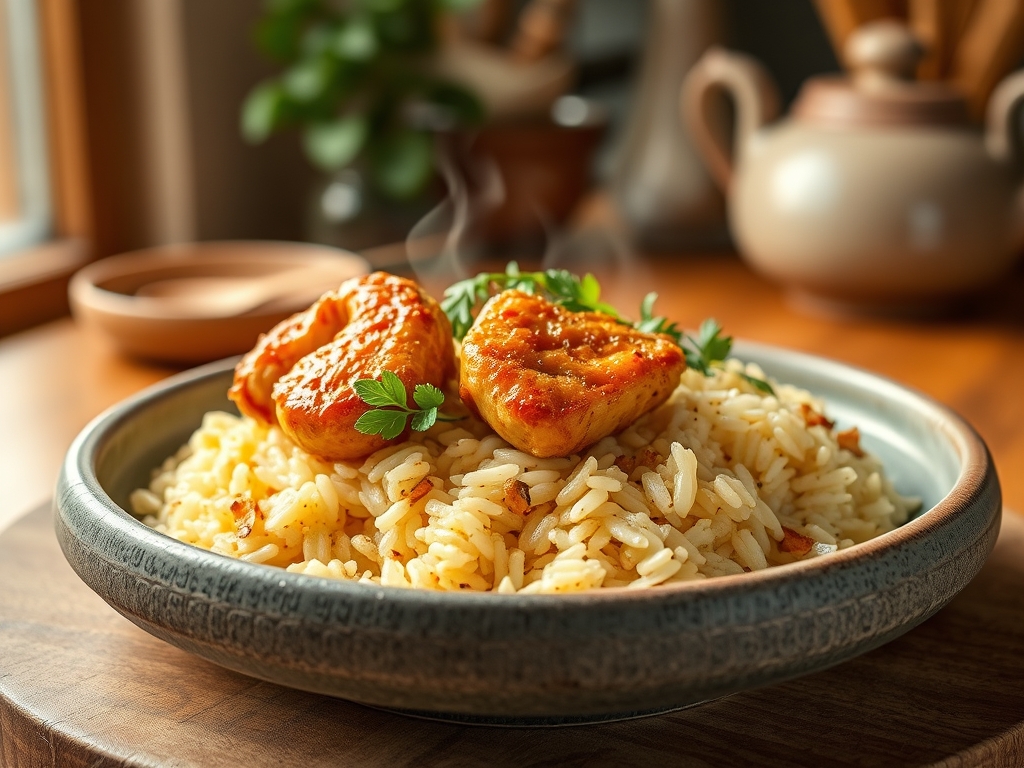
Imagine the sound of cold chicken thighs hitting a screaming hot cast iron pan; it is a rhythmic sizzle that signals the start of a culinary transformation. The kitchen fills with the scent of rendering fat and toasted grains, a sensory promise of a meal that requires only one vessel to clean. Mastering one pot chicken recipes rice is about more than just convenience; it is a sophisticated dance of moisture control and heat management. We are moving beyond the soggy, uninspired casseroles of the past. Instead, we are focusing on the precise science of the Maillard reaction to create deep, savory crusts and the perfect hydration of long-grain rice to ensure fluffy, distinct kernels. This is high-impact cooking for the modern professional who values both flavor and efficiency. By understanding how proteins and starches interact in a closed thermal environment, you can turn a few humble ingredients into a five-star dinner in under forty minutes. Grab your favorite heavy-bottomed skillet and let us dive into the mechanics of the perfect one-pot meal.
The Gathers:
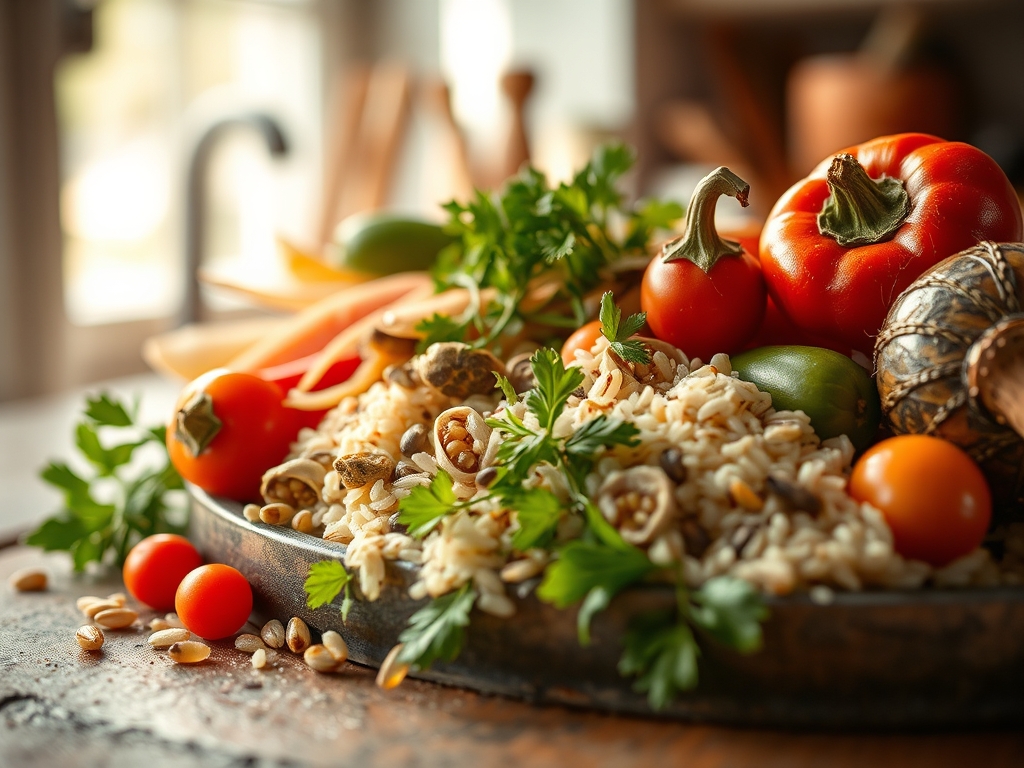
To achieve a professional result, your mise-en-place must be precise. Start with bone-in, skin-on chicken thighs; the collagen in the bone marrow leaches out during the simmer, creating a viscous and rich mouthfeel that boneless cuts simply cannot replicate. For the rice, select a high-quality Basmati or Jasmine. These long-grain varieties contain a higher ratio of amylose to amylopectin, which prevents the grains from becoming a gelatinous mass. You will also need a piquant aromatic base: freshly minced garlic, shallots, and ginger. Use a microplane to grate your aromatics into a fine paste; this increases the surface area and allows the essential oils to infuse the cooking fat more rapidly.
Smart Substitutions:
If you are looking to increase the fiber content, you can swap white rice for pearled farro or barley. However, be aware that these ancient grains require a longer hydration period and more liquid. For a lighter profile, replace half of the chicken stock with a dry white wine like Sauvignon Blanc to deglaze the pan; the acidity will cut through the richness of the rendered chicken fat. If you lack fresh herbs, a high-quality dried thyme or oregano can be used, but remember to bloom them in the hot oil to reactivate their volatile compounds.
The Clock
Efficiency in the kitchen is governed by what professionals call the Chef's Flow. Your total active prep time should be exactly 12 minutes if you use a sharp chef's knife and a bench scraper to move your aromatics. The searing phase takes 8 minutes to ensure the skin is sufficiently rendered and crisp. The final simmering stage requires 18 to 20 minutes of undisturbed heat, followed by a mandatory 5-minute rest period. This rest is not optional; it allows the steam to redistribute within the pot, ensuring the rice at the bottom is just as tender as the rice at the top. Total time from pantry to table is approximately 45 minutes.
The Masterclass
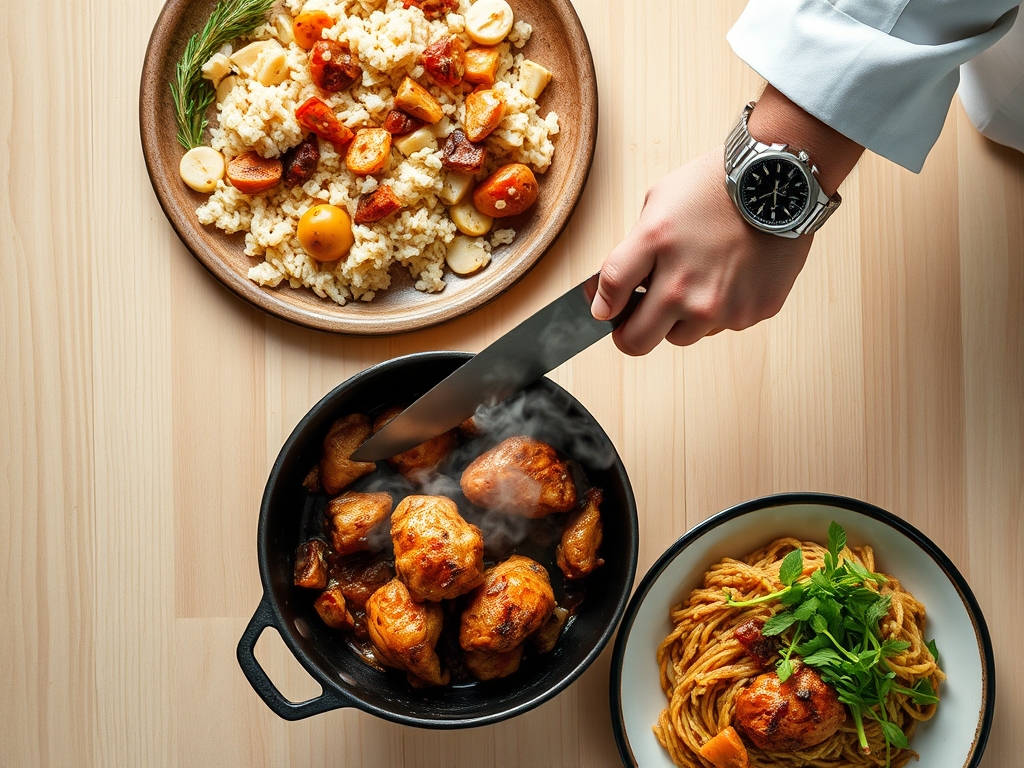
1. The Sear and Render
Pat the chicken skin bone-dry with paper towels to remove surface moisture. Place the thighs skin-side down in a cold heavy-bottomed skillet and then turn the heat to medium-high. This cold-start method allows the subcutaneous fat to render slowly, resulting in glass-like skin without burning the meat. Use tongs to press the chicken down for even contact.
Pro Tip: This process relies on enzymatic browning, specifically the Maillard reaction. By starting with a dry surface, you avoid the energy-wasting phase of evaporating surface water, allowing the proteins and sugars to bond and create complex flavor compounds immediately.
2. Sautéing the Aromatics
Once the chicken is golden, remove it and set it aside on a plate. Lower the heat and add your shallots and garlic to the residual fat. Use a wooden spoon to scrape up the brown bits, or fond, from the bottom of the pan. These bits are concentrated flavor gold.
Pro Tip: Use a digital scale to measure your rice and liquid ratios exactly. Even a 10 percent variance in liquid can turn a fluffy pilaf into a mushy porridge. The aromatics should become translucent but not brown, a state known as sweating, which softens the cellular structure of the vegetables.
3. Toasting the Grains
Add the dry rice directly into the pan with the aromatics and fat. Stir for two minutes until the edges of the rice grains become translucent and smell slightly nutty. This coats each grain in fat, creating a hydrophobic barrier that prevents excess starch from leaching out and making the dish sticky.
Pro Tip: This is called the pilaf method. Toasting the rice triggers a secondary Maillard reaction on the starch surface, which adds a popcorn-like aroma and ensures the grains remain separate after cooking.
4. The Deglaze and Simmer
Pour in your room-temperature stock or wine. Return the chicken to the pan, nestling it on top of the rice but keeping the skin above the liquid line to maintain its texture. Bring the liquid to a boil, then immediately drop the heat to the lowest setting and cover with a tight-fitting lid.
Pro Tip: Thermal carryover will continue to cook the chicken even after the heat is off. By keeping the skin above the liquid, you prevent the steam from softening the crust you worked so hard to build during the searing phase.
5. The Rest and Aerate
After 20 minutes, remove the pot from the heat. Do not lift the lid. Let it sit for five minutes. Finally, remove the chicken and use a fork to aerate the rice by gently lifting and folding it. This releases trapped steam and prevents the rice from overcooking in its own residual heat.
Pro Tip: During the rest period, the starch molecules undergo retrogradation, where they slightly firm up as they cool. This is the secret to that perfect, "restaurant-style" rice texture that holds its shape.
The Deep Dive
From a nutritional standpoint, this dish is a balanced powerhouse. A standard serving provides approximately 35 grams of protein and 45 grams of complex carbohydrates. To make this keto-friendly, swap the rice for cauliflower rice, though you must reduce the liquid by 80 percent since cauliflower releases its own moisture. For a vegan version, use king oyster mushroom "steaks" and vegetable bouillon; the mushrooms provide a similar umami depth when seared properly.
The Fix-It:
If your rice is still crunchy after the timer goes off, add two tablespoons of boiling water and cover for five more minutes. If the rice is too wet, remove the lid and cook on high for 60 seconds to create a "socarrat," or toasted crust, at the bottom. If the chicken is undercooked but the rice is done, pop the chicken into a toaster oven for three minutes while the rice rests.
For meal prep, reheating rice can be tricky. To maintain "day-one" quality, add a teaspoon of water per cup of rice and cover it tightly before microwaving. This creates a steam chamber that re-hydrates the starch without making it rubbery.
The Wrap-Up
Mastering one pot chicken recipes rice is a foundational skill that elevates your weeknight routine from mundane to magnificent. By focusing on the science of the sear and the precision of the simmer, you create a dish that is far greater than the sum of its parts. It is efficient, soulful, and scientifically sound. Now, go forth and conquer your kitchen with the confidence of a chef and the curiosity of a scientist. Your taste buds, and your dishwasher, will thank you.
The Kitchen Table
Why is my one-pot rice always mushy?
Mushy rice usually results from excess liquid or over-stirring. Stirring releases amylose starch, which creates a sticky texture. To fix this, always toast your rice in fat first and use a strict 1:1.5 rice-to-liquid ratio for one-pot meals.
Can I use chicken breasts instead of thighs?
You can, but breasts dry out quickly. To prevent this, sear the breasts first, remove them, and only return them to the pot for the last 8 minutes of simmering. This ensures they reach 165 degrees Fahrenheit without becoming fibrous.
How do I get crispy skin in a one-pot meal?
The secret is keeping the skin above the liquid line. Nestling the chicken into the rice rather than submerging it allows the bottom to braise while the top stays dry. For extra crunch, flash the pot under a broiler for two minutes.
What is the best pot for chicken and rice?
A heavy-bottomed enameled cast iron Dutch oven or a deep stainless steel saucier is ideal. These materials provide superior heat retention and distribution, which prevents "hot spots" that can burn the rice at the bottom of the pan.
Is it safe to cook raw rice and chicken together?
Yes, as long as the liquid reaches a boil and the chicken reaches an internal temperature of 165 degrees Fahrenheit. The sustained heat during the simmering process effectively kills any foodborne pathogens while the flavors meld together beautifully.