
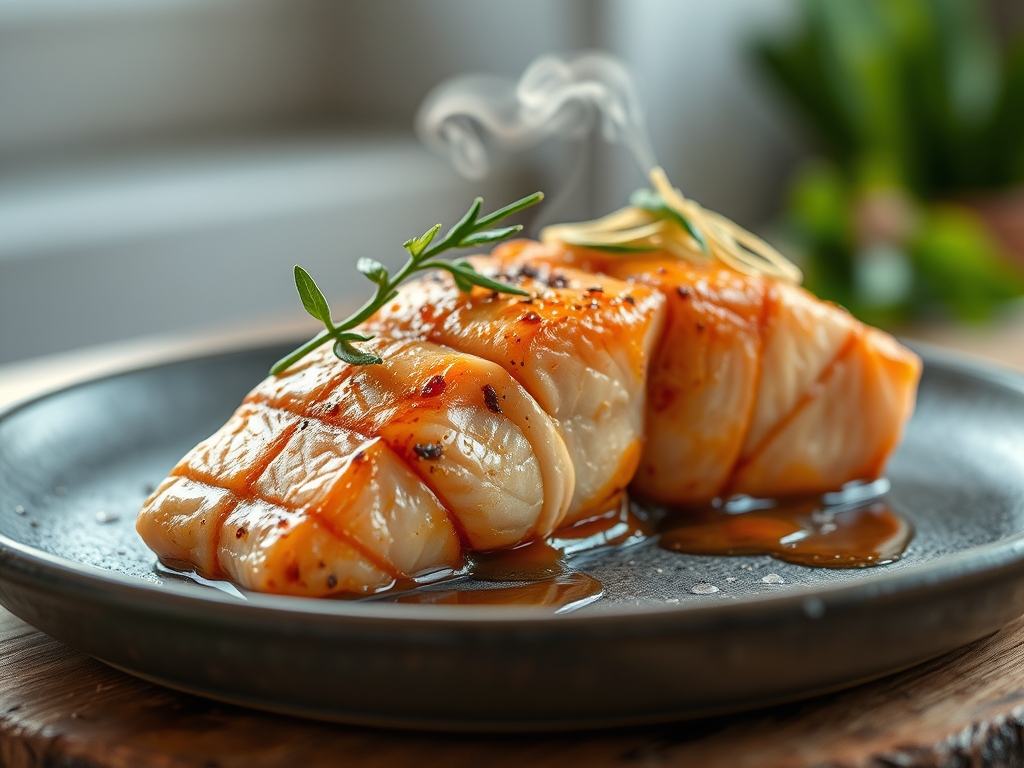
Picture this: a heavy-bottomed skillet sizzling on a high-output burner, a golden-brown crust forming on a pristine fillet, and the intoxicating aroma of nut-brown butter swirling with fresh thyme. We have all been there, sitting at a white-clothed table and wondering why our home-cooked fish never quite hits that level of architectural perfection. The secret is not a hidden ingredient; it is the chemistry of heat and the precision of professional technique. Most restaurant salmon recipes rely on a specific sequence of protein denaturation and moisture control that transforms a simple piece of fish into a buttery masterpiece. Today, we are breaking down the wall between your kitchen and the executive chef's line. We are going to master the art of the perfect sear, the science of the emulsion, and the delicate balance of fats that make a dish truly memorable. Grab your apron and your sharpest chef's knife because we are about to elevate your weeknight dinner into a five-star experience that will have your friends asking for your secret source.
The Gathers:
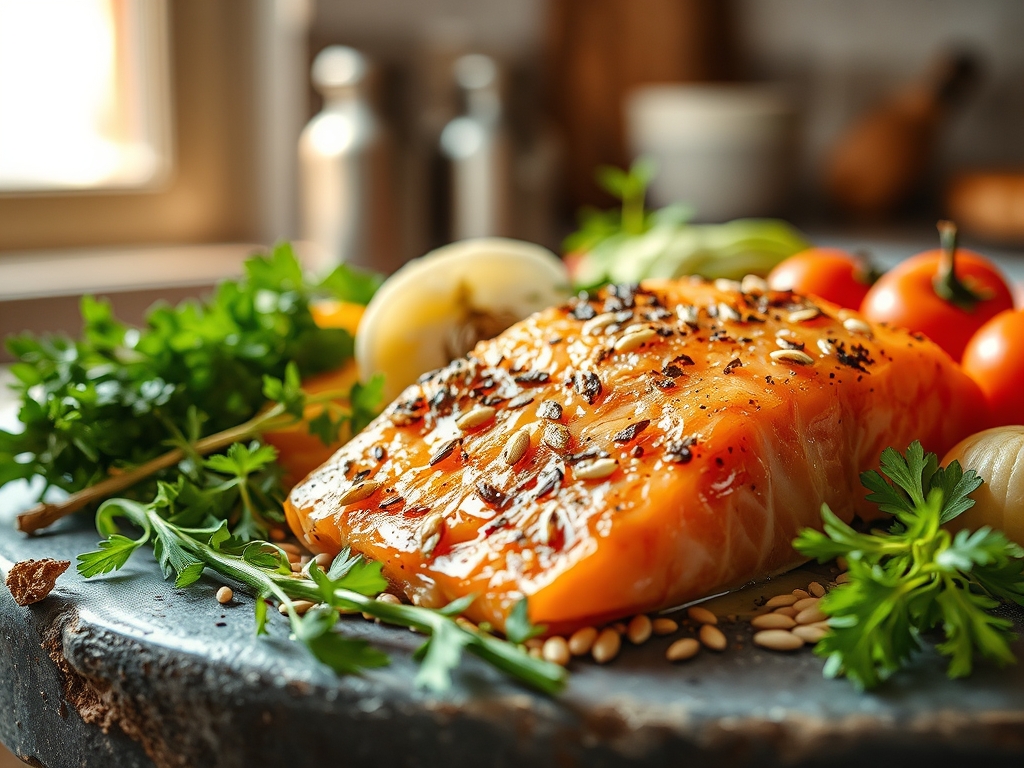
To achieve elite results, your mise-en-place must be impeccable. We start with center-cut Atlantic or King salmon fillets, ideally six to eight ounces each. Look for deep pigmentation and firm muscle structure; the flesh should spring back when pressed. You will need high-smoke-point fats like avocado oil or clarified butter (ghee) for the initial sear, as standard butter contains milk solids that will scorch at the temperatures required for the Maillard reaction.
For the aromatic infusion, gather fresh sprigs of thyme, crushed garlic cloves, and a high-quality sea salt with a consistent crystal size. A microplane is essential for zesting a lemon to provide a piquant brightness without the bitterness of the white pith. If you are looking for smart substitutions, you can swap the butter for a high-quality coconut oil for a subtle sweetness, or use a splash of dry vermouth instead of white wine to deglaze the pan for a more concentrated herbal profile. Always use a digital scale to ensure your fillets are uniform in weight, which guarantees they finish cooking at the exact same moment.
The Clock: The Chef's Flow
Efficiency in a professional kitchen is governed by "The Flow," which is the chronological orchestration of tasks to minimize heat loss and maximize texture. Your total active time will be approximately 15 minutes, with a 10-minute preparation window.
- The Temper (10 Minutes): Remove the fish from the refrigerator. Cold protein hitting a hot pan causes the muscle fibers to contract violently, squeezing out moisture and resulting in a tough texture.
- The Sear (4 to 5 Minutes): This is where the heavy lifting happens. We spend the majority of the time on the skin side to render the subcutaneous fat.
- The Arrosé (2 Minutes): The final stage involves basting the fish with foaming butter to infuse aromatics and finish the top side gently.
- The Rest (3 Minutes): Essential for juice redistribution. Skipping this results in a dry fillet.
The Masterclass:
1. Desiccating the Surface
Use a lint-free paper towel to pat the salmon bone-dry. Moisture is the enemy of the sear; if there is water on the skin, the energy of the pan will be wasted evaporating that liquid into steam rather than browning the protein.
Pro Tip: This is known as surface evaporation. By removing all external moisture, you allow the surface temperature to rapidly exceed 300 degrees Fahrenheit, which is the threshold for the Maillard reaction to create those complex, savory flavor compounds.
2. The Cold-Pan Press
Place your heavy-bottomed skillet over medium-high heat until the oil begins to shimmer and reach its smoke point. Lay the salmon in the pan away from you to avoid oil splatter. Immediately use a flexible fish spatula to press down firmly on the fillet for 30 seconds.
Pro Tip: Salmon skin contains collagen that contracts when it hits heat, causing the fillet to curl. By applying manual pressure, you ensure total surface contact with the pan, leading to an even, glass-like crispness across the entire skin.
3. Rendering and Temperature Control
Lower the heat slightly to medium. Observe the side of the fillet; you will see the opaque, cooked flesh slowly creeping up from the bottom. Do not move the fish. If you try to flip it and it sticks, the proteins have not finished their thermal release.
Pro Tip: This process is called rendering. By keeping the heat moderate after the initial sear, you melt the fat layer between the skin and the meat, which fries the skin in its own oil and keeps the flesh insulated and moist.
4. The Arrosé Technique
Once the cook has reached 70 percent of the way up the side, flip the fillet using tongs. Drop a knob of cold butter, smashed garlic, and thyme into the pan. Tilt the skillet so the melting butter pools at the bottom, then use a large spoon to rapidly douse the salmon with the hot, foaming fat.
Pro Tip: This is convection cooking within a fat medium. The hot butter fills the microscopic crevices of the fish, transferring heat more efficiently than air while simultaneously aerating the butter to create a nutty, toasted flavor profile.
5. The Carryover Rest
Remove the salmon from the pan when the internal temperature hits 125 degrees Fahrenheit for a perfect medium-rare. Place it on a warm plate, skin-side up, to preserve the crunch.
Pro Tip: Thermal carryover will continue to raise the internal temperature by 5 to 7 degrees after it leaves the pan. If you wait until it is "done" in the pan, it will be overcooked by the time it reaches the table.
The Deep Dive:
From a macro nutrition perspective, salmon is a powerhouse of Omega-3 fatty acids and high-quality protein, typically offering 20 grams of protein per 3-ounce serving. For those following a Keto lifestyle, this dish is naturally perfect. If you are Vegan, you can apply these same searing techniques to thick slabs of cauliflower or king oyster mushrooms, using a miso-glaze to replicate the savory depth.
The Fix-It: Common Pitfalls
- The "White Gunk" (Albumin): If you see white liquid seeping out, the heat was too high or the fish was overcooked. Fix: Lower your flame and pull the fish 5 degrees earlier next time.
- Soggy Skin: This happens if you deglaze the pan and the liquid touches the skin. Fix: Pour your sauce around the fish, never over it, to maintain that structural integrity.
- Sticking: Usually caused by a pan that was not hot enough or a surface that was not clean. Fix: Use a bench scraper to clean your pan thoroughly between batches and ensure the oil is shimmering before the fish goes in.
Meal Prep and Reheating
To maintain "day-one" quality, never use a microwave. The high-frequency waves agitate the water molecules and turn the delicate fats rancid. Instead, reheat the salmon in a 275-degree oven covered with foil and a splash of water to create a gentle steam environment, or flake it cold into a salad to preserve the texture of the oils.
The Wrap-Up:
Mastering restaurant salmon recipes is about respecting the physics of the kitchen. When you control the moisture, manage the thermal carryover, and utilize the arrosé technique, you are not just cooking; you are engineering a sensory experience. The contrast between the shattered-glass texture of the skin and the succulent, viscous center of the fillet is the hallmark of a true chef. Now that you have the scientific roadmap, go forth and sear with confidence. Your kitchen is now the best restaurant in town.
The Kitchen Table:
Why does my salmon always stick to the pan?
Sticking occurs when the protein bonds with the metal. Ensure your pan is preheated until the oil shimmers. Don't flip the fish until the proteins naturally release, which happens once the crust has fully formed through the Maillard reaction.
What is the best temperature for cooked salmon?
For a restaurant-quality texture, aim for an internal temperature of 125 to 130 degrees Fahrenheit. This keeps the fats intact and the flesh moist. Anything above 145 degrees will result in a dry, chalky texture that loses its flavor.
Can I achieve a professional sear in a non-stick pan?
While possible, a stainless steel or cast-iron skillet is superior. These materials hold more thermal mass, meaning the temperature won't drop when the cold fish hits the pan, resulting in a much faster and more even crust development.
Is it necessary to remove the skin before cooking?
No, keep the skin on! The skin acts as a protective barrier that prevents the delicate flesh from drying out. Even if you don't plan on eating it, the skin helps the fillet retain its shape and moisture during cooking.