
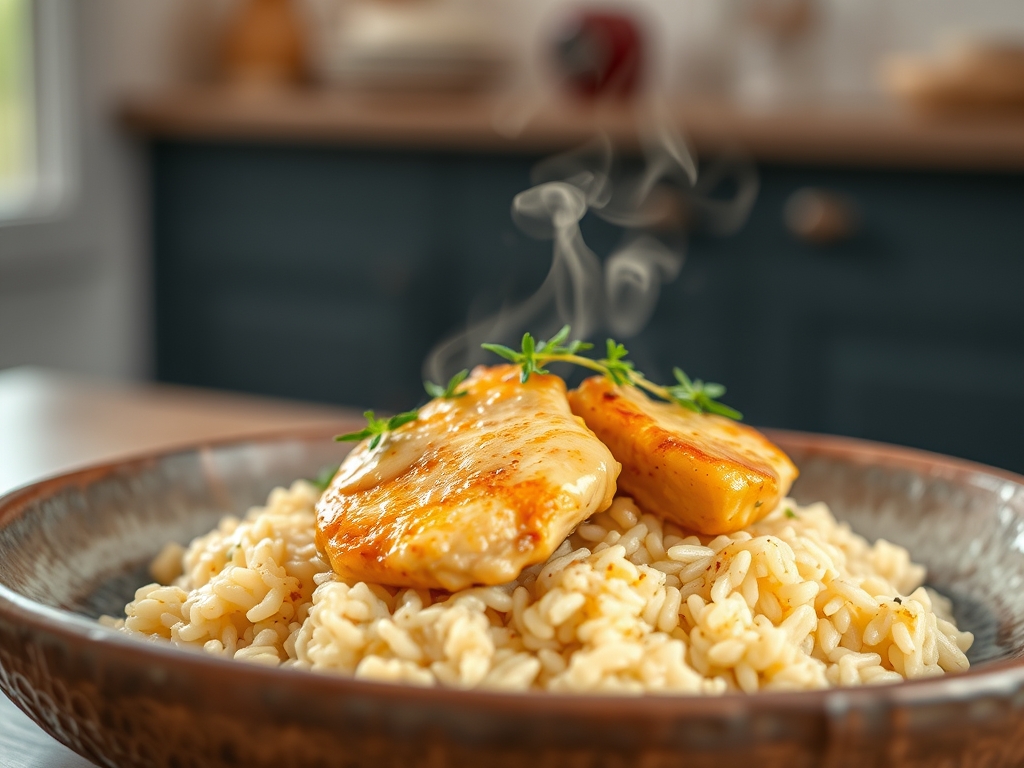
Imagine the sound of a heavy bottomed skillet hitting the burner; a resonant, metallic ring that signals the start of something transformative. We are not just making dinner; we are engineering comfort. When you crave creamy chicken recipes with rice, you are actually seeking a specific molecular harmony between lipid-rich sauces and starch-heavy grains. It is the culinary equivalent of a cashmere blanket.
The secret to a truly transcendent dish lies in the tension between the savory sear of the protein and the velvet-like viscosity of the sauce. Most home cooks settle for "mushy," but we are aiming for "luxurious." By understanding how to manage moisture and heat, you can turn humble pantry staples into a five-star experience that feels effortless but tastes like hours of labor. We are going to deglaze, emulsify, and infuse our way to a meal that leaves your guests asking for the recipe before they have even finished their first bite. Grab your apron; we have some delicious chemistry to conduct together.
The Gathers:
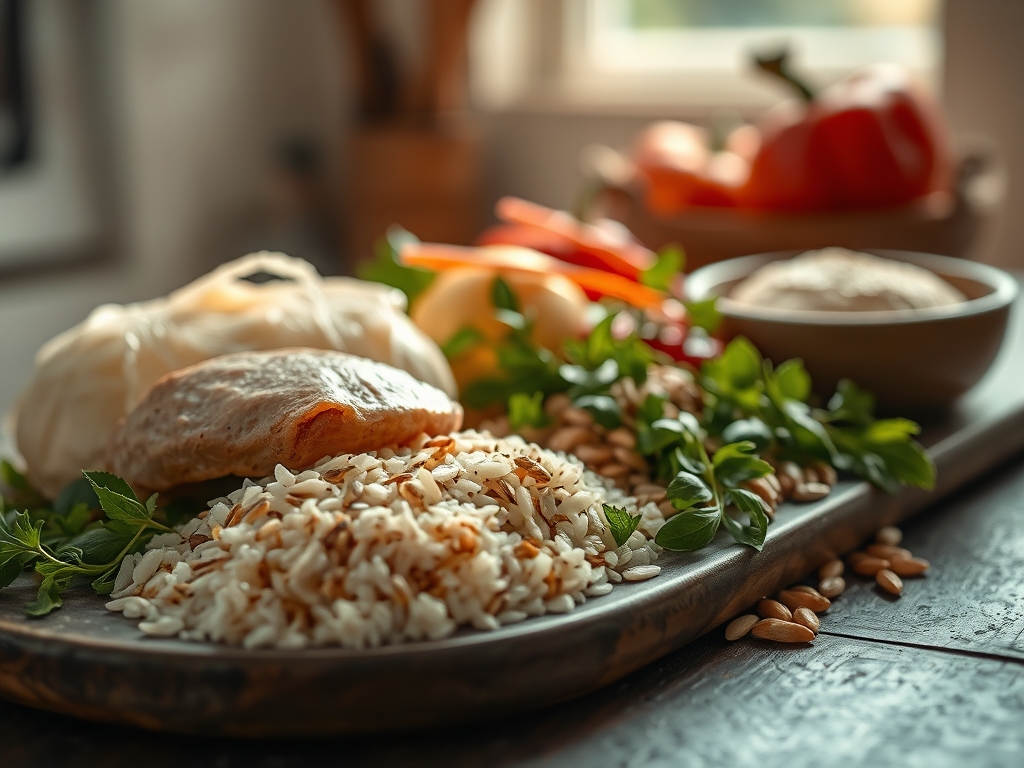
To achieve a professional result, your mise-en-place must be precise. Start with high-quality chicken thighs or breasts; thighs are preferable for their higher fat content and resistance to overcooking. You will need long-grain white rice or arborio if you want a more risotto-adjacent texture. The aromatic base requires yellow onions, fresh garlic, and perhaps a shallot for a more piquant profile.
For the creamy element, do not reach for the "light" versions. We need the stable fats found in heavy cream or full-fat coconut milk to prevent curdling when introduced to acidic components like lemon juice or white wine. You will also need chicken bone broth for depth and a high-smoke-point oil like avocado oil for the initial sear.
Smart Substitutions:
If you are out of heavy cream, a dollop of full-fat Greek yogurt added off the heat can provide a similar tang and body. For a grain-free alternative, cauliflower rice works, though you must reduce the liquid volume by half to account for the vegetable's high water content. If you lack fresh aromatics, a high-quality onion powder and garlic salt can suffice, but you will lose the textural complexity of the sautéed base. Use a digital scale to measure your rice and liquid ratios; precision is the enemy of the "soggy grain" syndrome.
The Clock
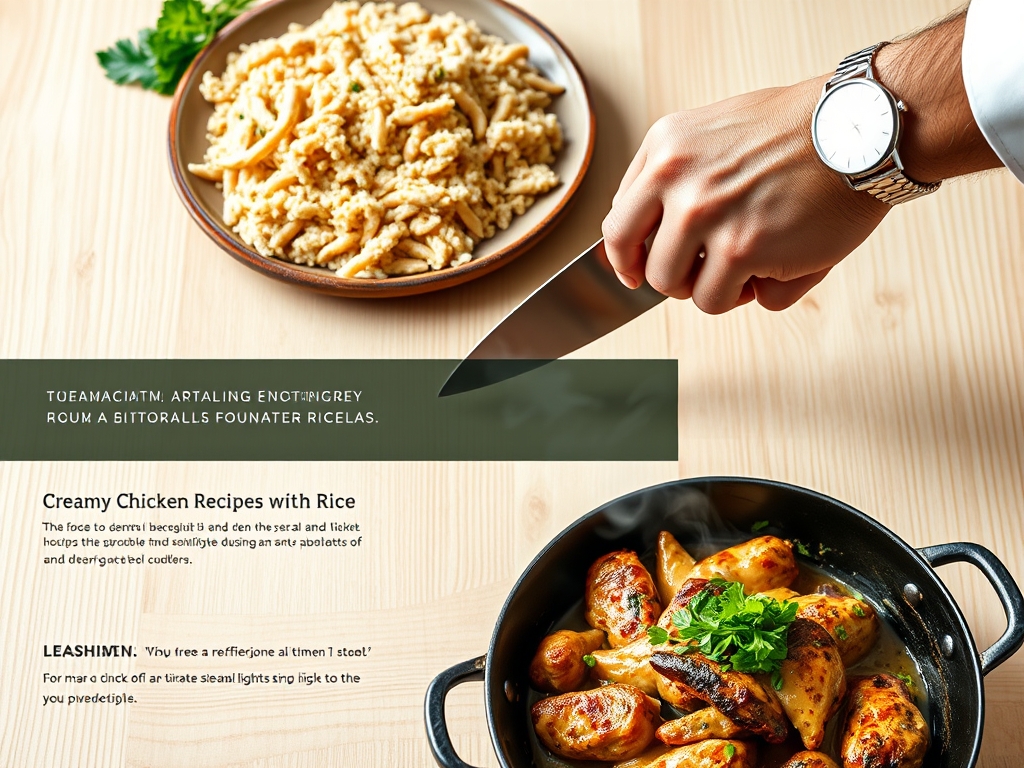
Efficiency in the kitchen is about the Chef's Flow. This is the art of overlapping tasks so that no second is wasted while the pan is hot. Prep time should take no more than fifteen minutes if you use a sharp chef's knife and a bench scraper to move your aromatics. The actual cooking time spans roughly twenty-five minutes.
The flow begins with the protein sear, followed by the aromatic sweat, and finally the simmering of the rice. While the rice is absorbing the broth, you should be cleaning your station. By the time the timer dings for the final fluffing of the grains, your kitchen is tidy and your palate is ready. Total investment: forty minutes for a lifetime of satisfaction.
The Masterclass
1. The Sear and Render
Pat your chicken dry with paper towels to remove surface moisture. Heat your skillet until the oil shimmers. Place the chicken skin-side down and do not move it for at least four minutes. Use stainless steel tongs to check for release.
Pro Tip: This stage utilizes the Maillard reaction, a chemical reaction between amino acids and reducing sugars that creates the brown crust and complex flavors. If the meat sticks, the reaction is incomplete; wait for it to self-release.
2. Deglazing the Fond
Once the chicken is removed, you will see brown bits stuck to the bottom of the pan. This is called "fond." Add your aromatics and a splash of dry white wine or broth. Use a wooden spoon to scrape those bits into the liquid.
Pro Tip: Deglazing captures concentrated flavor compounds that would otherwise be lost. The alcohol in wine acts as a solvent, extracting fat-soluble flavor molecules that water alone cannot reach.
3. Toasting the Grains
Add your dry rice directly to the pan with the aromatics before adding any liquid. Stir for two minutes until the edges of the rice look translucent.
Pro Tip: This is known as dexterinization. Toasting the starch molecules prevents the rice from becoming overly sticky by creating a protective barrier, ensuring each grain remains distinct within the creamy sauce.
4. The Emulsified Simmer
Pour in your broth and cream. Return the chicken to the pan, nestling it into the liquid. Cover with a tight-fitting lid and reduce the heat to the lowest setting.
Pro Tip: Maintaining a low temperature prevents the proteins in the cream from denaturing and clumping. A gentle simmer ensures the chicken reaches its final temperature via thermal carryover, keeping the interior succulent.
5. The Final Aeration
Once the liquid is absorbed, remove the pan from the heat. Let it sit, covered, for five minutes. Use a fork or a microplane to zest some fresh lemon over the top, then fluff the rice gently.
Pro Tip: Resting the dish allows the steam to redistribute through the grains. This final aeration prevents the rice from compacting into a dense mass, resulting in a light, pillowy texture.
The Deep Dive
From a macro nutrition perspective, this dish is a powerhouse of protein and complex carbohydrates. A standard serving provides approximately 35 grams of protein and 45 grams of carbohydrates. To optimize the nutrient profile, you can swap white rice for wild rice or quinoa, which increases the fiber content and adds a nutty dimension to the flavor profile.
Dietary Swaps:
For a Vegan version, use chickpeas or king oyster mushrooms instead of chicken and substitute heavy cream with cashew cream. For Keto enthusiasts, replace the rice with konjac rice or extra sautéed greens. This dish is naturally Gluten-Free as long as your chicken broth is certified, making it a safe bet for sensitive diners.
The Fix-It:
- Sauce is too thin: Remove the lid and simmer on high for three minutes to encourage evaporation, or whisk in a "slurry" of cornstarch and cold water.
- Rice is crunchy: Add a quarter cup of hot broth, seal the lid tightly, and wait another five minutes off the heat.
- Chicken is dry: This usually means the heat was too high. Next time, use a meat thermometer to pull the chicken at 160 degrees Fahrenheit; it will reach the safe 165 mark while resting.
Meal Prep Science:
When reheating, the rice will have absorbed more moisture in the fridge. To restore "day-one" quality, add a tablespoon of water or milk before microwaving. Cover the dish with a damp paper towel to create a mini-steam chamber, which re-hydrates the starch molecules without making them mushy.
The Wrap-Up
Mastering creamy chicken recipes with rice is a milestone for any home chef. It is the perfect marriage of technical skill and soulful eating. By focusing on the sear, the toast, and the gentle simmer, you elevate a simple weeknight meal into a culinary event. Remember that cooking is as much about the "why" as the "how." Now that you understand the science of the sauté and the magic of the emulsion, you are ready to command your kitchen with confidence. Go forth and get creamy!
The Kitchen Table
How do I stop the cream from curdling?
Always add heavy cream toward the end of the cooking process and keep the heat low. Avoid boiling the sauce once the dairy is added; high heat causes the proteins to separate from the fats, resulting in a grainy texture.
Can I use brown rice instead?
Yes, but you must increase the liquid ratio and the cooking time significantly. Brown rice retains its bran layer, which requires roughly forty-five minutes to soften. Add an extra half-cup of broth to ensure the chicken does not dry out.
What is the best chicken cut for this?
Boneless, skin-on chicken thighs are the gold standard. The skin provides fat for rendering, while the dark meat contains more connective tissue. This tissue breaks down into gelatin during the simmer, contributing to a richer, more viscous sauce.
How do I get more flavor into the rice?
Toast the rice in the rendered chicken fat and aromatics before adding liquid. Using a high-quality bone broth instead of plain water ensures that the flavor is absorbed directly into the heart of every grain during the hydration process.