
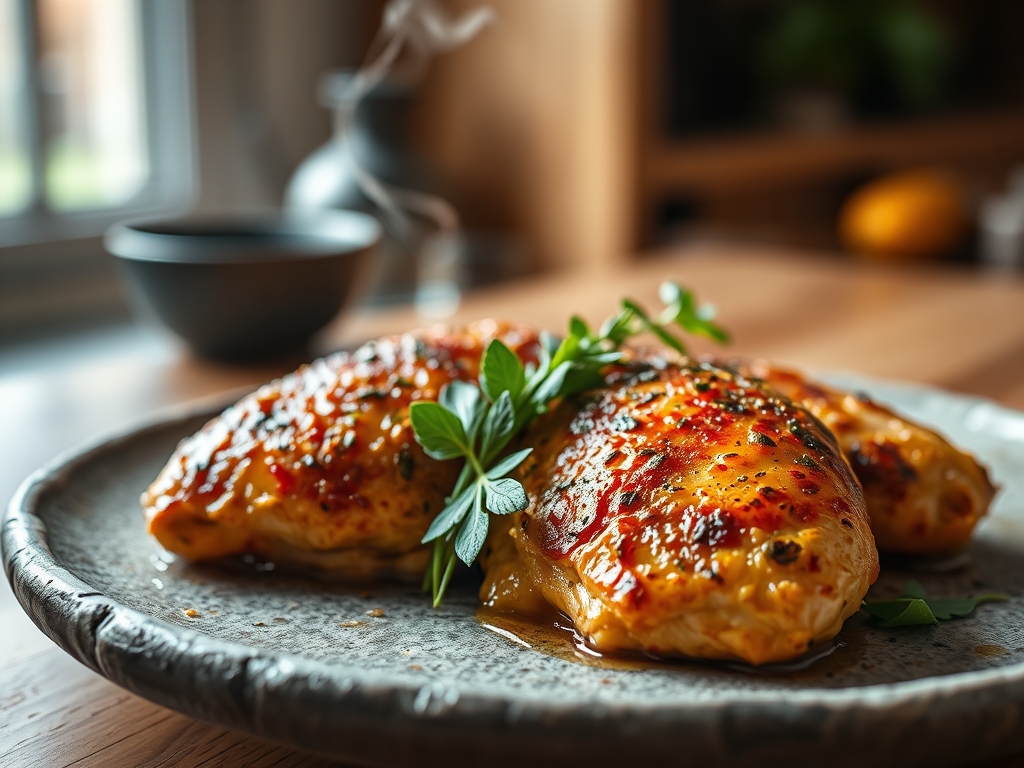
Imagine standing in the humid, charcoal-scented air of a New York state fair where the smoke carries a sharp, vinegar-laced perfume that makes your mouth water instantly. That specific, addictive aroma belongs to the legendary Cornell chicken recipes; a culinary staple born from Dr. Robert C. Baker's poultry laboratory. This is not your average backyard barbecue. It is a masterclass in chemistry where the acidic bite of cider vinegar meets the rich, velvety texture of emulsified egg. The result is a skin so crisp it shatters like glass, protecting meat that remains impossibly succulent despite the high heat of the pit. We are diving deep into the mechanics of this poultry phenomenon to ensure your next cookout achieves that iconic, piquant flavor profile that has defined Upstate summers for over half a century. Grab your apron and your digital scale; we are about to turn your grill into a high-performance flavor laboratory.

The Gathers:
To execute the perfect Cornell chicken, your mise-en-place must be precise. The foundation is the "State Fair Sauce," a high-viscosity emulsion that requires specific ratios to function. You will need one cup of high-quality vegetable oil (chosen for its high smoke point), one pint of cider vinegar for that essential acidity, one tablespoon of kosher salt, one teaspoon of freshly cracked black pepper, and one large egg. The egg is the secret weapon; it acts as a powerful emulsifier, binding the oil and vinegar into a creamy, stable liquid that clings to the protein rather than dripping off into the coals.
For the aromatics, reach for your microplane to grate a clove of garlic into a fine paste, and ensure your poultry is air-chilled for maximum skin dehydration. If you are looking for smart substitutions, you can swap the cider vinegar for a blend of white vinegar and a splash of apple juice to maintain the pH balance while softening the edge. For a deeper umami profile, some modern variations incorporate a teaspoon of poultry seasoning or a dash of Worcestershire sauce. Use a saucier or a deep stainless steel bowl to whisk your marinade; the goal is a thick, pale yellow liquid that looks more like a thin mayonnaise than a salad dressing.
The Clock
Efficiency in the kitchen is all about "Chef's Flow." Total active preparation time is approximately 20 minutes, primarily focused on emulsifying the marinade and breaking down the chicken with sharp poultry shears. However, the passive time is where the magic happens. You must allow the chicken to marinate for at least 4 to 24 hours. This allows the salt to penetrate the muscle fibers through osmosis, seasoning the bird to the bone.
The cooking phase takes roughly 45 to 60 minutes over indirect heat. You are not just grilling; you are rendering fat and building layers of flavor through repetitive basting. By managing your fire to maintain a steady 325 degrees Fahrenheit, you ensure the exterior does not scorch before the interior reaches safety. This deliberate pace prevents the proteins from tightening too quickly, which would result in a tough, rubbery texture.
The Masterclass
1. Emulsify the Marinade
In your saucier, whisk the egg until it is light and foamy. Slowly drizzle in the oil while whisking vigorously to create a stable emulsion. Once thick, gradually incorporate the vinegar and spices.
Pro Tip: The egg contains lecithin, a phospholipid that bridges the gap between water and oil. This creates a viscous coating that prevents the "flare-ups" common with oil-only marinades by keeping the fat bound to the meat.
2. Prepare the Protein
Using a bench scraper to clear your workspace, pat the chicken dry with paper towels. Use poultry shears to remove the backbone (spatchcocking) or halve the birds. This increases surface area for the Maillard reaction.
Pro Tip: Dry skin is the enemy of steam. By removing surface moisture, you allow the heat to immediately begin the Maillard reaction, which is the chemical dance between amino acids and reducing sugars that creates savory complexity.
3. The Long Soak
Submerge the chicken in the marinade within a non-reactive glass dish or a heavy-duty vacuum bag. Ensure every crevice is coated. Refrigerate for a minimum of four hours.
Pro Tip: During this phase, the acetic acid in the vinegar begins to denature the surface proteins. This "pre-cooks" the exterior slightly, allowing the marinade to infuse deeper into the tissue for a more piquant finish.
4. The Initial Sear
Place the chicken on the grill grate over medium-high heat, skin side down, for exactly three minutes to set the crust. Use heavy-duty tongs to move the pieces to the indirect heat zone.
Pro Tip: This initial blast of heat initiates thermal conduction. By moving to indirect heat immediately after, you prevent the delicate egg-based sauce from carbonizing and becoming bitter.
5. The Basting Cycle
Every ten minutes, use a natural bristle brush to apply a fresh layer of marinade. Flip the chicken frequently. This builds a "lacquer" of flavor.
Pro Tip: Repeated basting creates a cooling effect on the surface through evaporation. This slows down the cooking process, allowing the internal fat to render fully without the meat drying out.
6. The Final Temp
Use a digital thermometer to pull the chicken when the thigh reaches 160 degrees Fahrenheit. The temperature will rise during the rest.
Pro Tip: This is known as thermal carryover. The residual heat on the surface continues to travel inward, bringing the final internal temperature to a safe and juicy 165 degrees while the juices redistribute.
The Deep Dive
From a macro perspective, Cornell chicken is a protein powerhouse. A standard quarter-chicken serving provides roughly 35 grams of protein and 18 grams of fat. Because the marinade is sugar-free, it is naturally keto-friendly and gluten-free. For a vegan alternative, use the marinade on thick slices of cauliflower or firm tofu, though you should swap the egg for aquafaba to maintain that essential emulsification.
Even the pros hit snags. If your skin is soggy, your grill temp was likely too low; fix this by a final two-minute flash sear over direct flames. If the meat is dry, you skipped the long soak; next time, ensure a full 12-hour brine. If the sauce breaks during whisking, start with a fresh egg yolk and slowly whisk the broken sauce into it to re-establish the bond.
For meal prep, Cornell chicken is a dream. To maintain "day-one" quality, reheat leftovers in an air fryer at 350 degrees for five minutes. This reactivates the fats in the skin, restoring that signature crunch that a microwave would turn to rubber.
The Wrap-Up
Mastering Cornell chicken recipes is about more than just following a list of ingredients; it is about respecting the science of the sear and the power of the emulsion. When you pull that bird off the grill, glistening with a golden, vinegary glaze, you are serving a piece of culinary history. It is bold, it is bright, and it is technically superior to almost any other poultry preparation. Now, get out there, fire up the charcoal, and show your friends what a little chemistry and a lot of heat can do.
The Kitchen Table
Can I use olive oil for the marinade?
It is not recommended. Extra virgin olive oil has a low smoke point and a strong flavor that competes with the vinegar. Use a neutral oil like grapeseed or canola to allow the piquant spices and Maillard browning to shine.
Why is there an egg in the sauce?
The egg acts as a primary emulsifier. It binds the vinegar and oil into a thick, creamy coating. This ensures the marinade sticks to the chicken during the grilling process rather than dripping off and causing dangerous grease fires.
How long can I marinate the chicken?
Aim for 12 to 24 hours. While four hours works in a pinch, a longer soak allows the salt and acid to deeply penetrate the muscle fibers. Do not exceed 48 hours, or the acid will turn the meat mushy.
Is Cornell chicken spicy?
No, the traditional recipe is savory and acidic rather than hot. The "zing" comes from the high concentration of cider vinegar and black pepper. If you want heat, you can easily whisk in a teaspoon of cayenne or red pepper flakes.